

Photographie
How to take better portrait photos
10 practical techniques that separate a flat portrait from one that actually connects

15 juil. 2026∙6 min
Photographie
10 practical techniques that separate a flat portrait from one that actually connects
15 juil. 2026∙6 min
A good portrait does more than record what someone looks like. It captures something of who they are in that moment, and that’s a harder thing to achieve than simply pointing a camera at a person’s face. The gap between a flat, forgettable portrait and one that stops people scrolling usually comes down to a handful of technical and human decisions. The lens you choose, where the light falls, how you direct your subject and whether you’ve built rapport with them before shooting are all important factors. None of it requires expensive gear. Here are ten techniques that make the biggest difference.
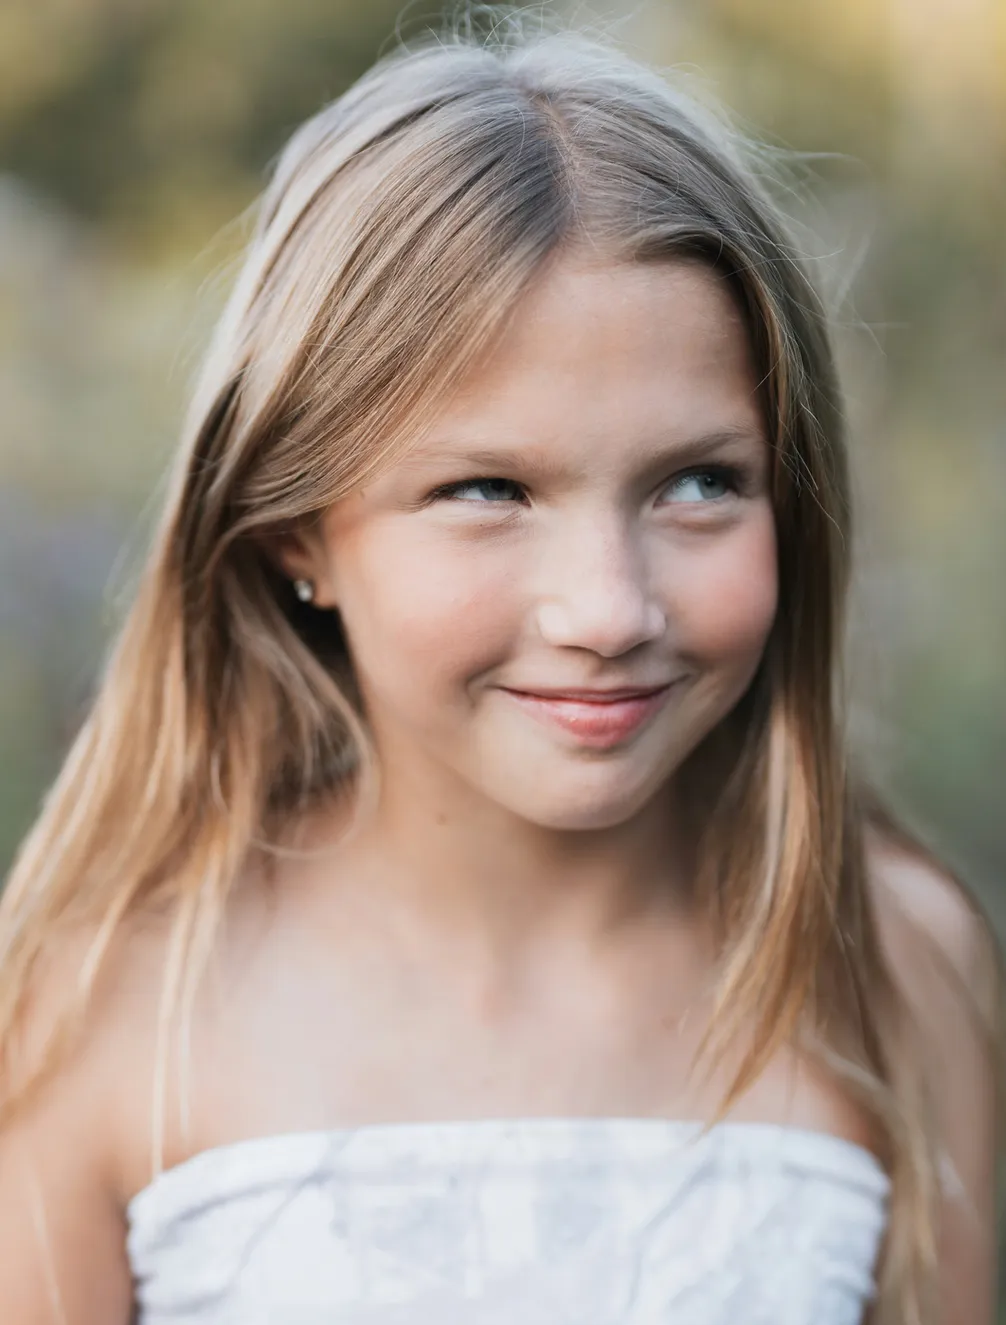
Photo: Jackie Best, Unsplash
Wide-angle lenses exaggerate whatever is closest to the camera, which is rarely kind to a face photographed from a normal portrait distance. A focal length between about 50mm and 105mm on a full-frame camera (or the equivalent on a crop sensor) compresses features naturally and keeps proportions realistic. If you only own a kit zoom, shoot at the longer end of its range and step back rather than shooting wide and standing close.
In almost every portrait, the eyes are what a viewer looks at first, so they need to be sharp. Use single-point autofocus or eye-detection autofocus if your camera has it, and place that point directly on the near eye, especially when shooting at a wide aperture where depth of field is thin. A portrait with soft eyes and a sharp ear reads as a mistake; a portrait with sharp eyes and a slightly soft background reads as intentional.
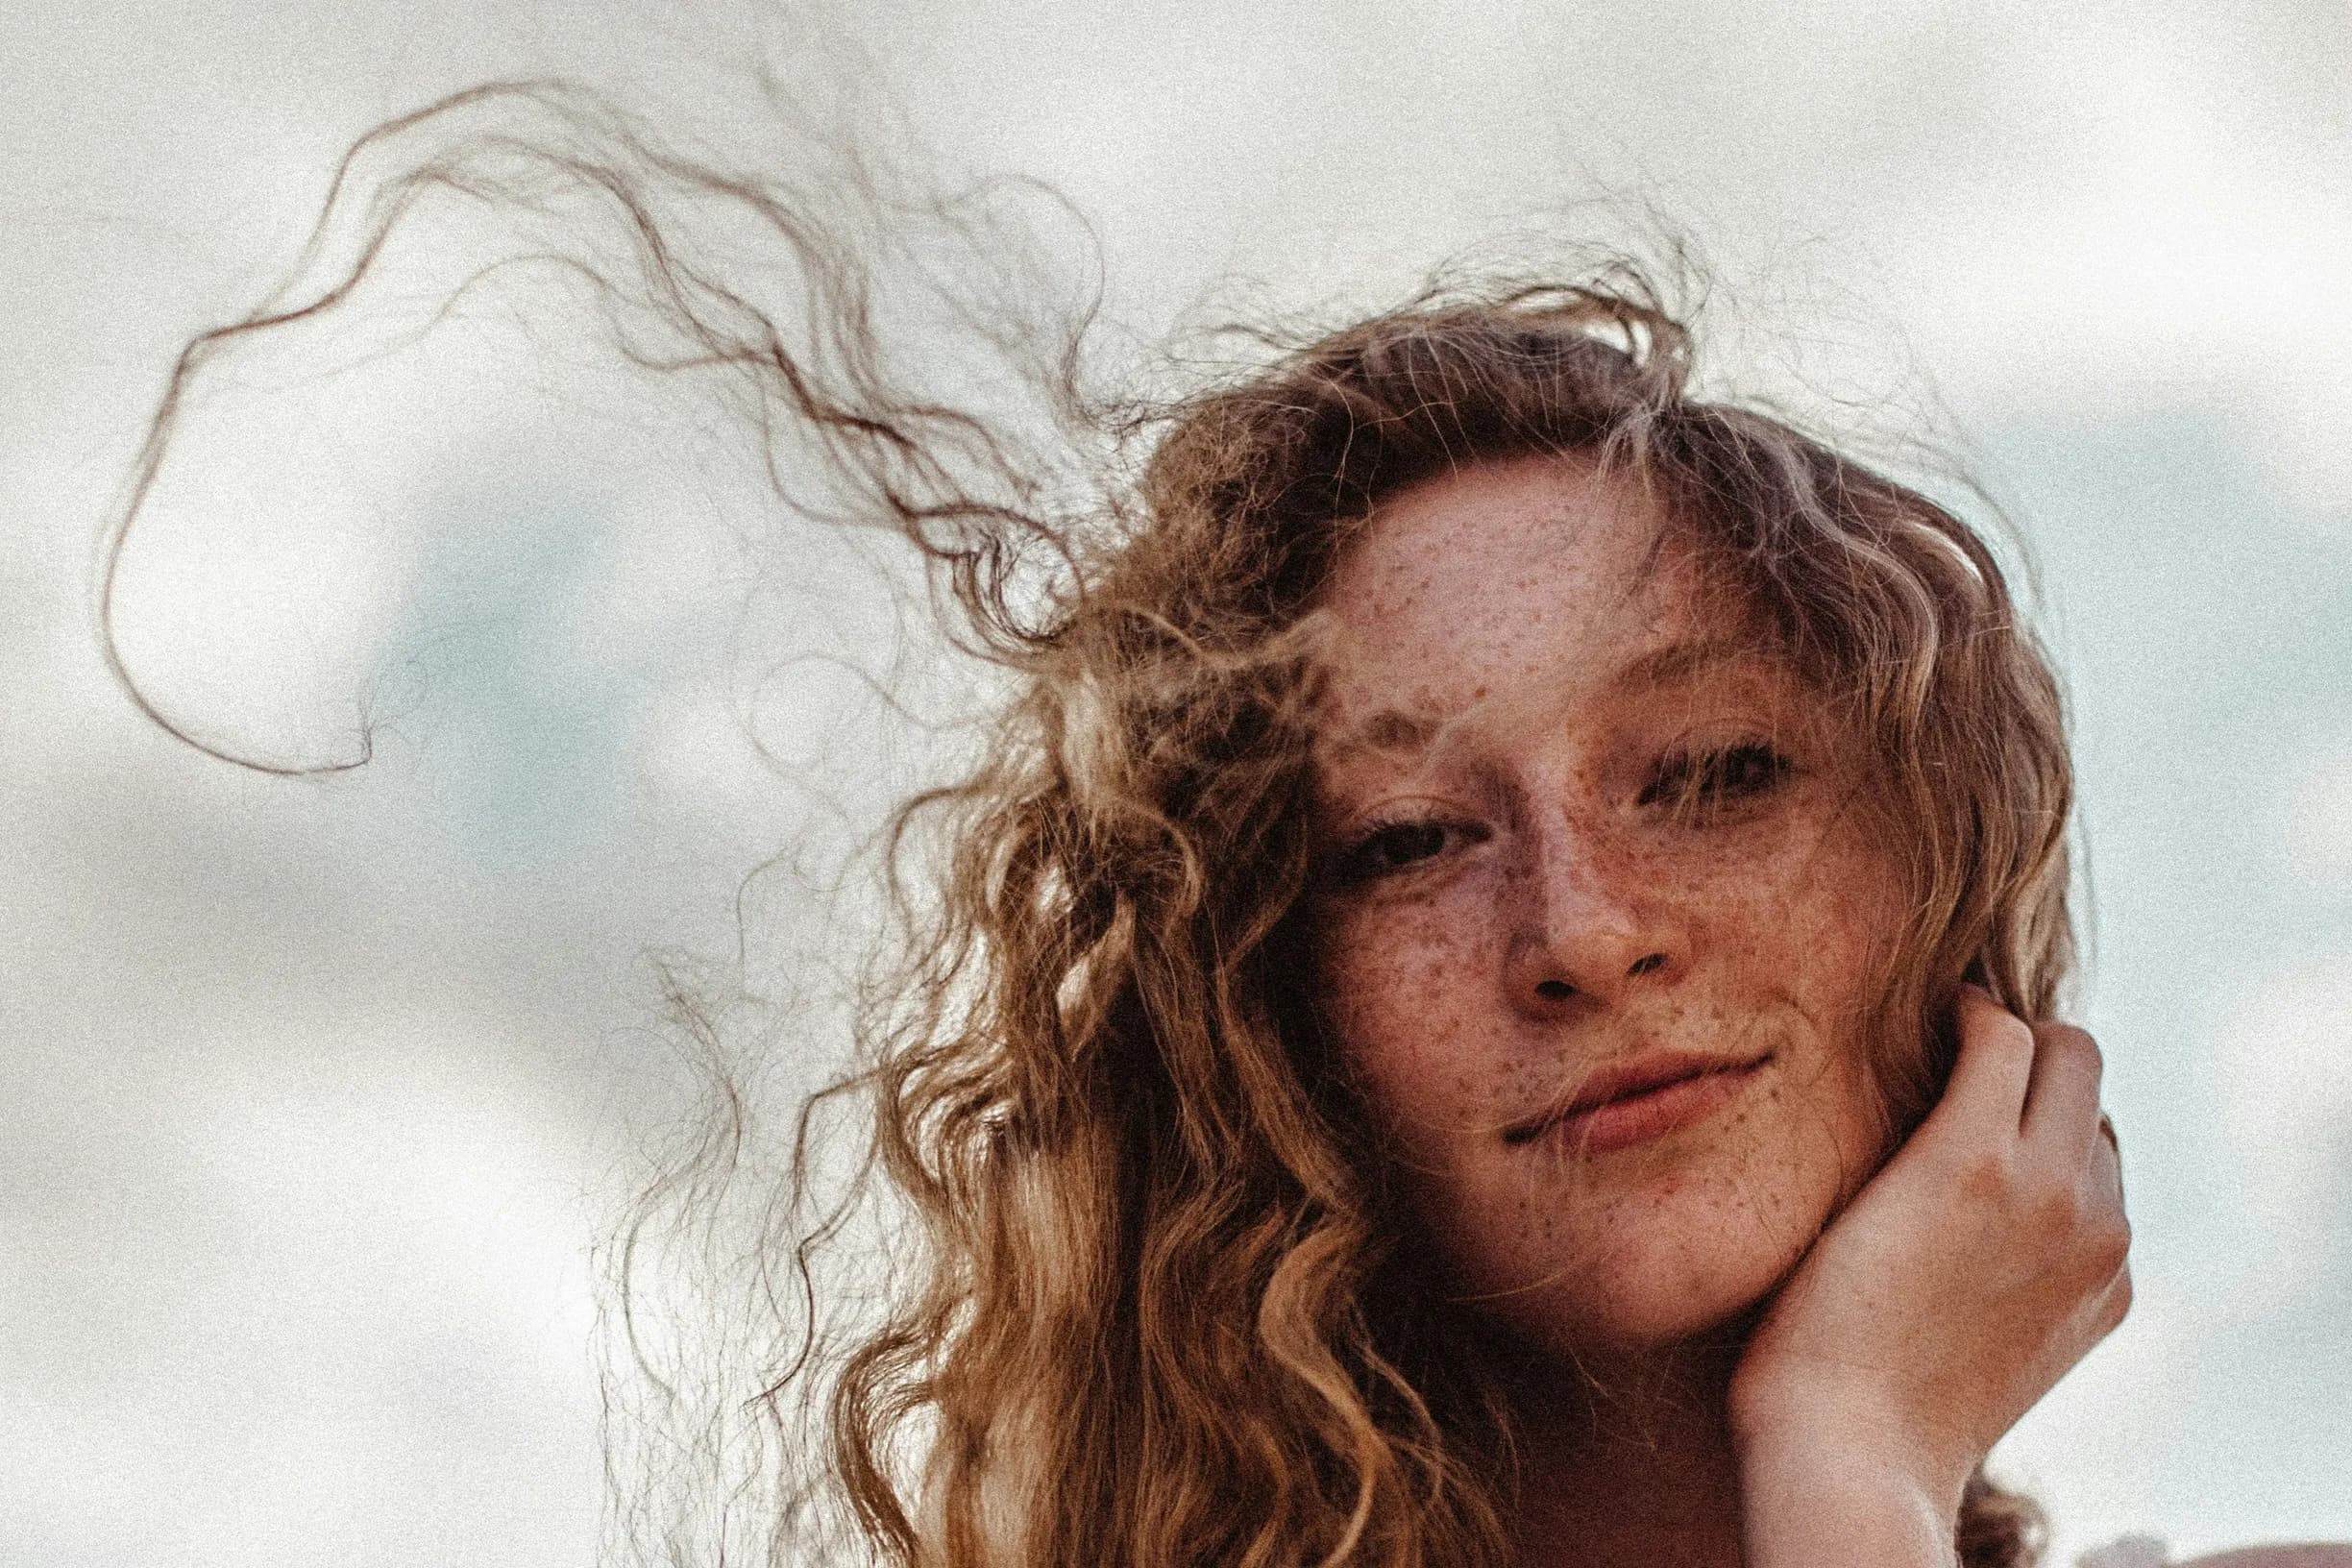
Photo: Vladmir Visotsky, Unsplash
Shooting at f/1.8 to f/2.8 throws the background out of focus and separates your subject from any visual clutter behind them, which is one of the fastest ways to make a portrait look more professional. Be aware that at very wide apertures the depth of field can be thinner than an entire face. So if you want both eyes and the tip of the nose sharp, you may need to stop down slightly to f/3.5 or f/4, particularly on close-up shots.
Harsh, direct light creates hard shadows and blown highlights that no amount of editing can fully fix. Soft, directional light – from a window, in open shade or during golden hour – wraps around a face far more flatteringly and reveals texture without harshness. Position your subject so the light falls across their face at an angle rather than flat-on or from directly overhead – you’ll immediately get more dimension and mood in the shot.
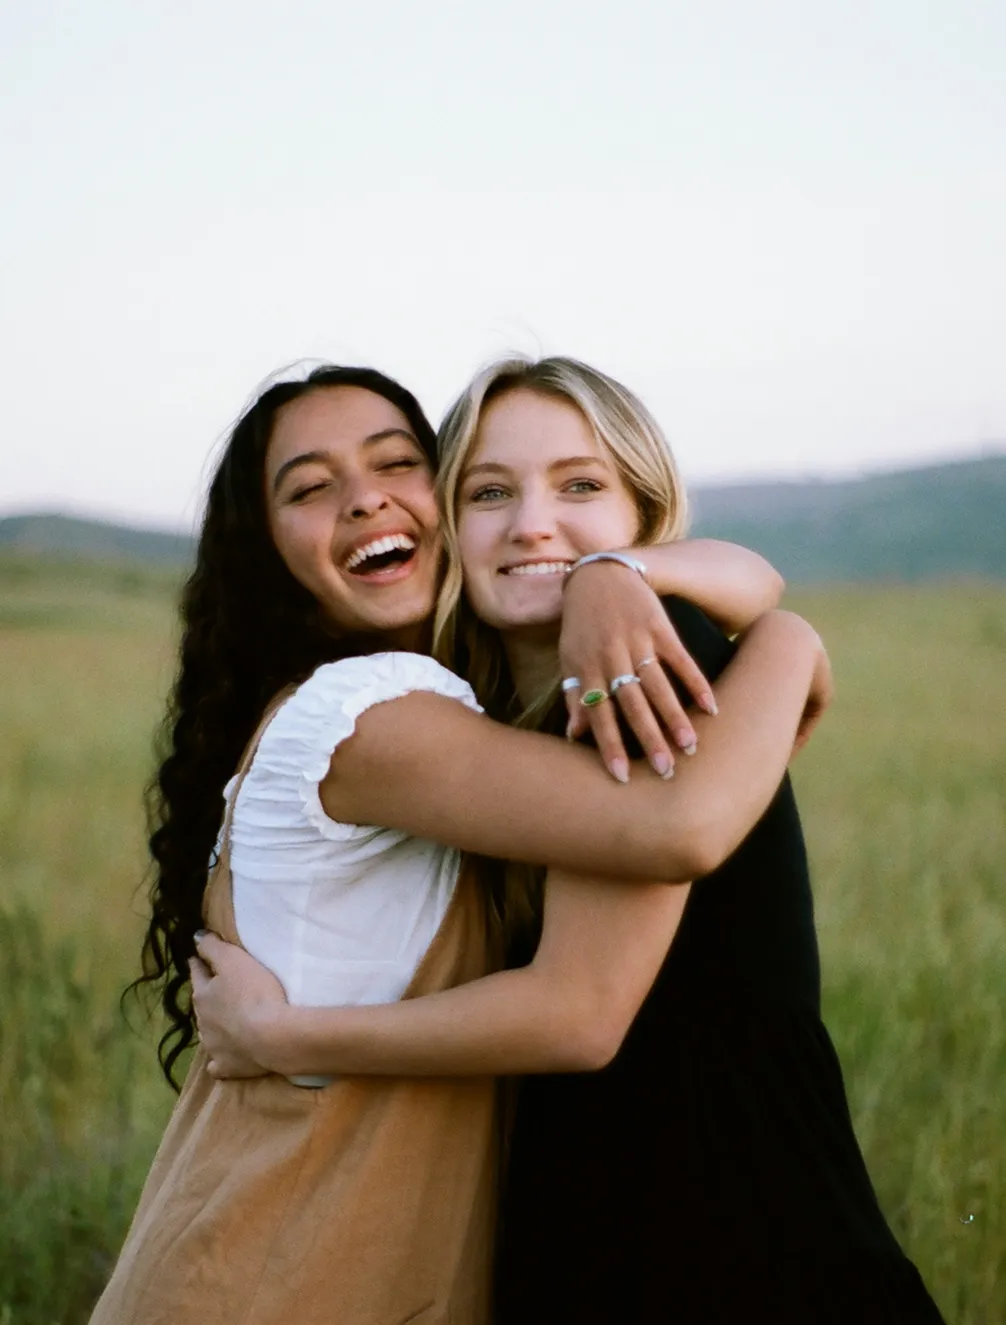
Photo: Joshua Koblin, Unsplash
If the available light is too harsh or too flat, you don’t need studio lighting to fix it – a simple reflector (even a large sheet of white card or foam board) bounces light back into shadowed areas of the face, while a diffuser softens direct sunlight into something closer to an overcast, even light. Both are cheap, portable and often make a bigger difference to a portrait than the camera or lens being used.
A portrait that’s too zoomed out leaves the subject lost in their surroundings, while one that’s cropped without thought can awkwardly cut off a hand or hairline. Decide before you shoot whether the portrait is about the face, the upper body or the person within their environment, then frame accordingly, leaving a little more space in the direction your subject is looking or facing than behind them. This small compositional choice, sometimes called leading space, makes a portrait feel considered rather than accidental.
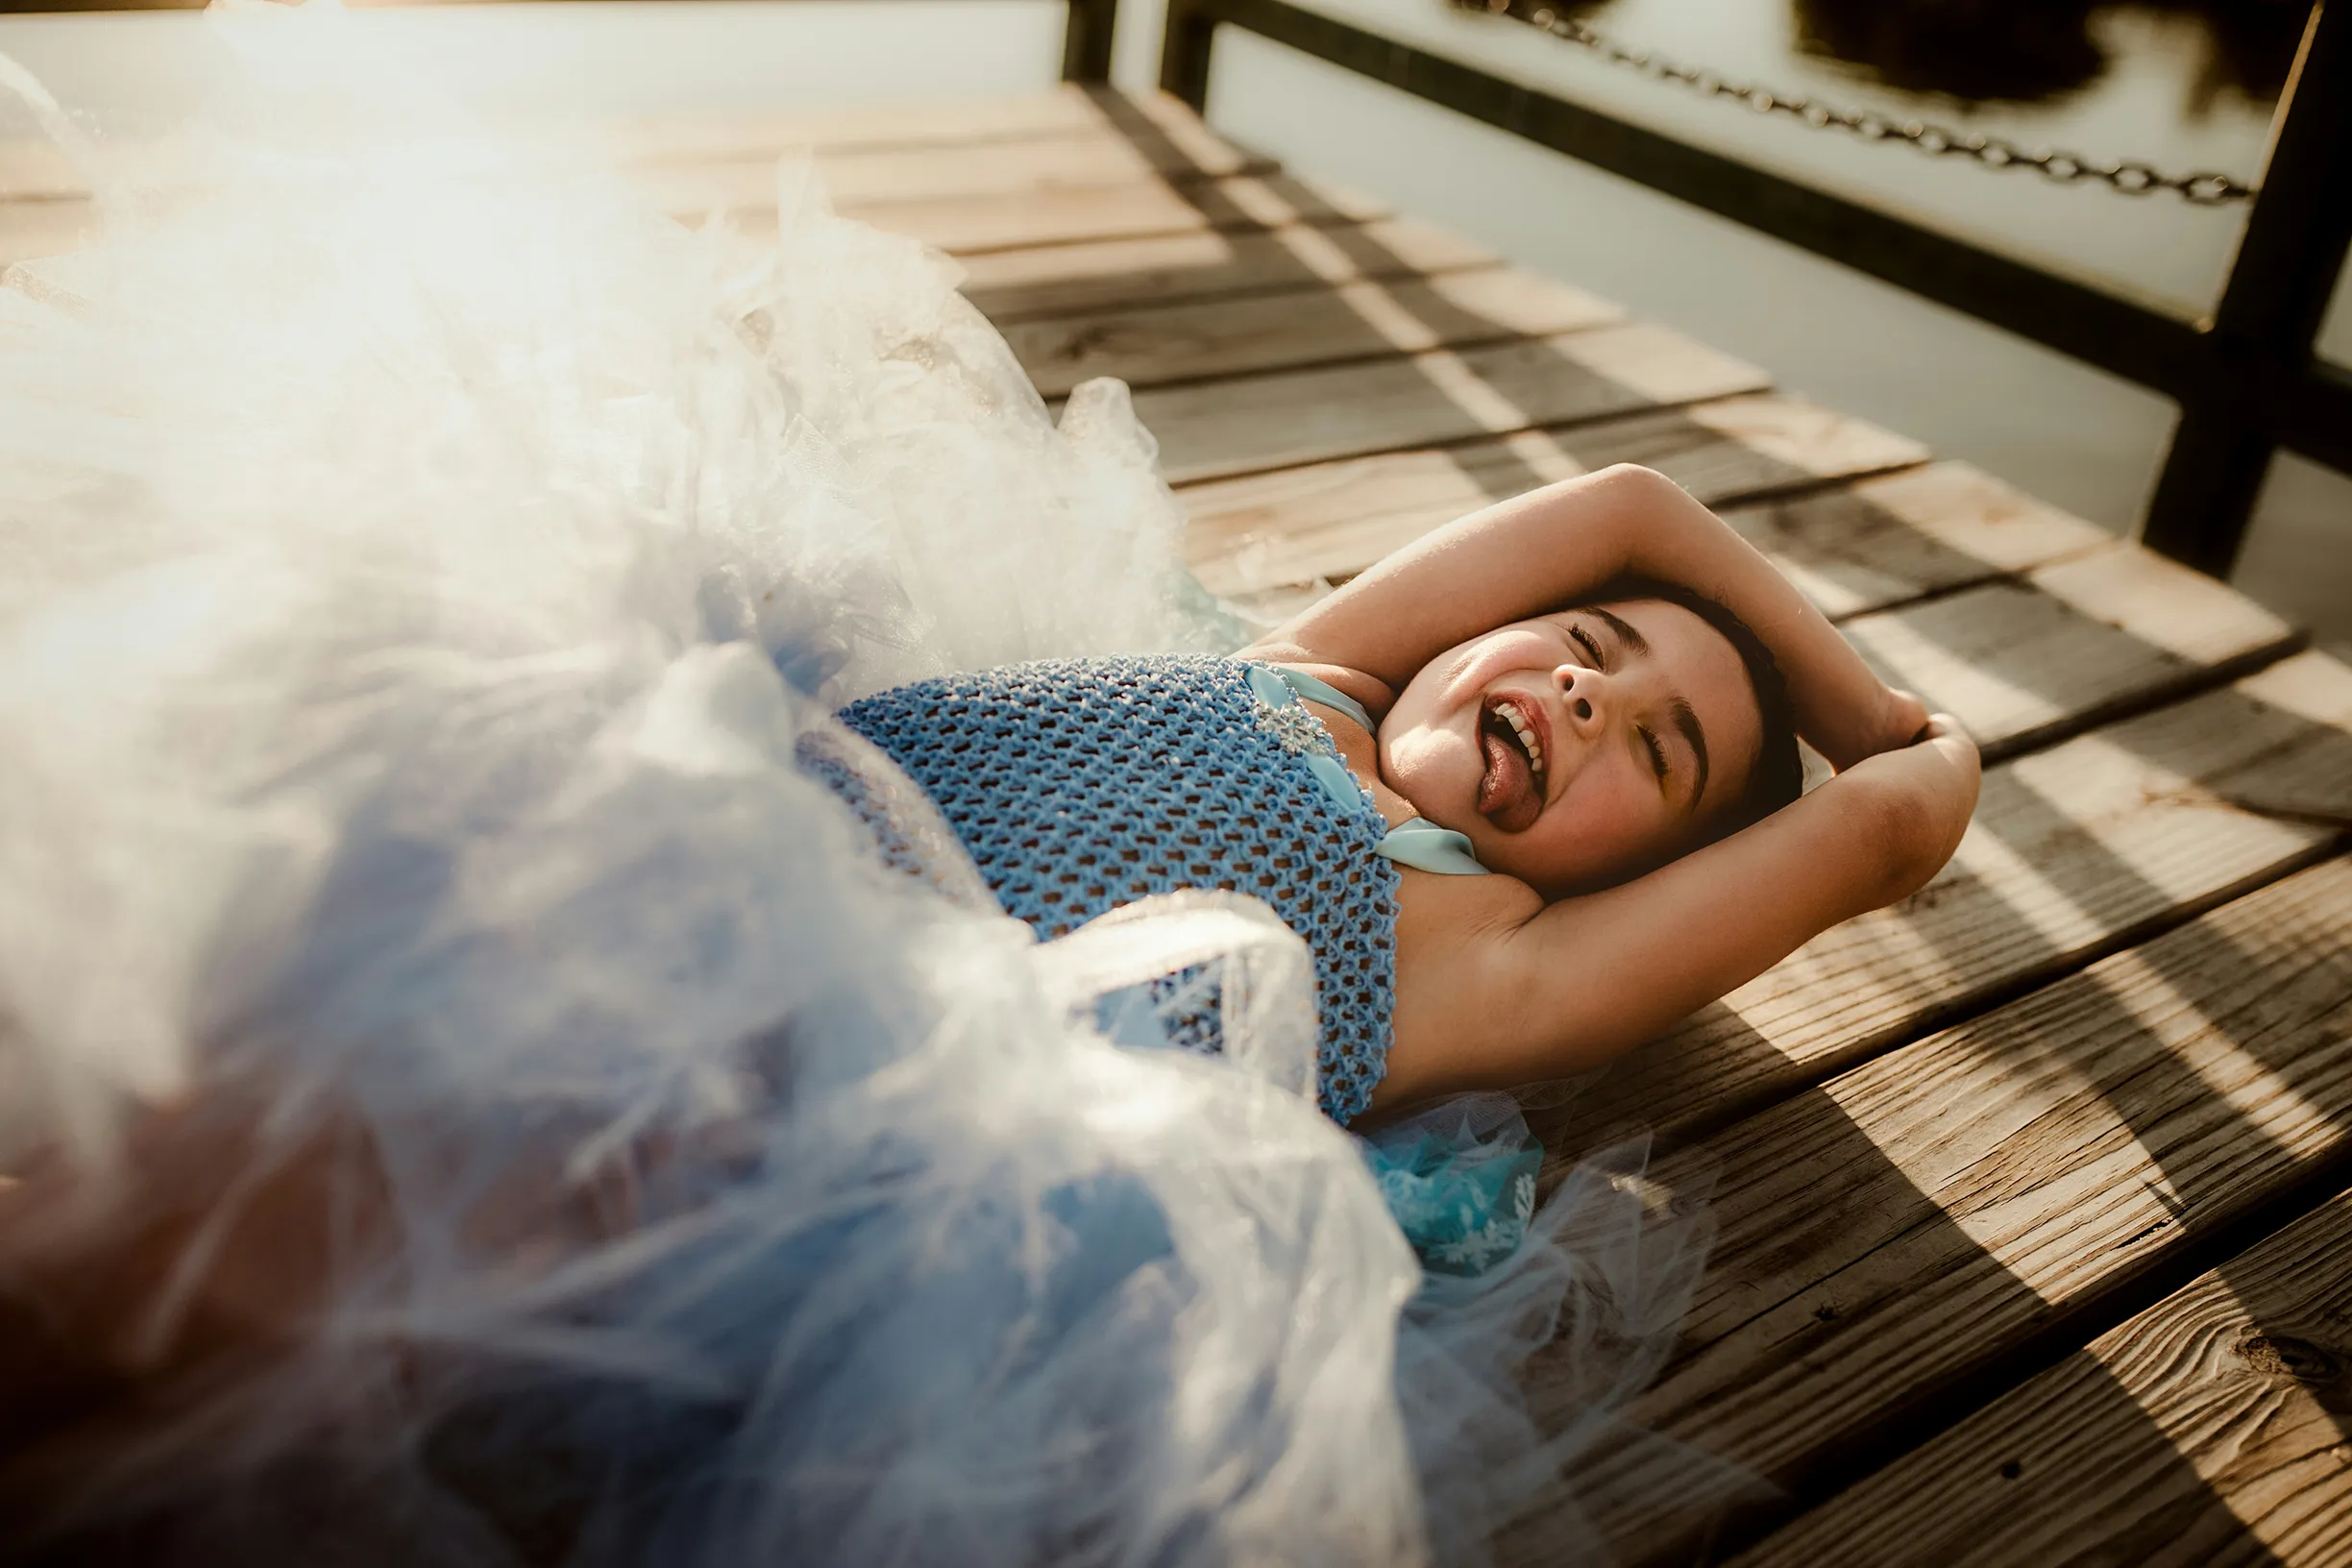
Photo: Patty Brito, Unsplash
Most people don’t know what to do with their hands or where to put their weight when told to “just stand there” – and it shows. Give specific, simple directions – rest a hand in a pocket, shift weight onto one leg, lean against a wall or doorway – rather than vague instructions like “look natural”. Specific direction removes the guesswork and almost always produces a more relaxed pose.
A distracting background will pull attention away from your subject, no matter how good the portrait itself is. Look for plain walls, out-of-focus foliage or open sky, and be aware of what’s directly behind your subject’s head – a pole or bright object lined up with them will draw the eye every time. If you can’t change the location, changing your shooting angle by even a step or two often removes a distracting element entirely.
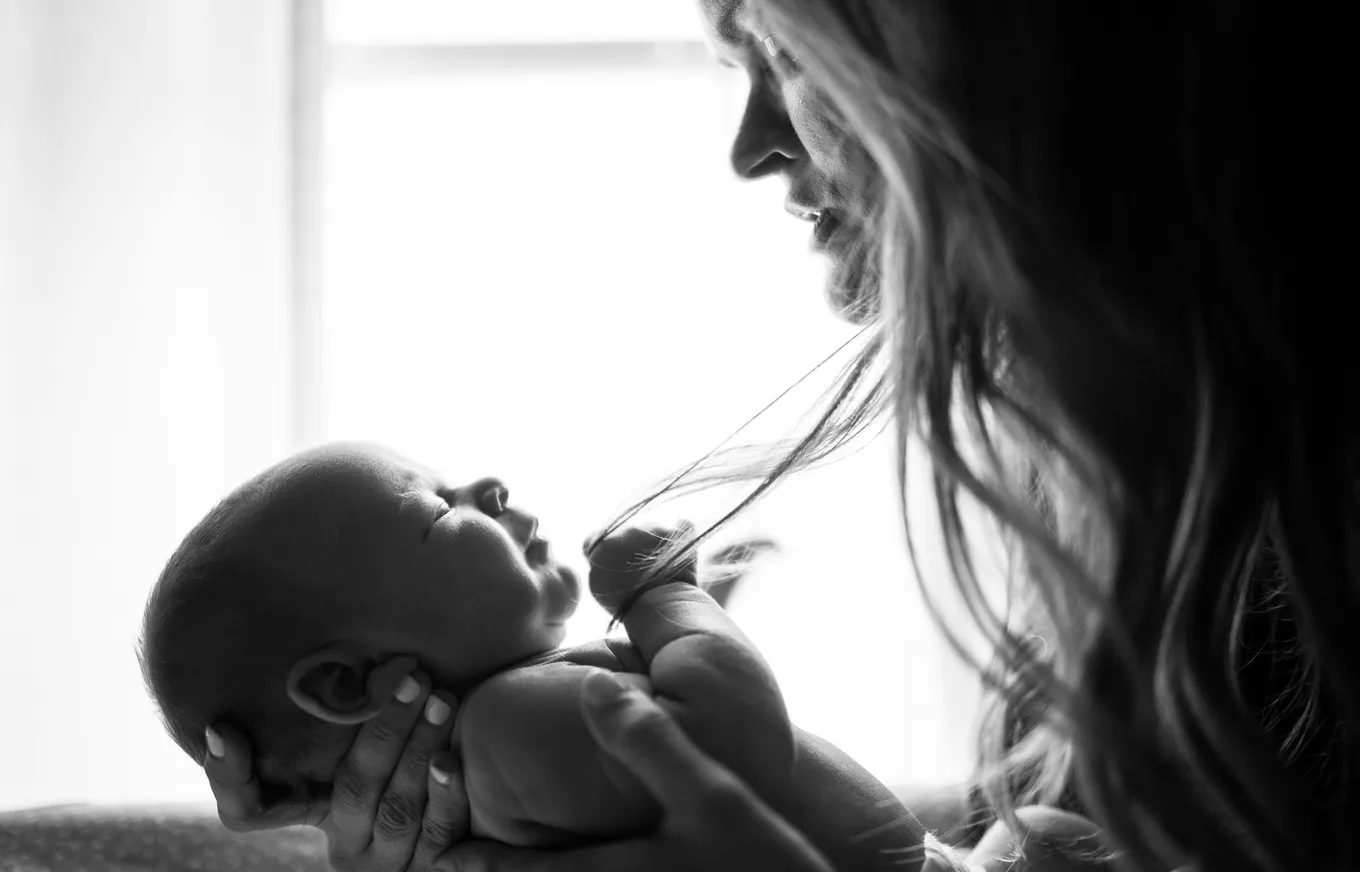
Photo: Zach Lucero, Unsplash
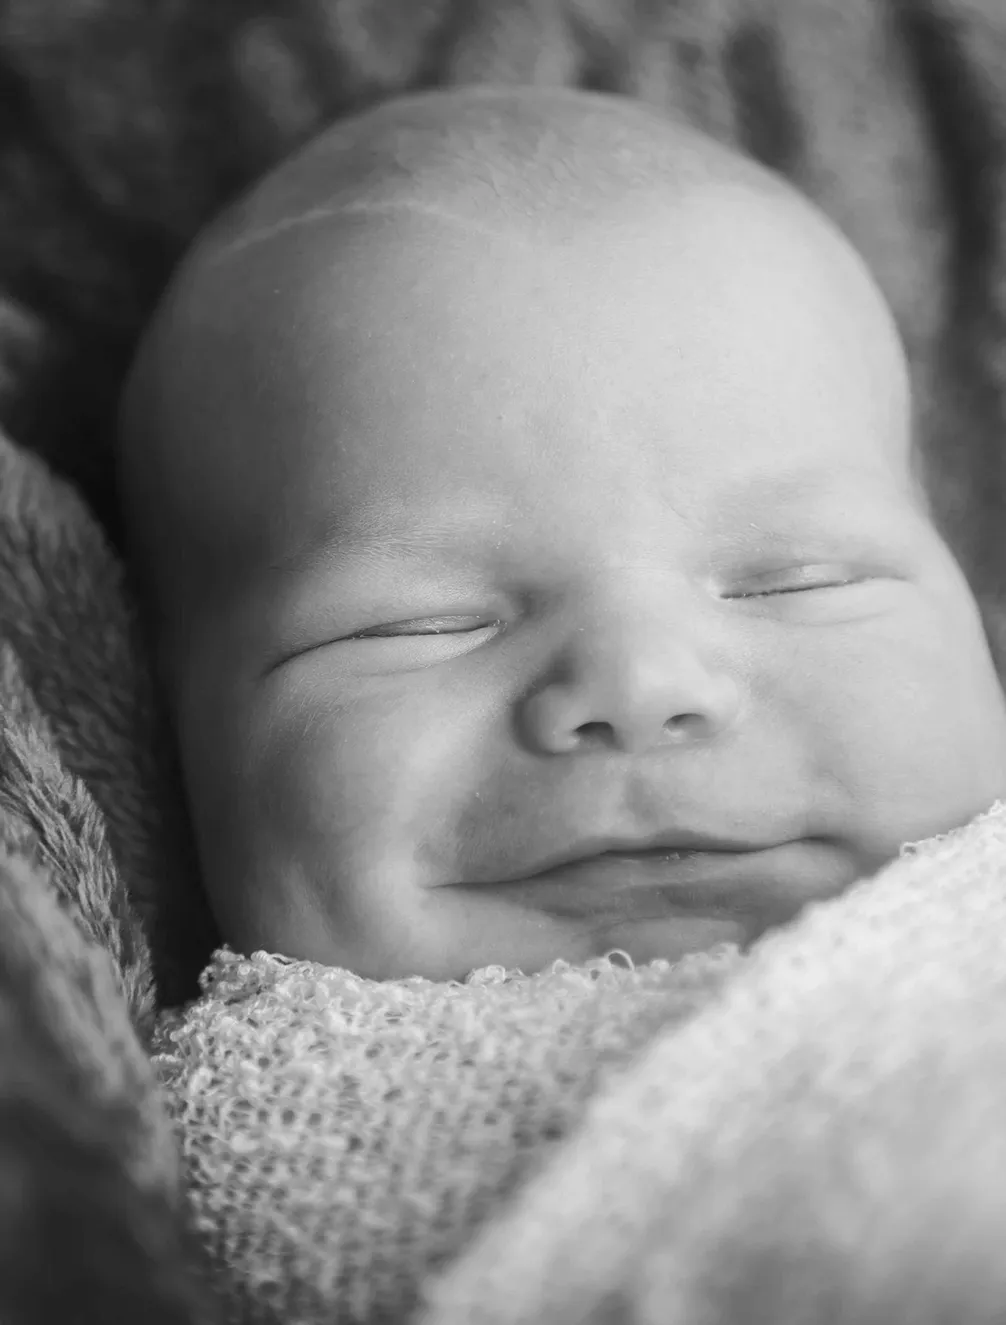
Photo: Angela Duxbury, Unsplash
The most natural expressions rarely happen on command. After you’ve taken the “official” pose, keep shooting for a few seconds longer – ask a question, make a comment or simply wait. The moment a subject thinks the photo is over, their expression often relaxes into something far more genuine than anything achieved by asking them to smile. Many photographers’ favourite shots from a session are these unplanned frames rather than the deliberately posed ones.
Technical skill only gets you so far if your subject is visibly uncomfortable. A minute or two of genuine conversation before you start shooting – asking about their day, cracking a joke, simply explaining what you’re doing and why – puts people at ease in a way that no amount of posing direction can replicate. The best portrait photographers often possess great people skills as much as camera skills, because a relaxed subject will out-photograph a tense one every time, regardless of equipment.
Put these ten techniques together and the improvement in your portraits will be noticeable almost immediately. Start with light and rapport, since they cost nothing and matter more than any piece of gear, then layer in the technical choices – lens, aperture, framing – as you get more comfortable directing a session.
Replongez dans vos souvenirs en toute simplicité grâce à des fonctionnalités exclusives comme la reconnaissance faciale et les albums intelligents.




&w=96&q=75)
Dan Mold
Photographe et auteur
14 août 2025∙6 min
&w=96&q=75)
Ben Olsen
Rédacteur Popsa
15 juin 2026∙8 min
&w=96&q=75)
Benedict Brain
Photographe et auteur
27 août 2025∙10 min


 États-Unis