

Guides
How to make a Year in Review Photo Book
Tips to tell your story, from choosing photos to editing layouts and crafting compelling captions

16 Sep 2025∙5 min
Guides
Tips to tell your story, from choosing photos to editing layouts and crafting compelling captions
16 Sep 2025∙5 min
Updated for 2026
Between family, work, holidays and milestones, so much changes over the course of 12 months. Creating a Year in Review Photo Book is a beautiful way to tell that story, letting you look back and reflect on these moments – but how do you make one?
Turning a year of your camera roll into a physical narrative can seem daunting, but the process is simpler than it looks. From choosing photos to generating layouts, it stirs fun and sentimental memories along the way: seeing that new haircut for the first time again, surprising Grandad on his birthday, trying exotic foods abroad. Other moments might be sadder, but revisiting them and seeing how far you’ve come can feel poignant.
Another wonderful thing about a Year in Review is that it can serve many purposes. It could become an annual family tradition, a personal collection, or a thoughtful gift for loved ones to flick through and find themselves in.
In this guide, we’ll take you through the steps, from finding your best photos to writing captions, so you can turn the last 12 months into a meaningful archive.
Aim for 10 to 15 photos a month, so 120 to 180 for the year. Busy months can take more, and you can always trim later.
Start with your favourites. Open your favourites album, or search the year for photos you’ve shared or hearted.
Work month by month. Use your calendar and messages as prompts for what happened, then find the photos to match.
Pick moments, not photos. If you took twelve shots of the same birthday cake, choose the best one or two.
Be generous, then ruthless. Keep everything you love on the first pass, then cut back to your target on the second.
Keep sessions short. Twenty minutes a night for a week beats one heroic afternoon.
A year never divides neatly, and your book needn’t either. Give big months more room: a two-week holiday can happily take a few spreads, while a quiet February might get a single page. You can pair up thin months (“January and February”) or group the year into seasons or chapters instead. For sparse months, one strong photo with a caption about what you remember beats filler.
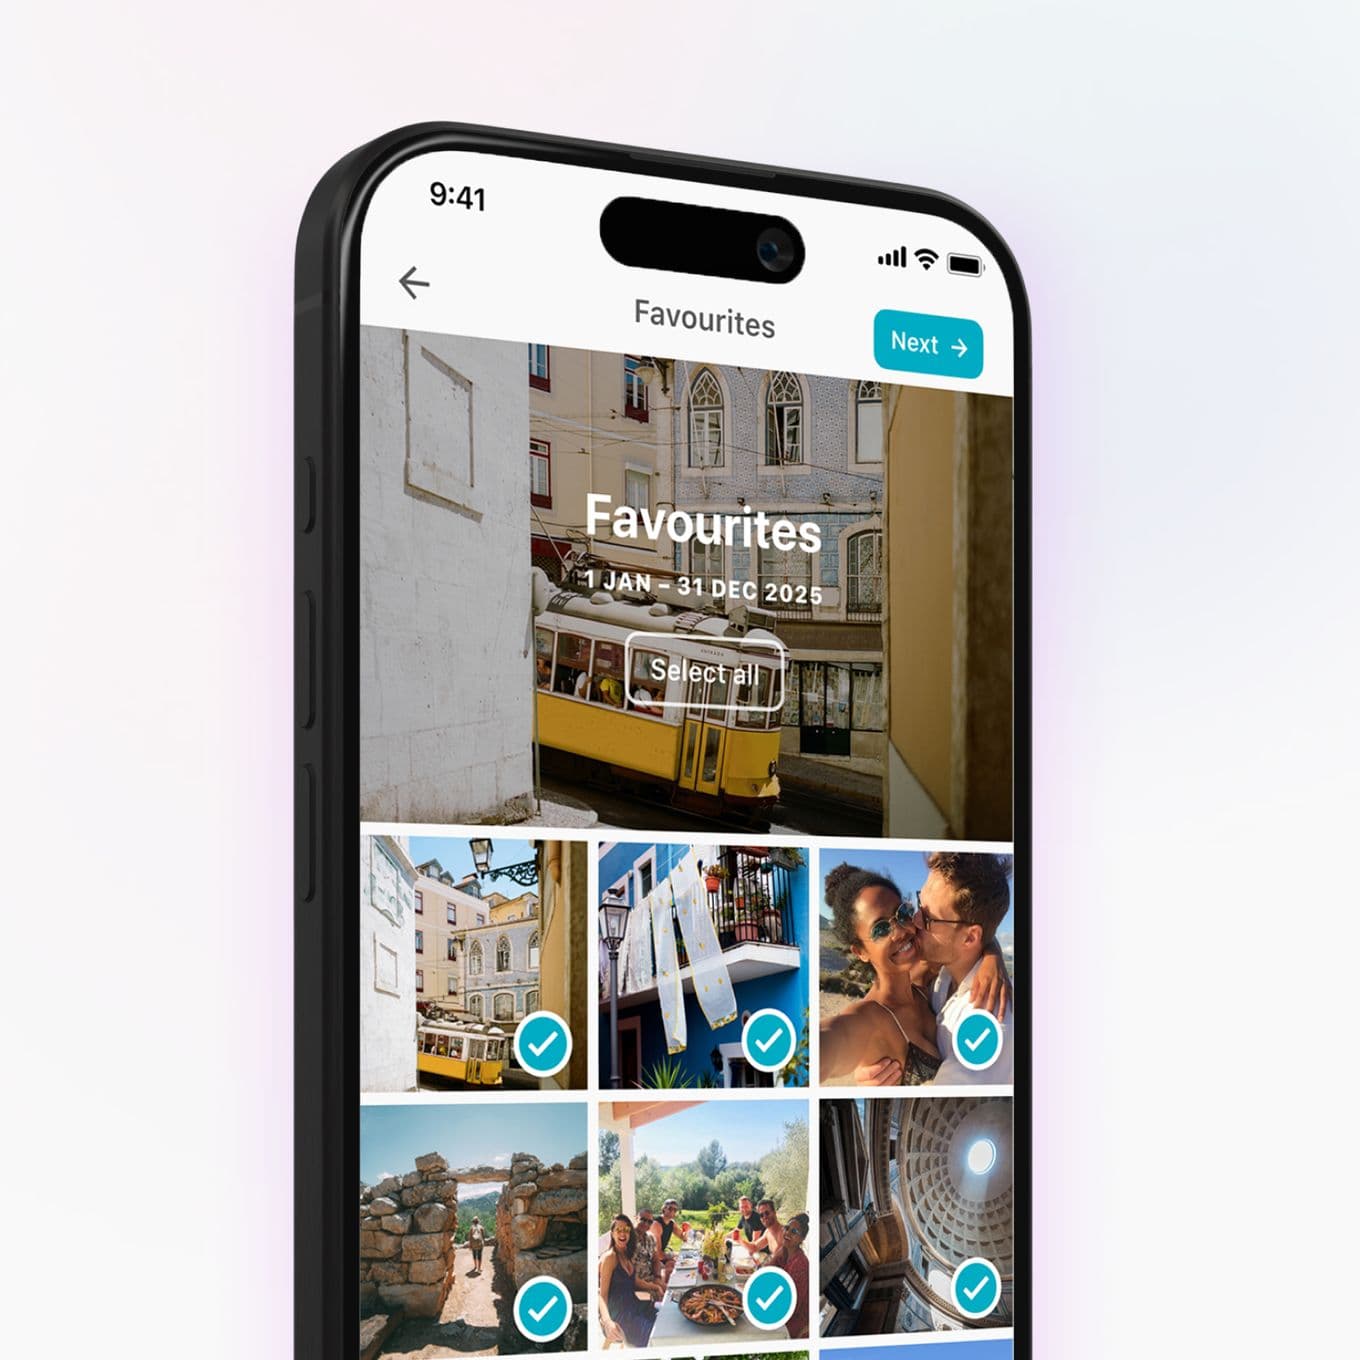
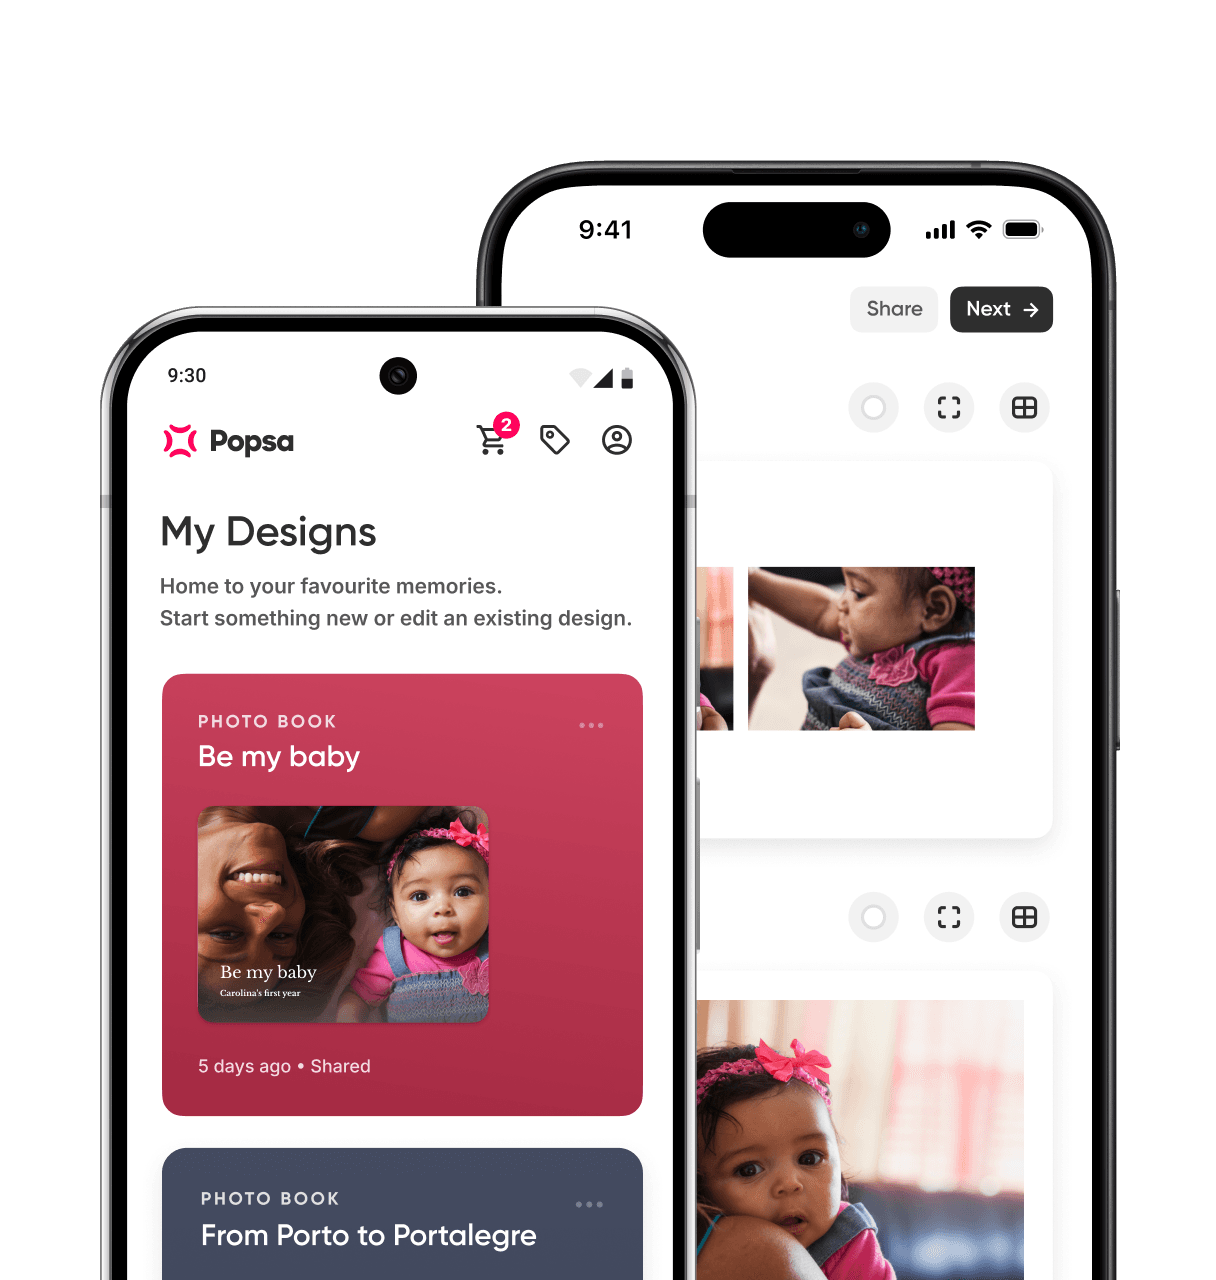
The first step for creating a Photo Book is to choose the images. Having a theme can help with a big project like this, and since it’s a Year in Review, arranging your book chronologically is a natural fit. You could even separate it into sections like “Selfies”, “Holidays” and “Birthdays”, or start with everyday memories and end with big milestones. Whichever you choose, upload your photos to the Popsa app directly from your camera roll or social media, and share full access to get the best of the in-app features.
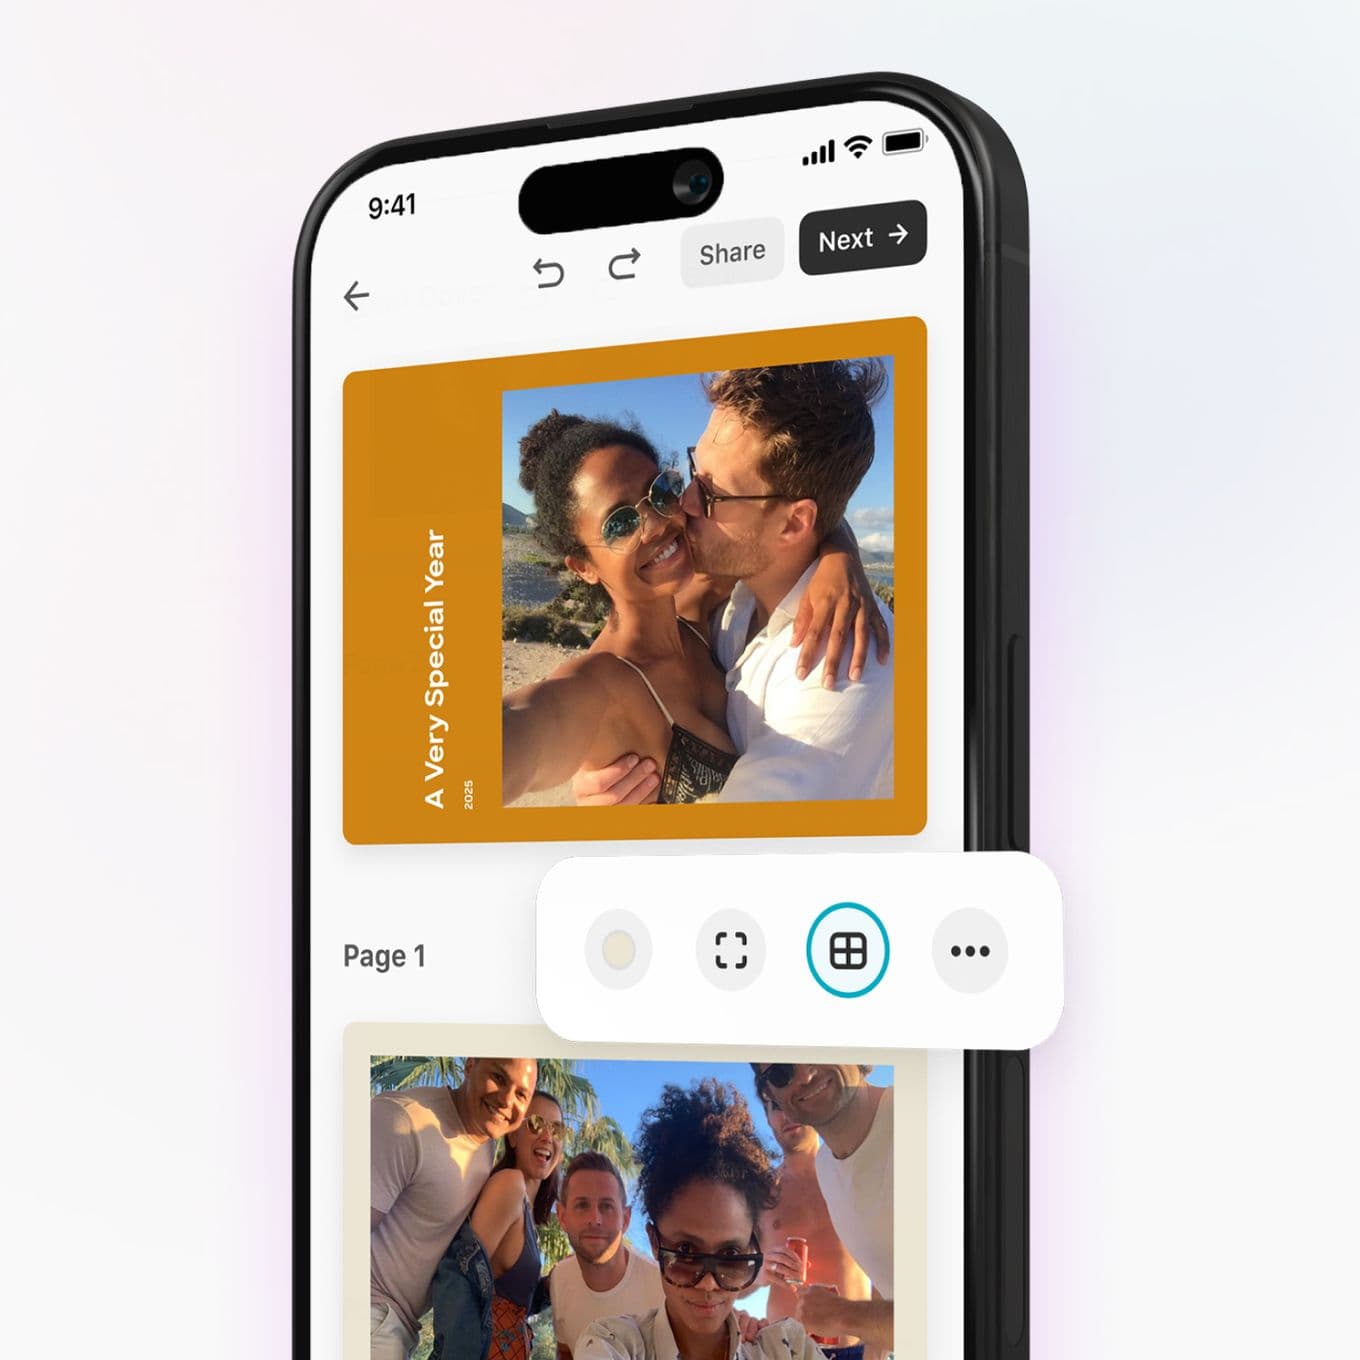
Next, give your Year in Review a name. Something simple like the date it reflects works well – “My 2026” – but you can get creative. Perhaps it’s “The year I turned 30” or “The year we became a family of four”.
Photo layout options can be found in the window-shaped Templates icon above any page. If you’re telling the story chronologically, something clean and minimal works nicely, but if you’d prefer an immersive experience, try a collage.
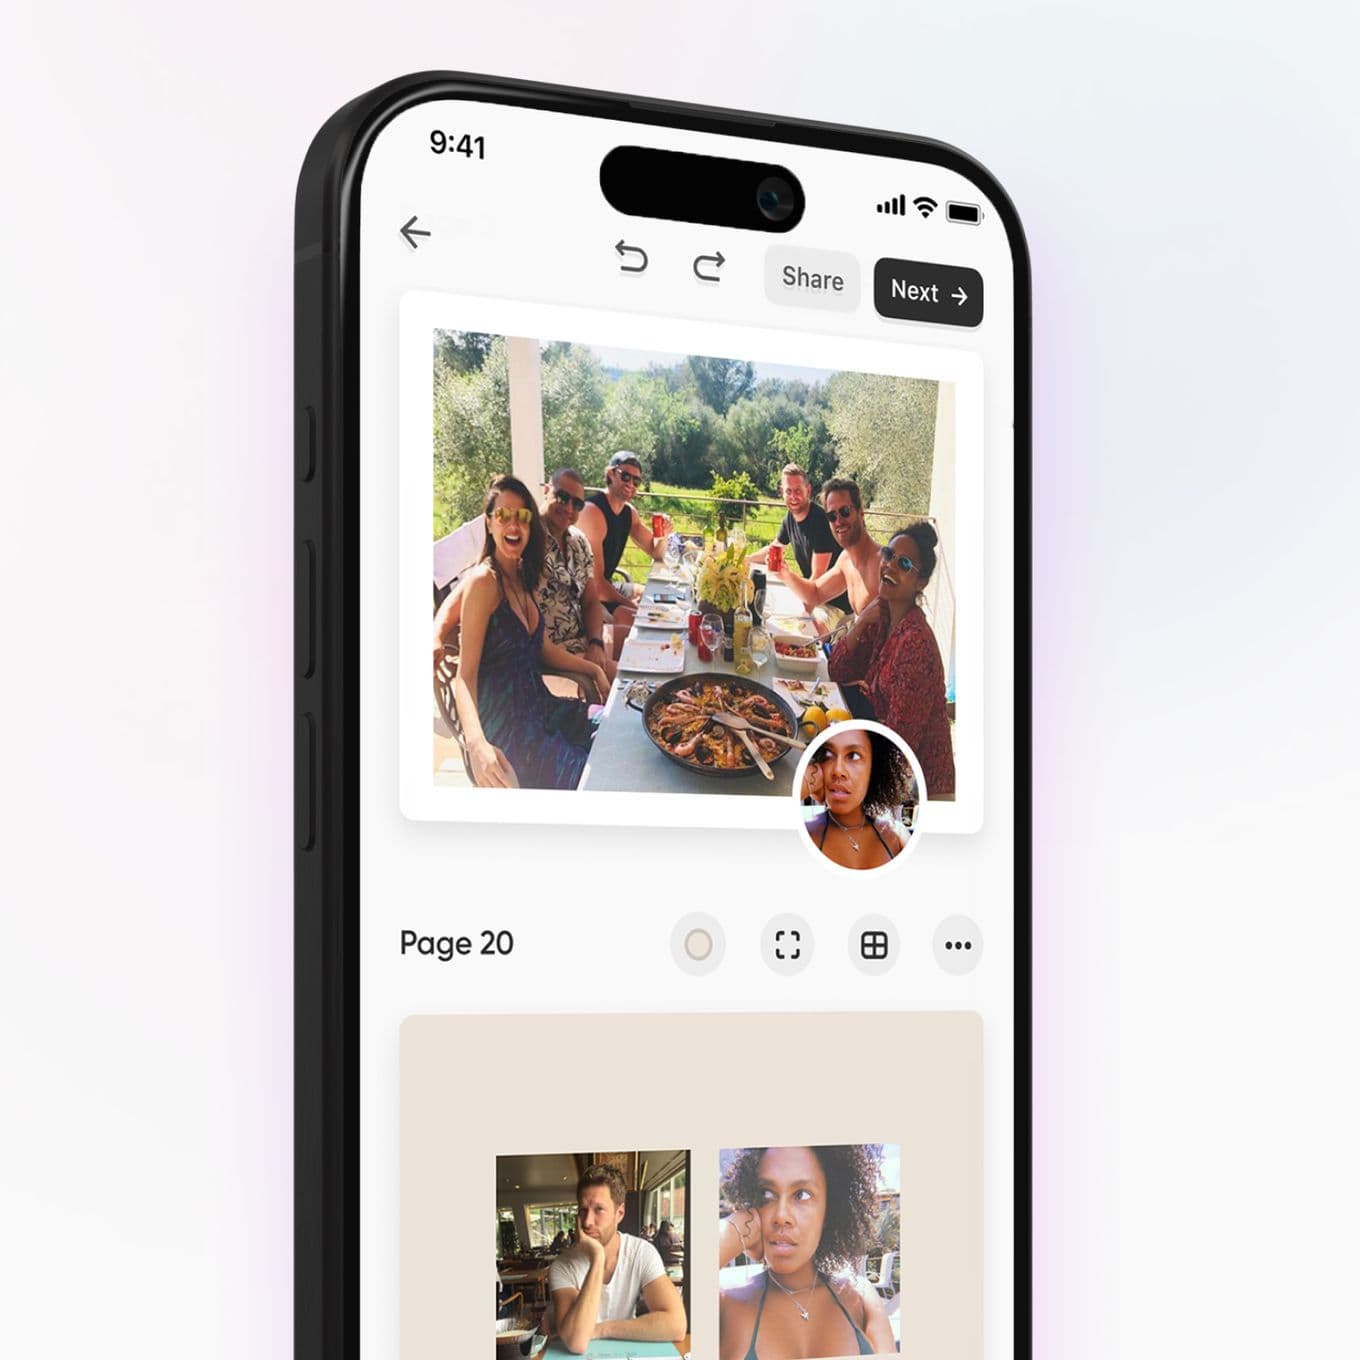
Your camera roll will be filled with family, food, candid shots, great views, silly selfies and more. These moments make the year unique to you – so include them! Mixing up the images and their order will make flicking through your Photo Book all the more enjoyable. As you explore your layout in the Popsa app, drag and drop photos around, swap images from your camera roll instantly or save them for later by moving them out.
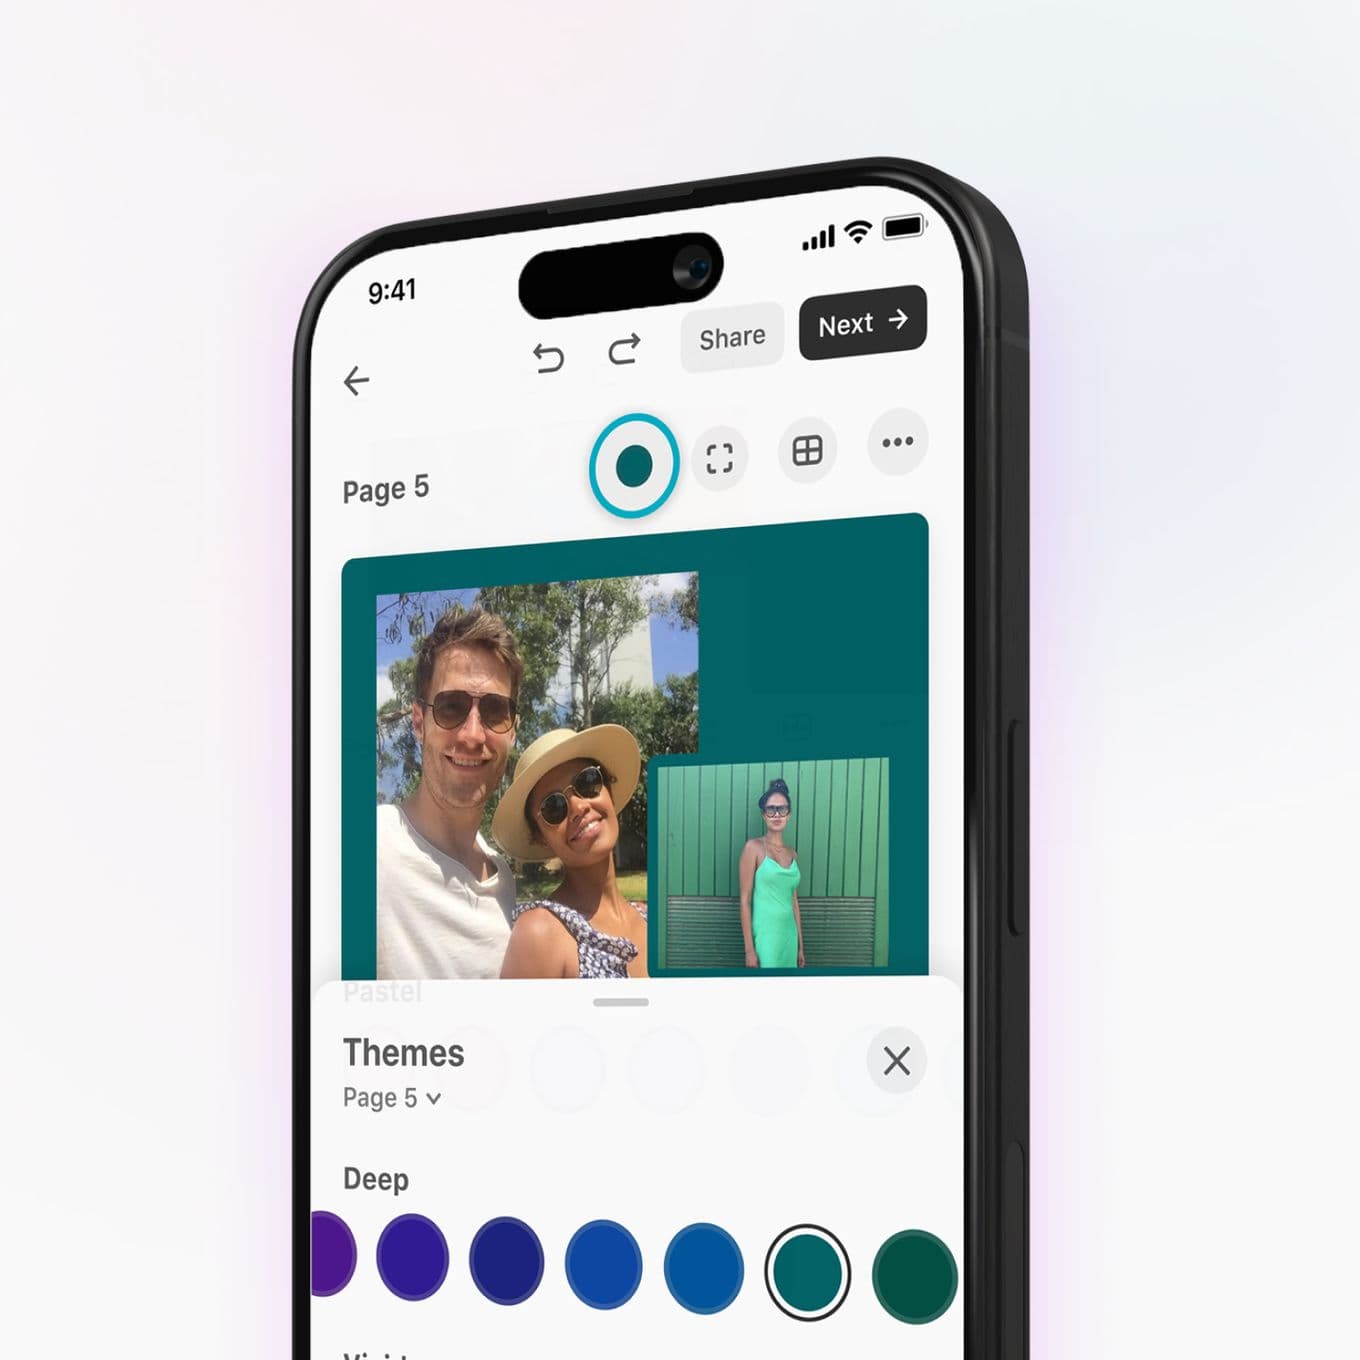
Tap the themes panel at the bottom of the screen. The background options automatically adjust to the colours in your photos, so you can elevate your design with a single tap. From muted tones to vibrant hues, whichever style you choose will bring your book to life. You can also select different themes for different pages, which is especially useful for splitting your year into sections.
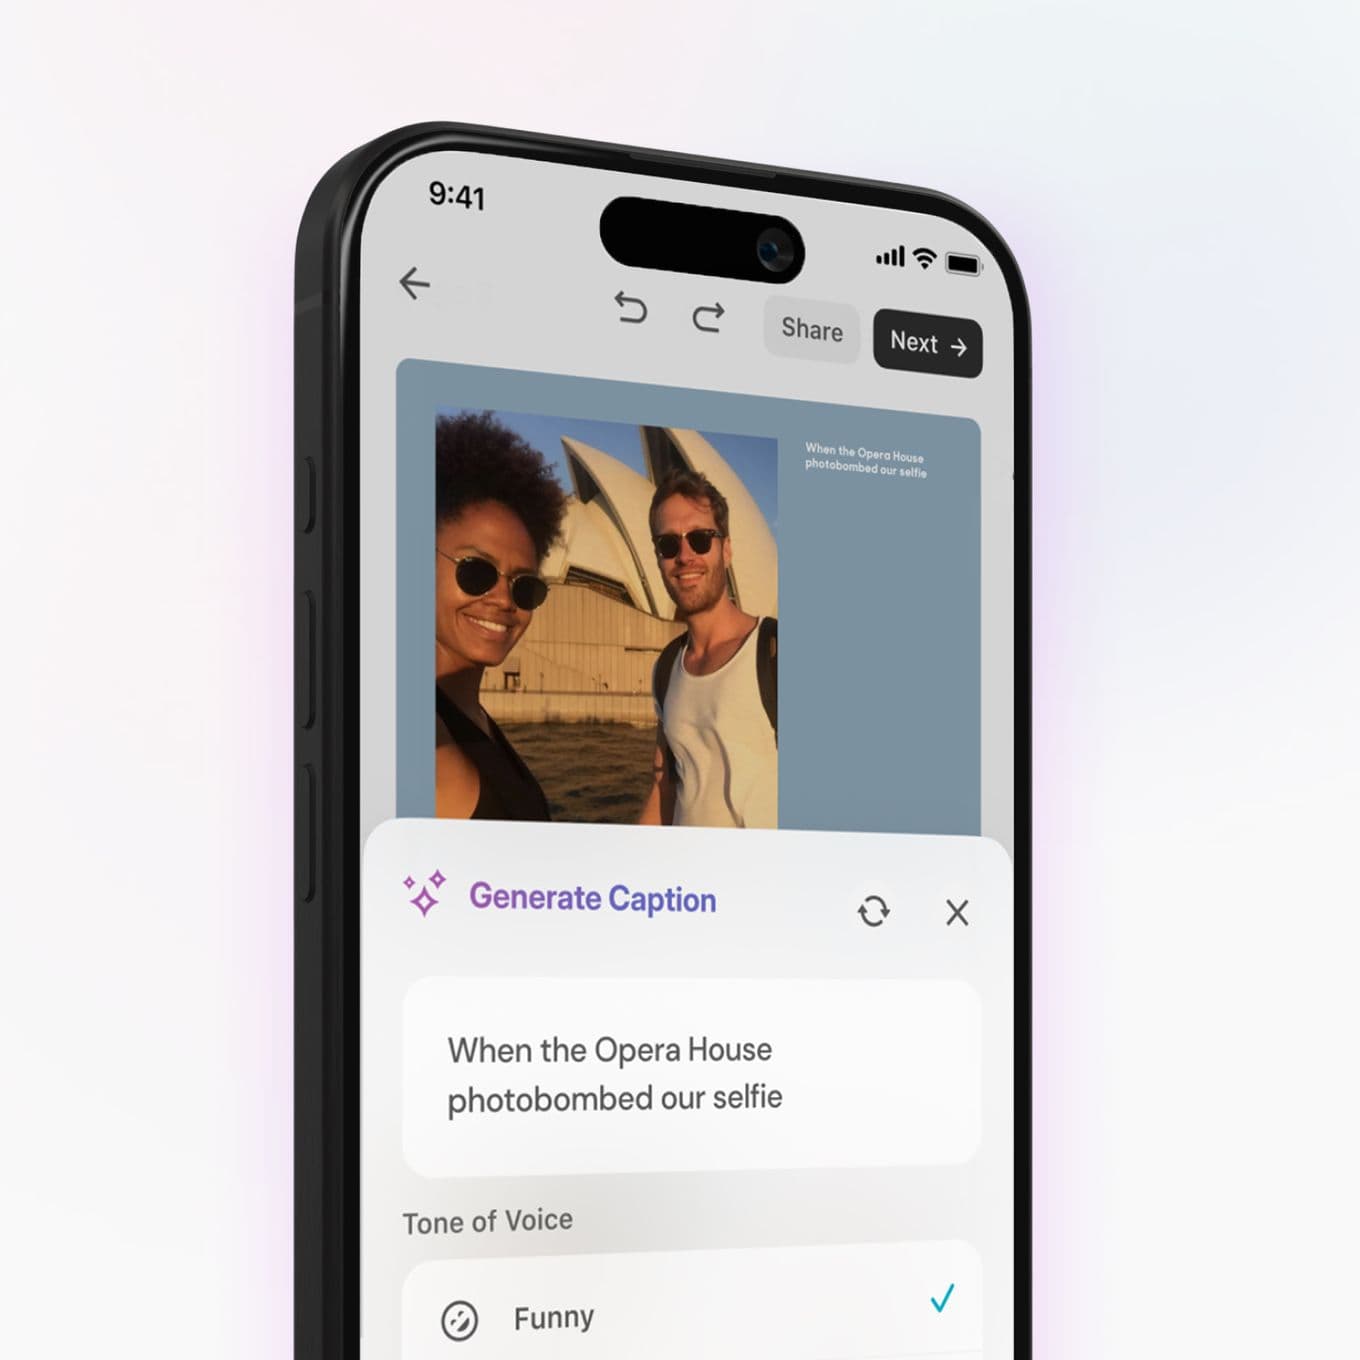
To add a little more to your memories, you can write captions throughout your Photo Book. You can simply date and define your images (“Angkor Wat, 13 June”), or include paragraph intros for each section, sprinkle quotes to generate humour and highlight emotions with a few thoughtful words. If you’re not sure what to write, our AI captions can make suggestions for you. Choose captions from five tones of voice to find the words that feel just right.
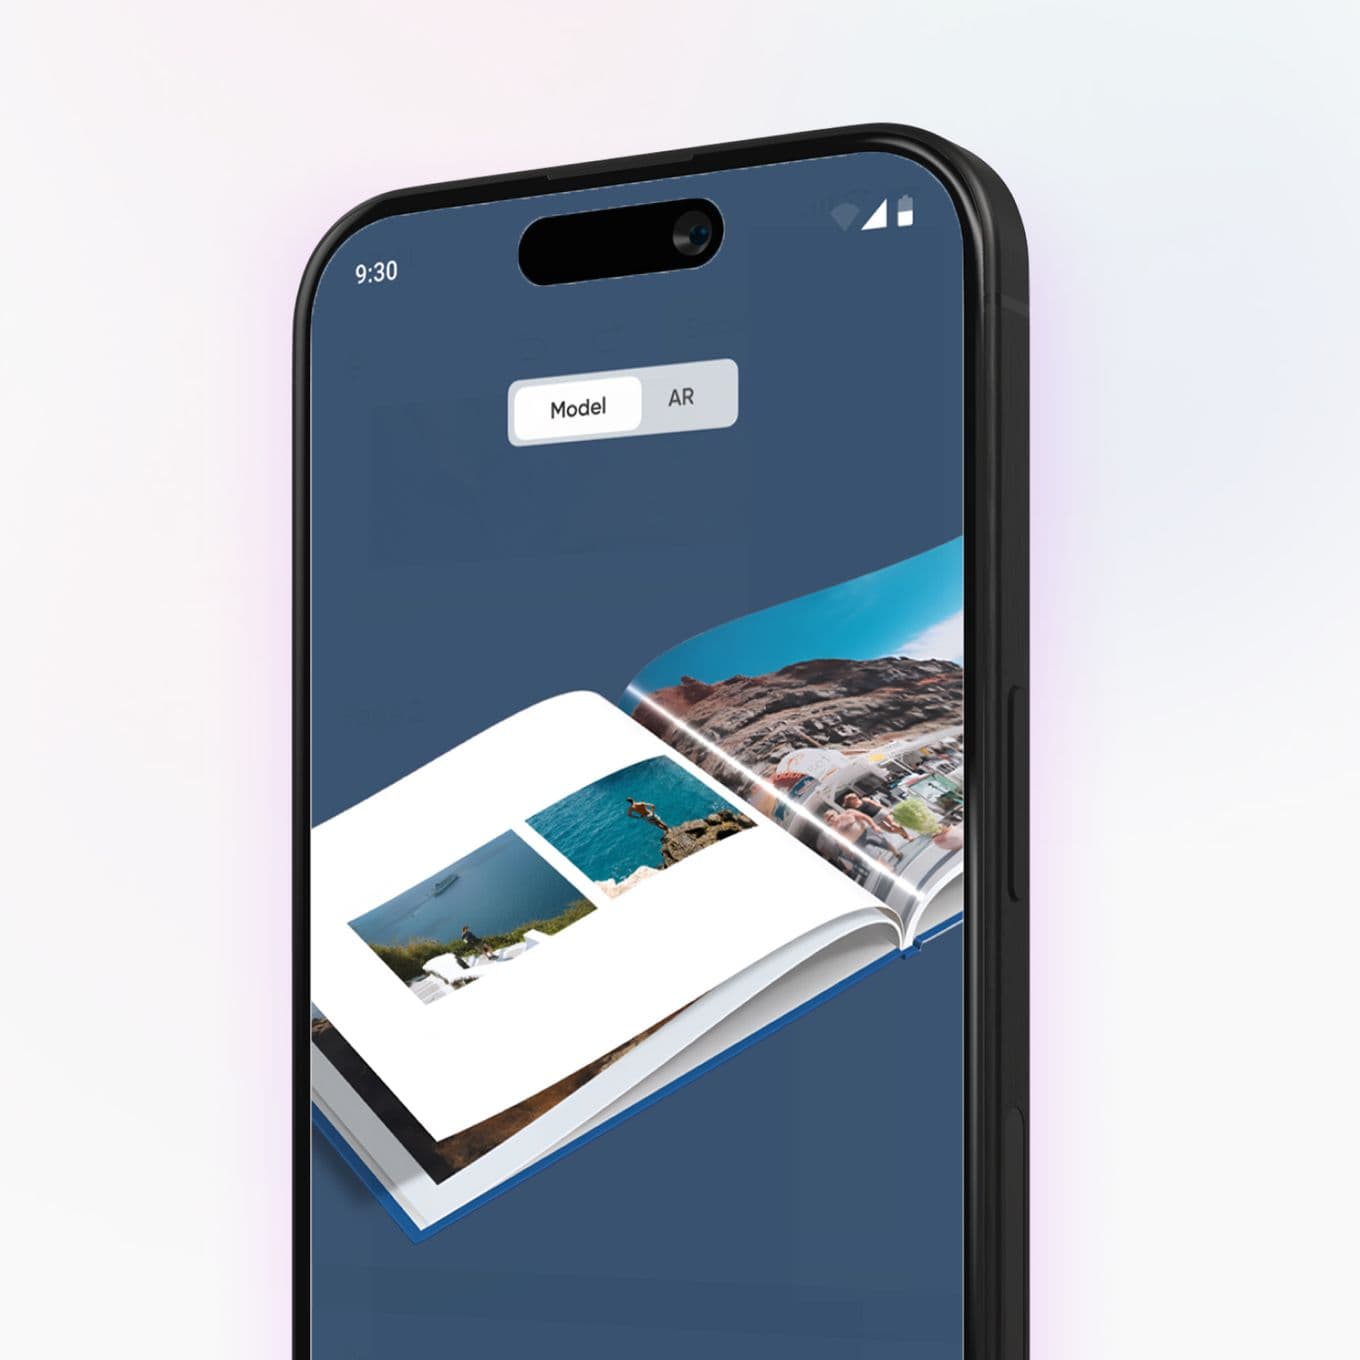
Now all that’s left to do is check your finished design. Tap Options at the bottom of your screen, then press Preview in 3D to reveal how your book will look in print. Flick through the pages to see if it tells the story of your year as you imagined. If not, jump back into the design and shuffle things around. You can even try the AR preview to see how your keepsake will look on the coffee table when it arrives.
☐ Choose a theme: chronological, seasonal or by topic
☐ Set a target of 10 to 15 photos a month
☐ Gather your favourites album
☐ Go month by month, picking moments rather than every shot
☐ Give busy months extra pages and pair up quiet ones
☐ Upload your photos with full access shared
☐ Name your book and pick a layout
☐ Add themes and captions
☐ Preview in 3D and check the story flows
☐ Order, and mark your calendar to do it again next year
It’s over to you. Open the Popsa app today to start creating your Year in Review Photo Book.
Discover memories faster with exclusive features like facial recognition and smart albums.



&w=96&q=75)
18 Sep 2026∙6 min

&w=96&q=75)
6 Oct 2026∙6 min
&w=96&q=75)
27 Aug 2026∙6 min


 United States