Fotografie
How to take better photos of your garden
Garden photographer Julie Skelton shares her expert tips on capturing light, texture and seasonal beauty through your lens
21 Oct, 2025∙9 min
Fotografie
Garden photographer Julie Skelton shares her expert tips on capturing light, texture and seasonal beauty through your lens
21 Oct, 2025∙9 min
Julie Skelton has an eye for turning greenery into art. Known for her ability to capture the textures, colours and moods that make outdoor spaces unique, Julie specialises in using natural light to reveal beauty and character in every season. Here, she shares her top tips for photographing plants and landscapes so you can bring your garden’s personality to life through the lens.
Having a career that’s very in tune with the seasons is an excellent way to connect to nature. I’ve had a photography business for nearly 17 years (having been a keen landscape hobbyist beforehand), but for the past six years I’ve focused solely on gardens. I love the mindfulness of garden photography. Aside from the fact that getting out in a green space is beneficial for your mental and physical health, I find that (coming from a decade of wedding and event photography) I have enough thinking time with gardens to create images I’m really proud of. That said, when the light is changing quickly and the sun is setting, it can all happen surprisingly fast – enough to keep me on my toes!

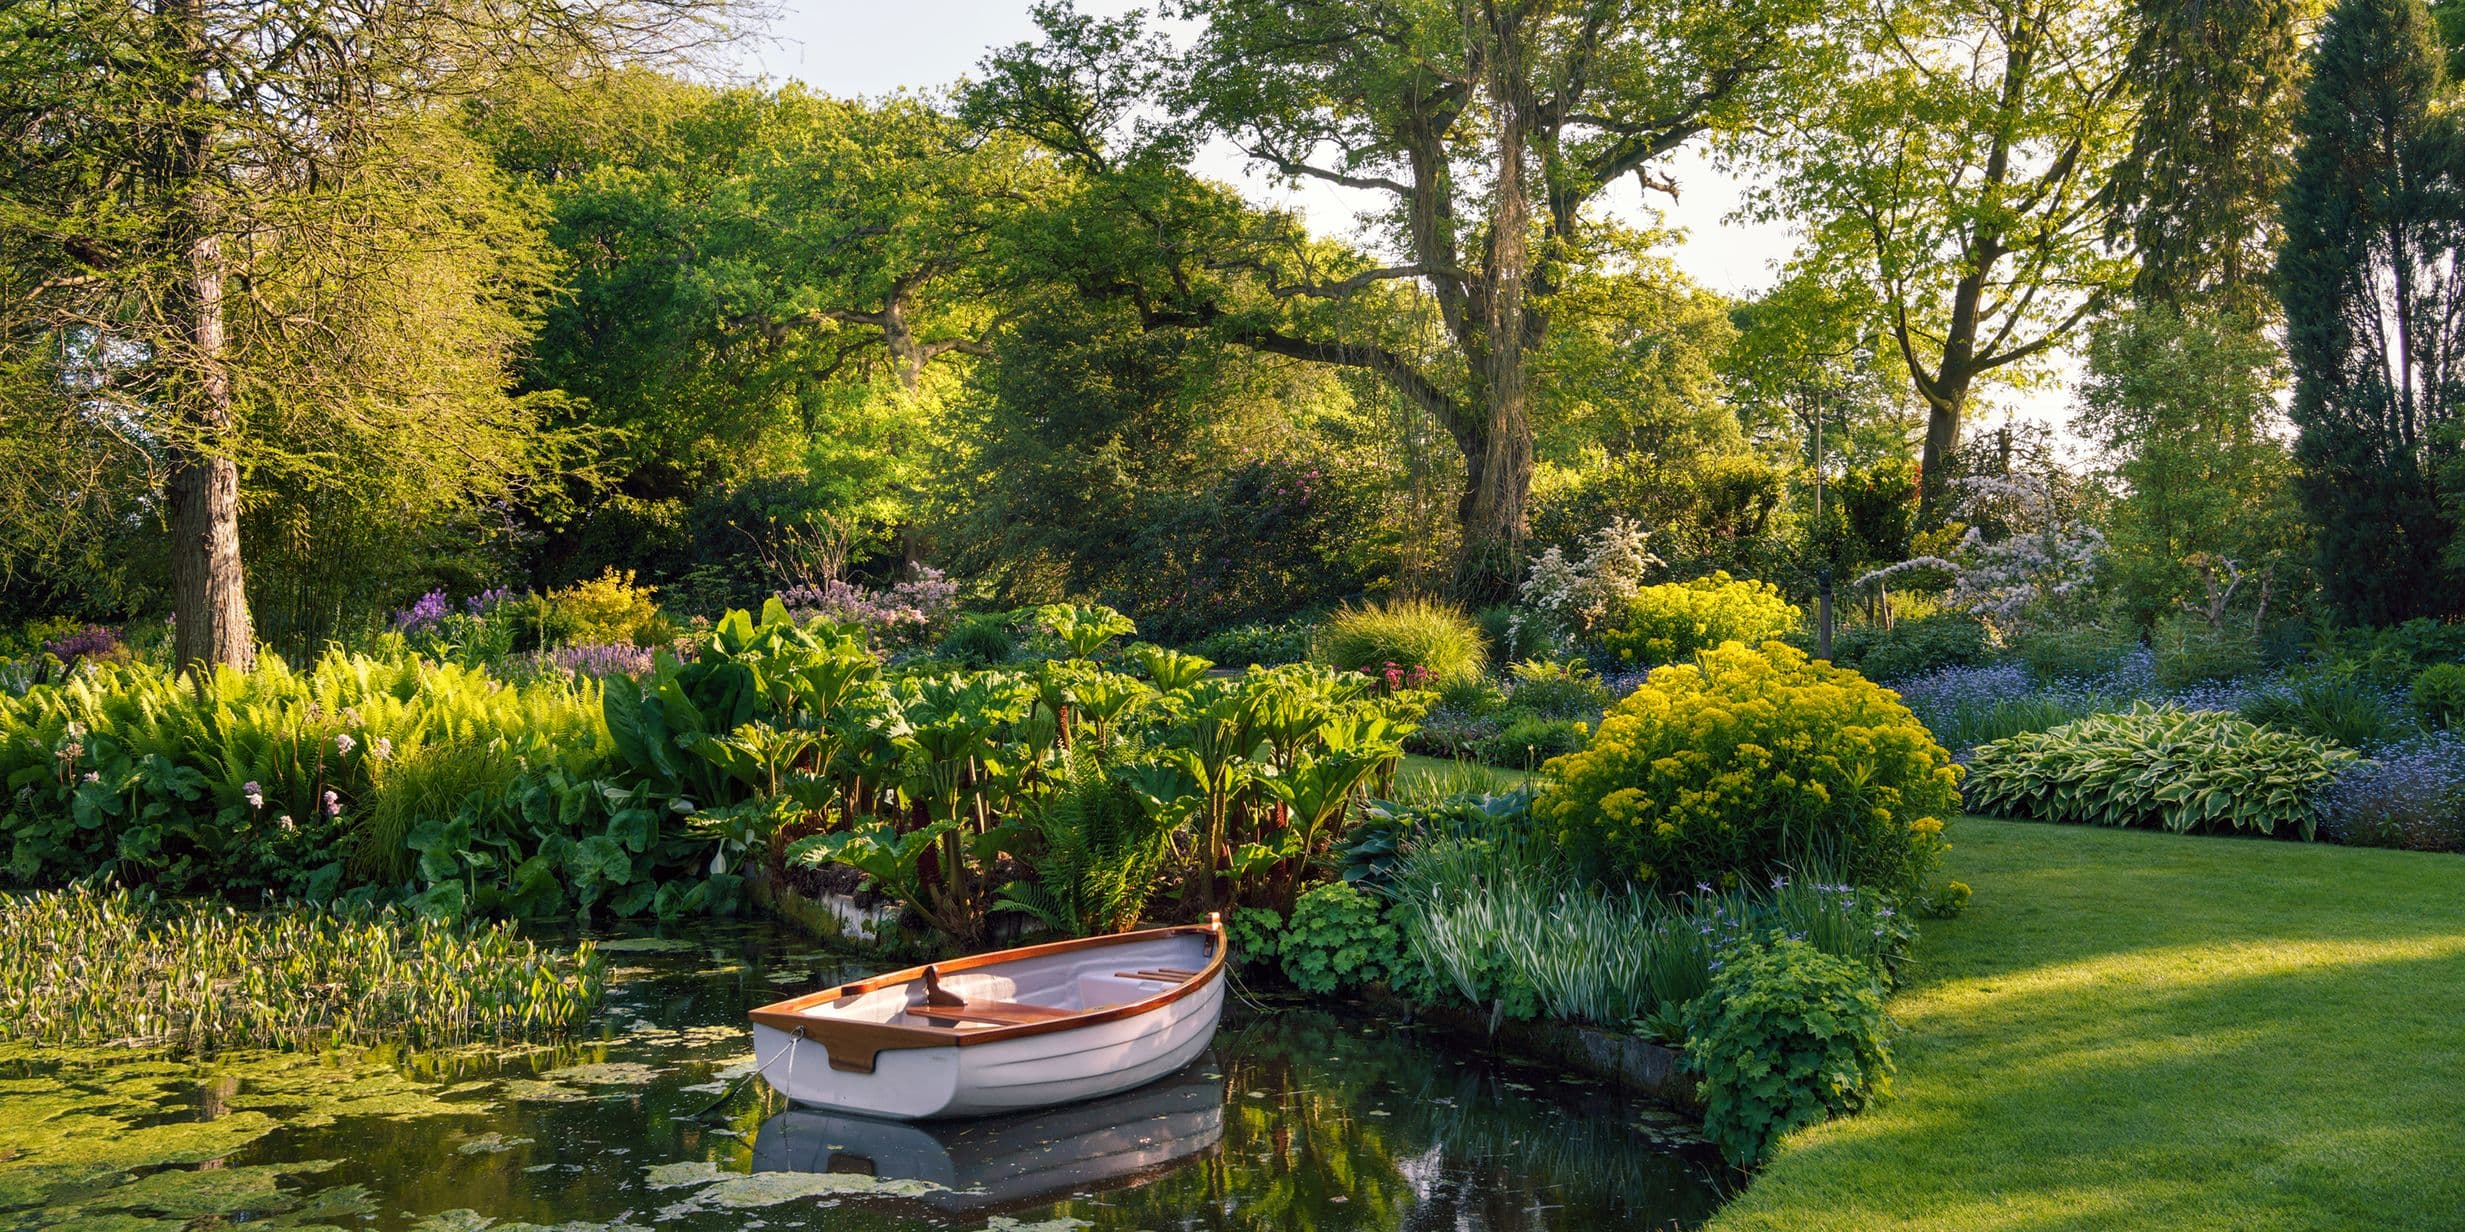
Beth Chatto’s Plants & Gardens. Photo: Julie Skelton
When it comes to garden pictures, the golden hours are really very important. Get out for sunrise – my favourite time of day – or sunset when the lower sun adds texture and form to planting. There is more depth and variety in greens, and more vibrancy in flower colours when they’re not bleached out by midday sun. Reds and yellows are particularly difficult to capture in strong sunlight, and often lose all detail as they extend beyond the range of the camera’s capabilities.
If you’re using a DSLR in lower light levels, you’ll need a tripod to avoid camera shake, and ideally for there to be very little breeze. If you’re using your phone camera, I recommend the self-timer function to get a steadier photo – set the countdown, then anchor your elbows into your sides, plant your feet firmly and hold your breath!

Private garden. Photo: Julie Skelton

National Garden Scheme, Stuart Cottage. Photo: Julie Skelton

Photo: Julie Skelton
Another well-used device in photography is the rule of thirds, a simplified form of the ‘golden ratio’. The golden ratio is a mathematical proportion often found in nature and art, believed to create visually pleasing balance and harmony. Architects and artists have employed this mathematical technique for centuries to create visual impact. Imagine a noughts-and-crosses grid over your image, and aim to place subjects on the gridlines and intersections.
My husband finds creative things difficult but is very good with mathematical logic and tells me that this is the one photography tip that has helped him the most. There will be a ‘grid’ function on your phone or camera, so switch it on if you find it helpful. But also feel free to play around and break the rules – once in a while it will be absolutely the right choice.

Photo: Julie Skelton
When you’ve found a scene to photograph, move a little with your feet – sway, duck, lean in, always checking your viewfinder. Even moving a few centimetres could improve a composition by introducing another layer of interest. A successful garden works from many angles and a good garden designer will have taken this into account. As well as moving at eye level, think about lower viewpoints – crouch, kneel or sit to get immersed in the planting. This works really well if you have swathes of low-growing flowers such as Galanthus (snowdrops).
If you can’t bend easily, a camera with a flip-out screen is a great way to see what you’re shooting as you hold the camera lower than eye level. Equally, if you have the opportunity to view a garden from a higher angle, it’s a great chance to show the layout of beds and paths.

National Garden Scheme, Chilworth Manor. Photo: Julie Skelton

National Garden Scheme, Stuart Cottage. Photo: Julie Skelton
One of my favourite techniques is shooting through other planting for a sense of place, making use of foliage or flowers for an additional layer of context and framing. This will give your viewers an immersive experience, getting them right in among the planting. The most effective way of doing this is with a longer lens, or by choosing your phone’s zoom function, gently softening the surrounding detail into blur so that your eye is drawn to the subject.
You want the person viewing your images to feel as if they visited the garden with you. Even if your favourite technique is taking floral close-ups, don’t forget the wide garden views and the medium little pockets of planting to show how plant combinations work well together.

National Garden Scheme, St Timothee. Photo: Julie Skelton
Play around with all different light directions – backlight, sidelight and direct. Backlighting is a favourite of mine and allows the glow of sunlight to draw attention to the details of the planting. Be sure to watch for unwanted shadows and make sure that you’re not inadvertently appearing in the picture (unless you want to, of course!). Remember that our eyes are drawn to the brightest part of an image, so make sure that you don’t have distracting bright areas that might divert attention from the subject.

RHS show garden by Kazuyuki Ishihara. Photo: Julie Skelton

National Garden Scheme, Chilworth Manor. Photo: Julie Skelton
There are a few techniques I really like that help people to linger a bit longer over a garden image. S-shaped paths are one of these – they take the viewer on a visual journey as they imagine themselves wandering through the space. Open gates, doors and windows are another – they’re so inviting and allow us to wonder what might be just beyond. The trick here is to let people’s eye-gaze travel through your photograph, rather than taking it all in too quickly.
If you love taking macro photos, as I do, the wider view can be more challenging to make as interesting as it appeared in real life. So these techniques help to add an interesting dimension to the larger landscapes.
It’s incredibly important that I represent accurate colours when it comes to plants. On my DSLR, I check that the white balance I have selected is displaying the colour temperature as closely as possible to what I’m observing. On a phone, simple edits of the temperature or tint can help ensure accuracy.
When editing, I ensure that nothing alters the true colour of a plant. Whether it’s for garden books, calendars, plant labels or magazines, people may select plants for their own garden based on what you’ve shown them, so this is a really vital consideration. You may already know that purple is a tricky colour for cameras to grab (choosing to veer either to the blue or the red end of the spectrum), so be especially mindful if there are purples in the image.

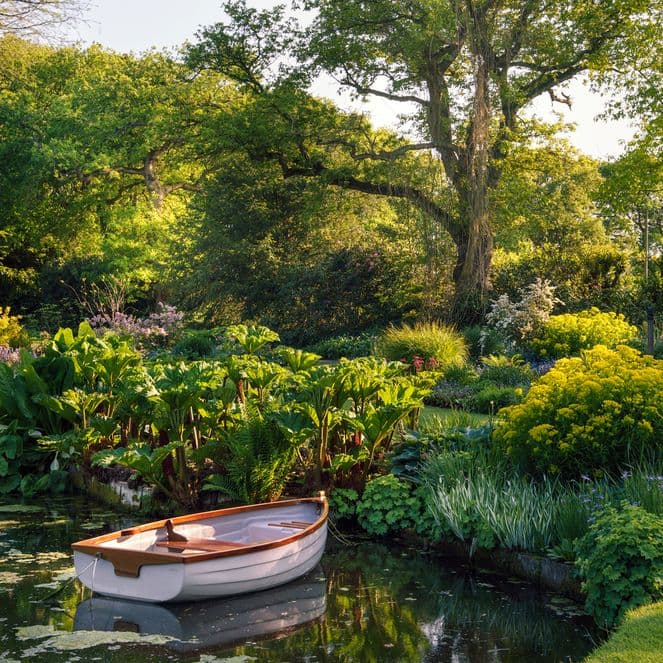
Beth Chatto’s Plants & Gardens. Photo: Julie Skelton
Make appropriate decisions when it comes to horizontal and vertical details. For example, if a pond wasn’t level, it would be a waterfall – so make sure you keep water features level! On the other hand, if you have some tall trees, converging verticals on a wide angle lens can give an imposing view of their height.

Private garden. Photo: Julie Skelton

Arundel Castle. Photo: Julie Skelton

Photo: Julie Skelton
Winter is a slightly easier season to photograph gardens – the sunrise and sunset are more closely aligned to public opening times, and you can utilise the best light. I love the autumn and winter in gardens – seedheads, grasses, skeleton leaves and more, that all hint to the cycle of nature replenishing and beginning again for the season ahead. You may also find open gardens, places opening early for photography mornings or some with special late closing times.
In the UK, look out for the National Garden Scheme and Scotland’s Garden Scheme, which offer open gardens to visit – they’re fantastically varied and interesting. Don’t forget to photograph plant labels and annotate your photos; they need to be accurate if someone wants to know what the plant is. Plan according to the forecast but remember that the weather doesn’t always follow what the forecasters have predicted. Don’t discount rainy days, as sometimes the most beautiful light happens after rain (and the plants, having had some refreshment, are ready to sparkle for you).
It’s not about the gear – it’s about the connection that you feel to the garden. I truly believe that a great photo is made by someone who really feels an attachment to the place. It’s about what you want to communicate, and your unique perspective of it. I’m a big fan of phone photography and, when I’m not working, I only take my iPhone camera with me. I’ve bought a shutter grip attachment so that it feels more like holding a camera, and I can have easier fingertip control over the settings. Phones now have really fantastic capabilities – it’s worth spending time getting to know what they can do, and practice, practice, practice.
Dank Popsas praktischer Gesichtserkennung und unseren Intelligenten Alben kannst du Erinnerungen jetzt noch schneller wiederfinden.


Bella Falk
Reiseautorin und Fotografin
28 May, 2025∙7 min

Mathias Fernandes
Reise- und Abenteuerfotograf
4 Aug, 2025

Dan Mold
Fotograf und Autor
3 Jul, 2025∙10 min