Guides
Pro Tips: add breathing space to your Photo Book with text-only pages
How to create a polished keepsake through structure and storytelling
Guides
How to create a polished keepsake through structure and storytelling
If you’re looking to create a Photo Book that flows like a dream – encouraging pauses for reflection on special moments and memories – this guide has everything you need.
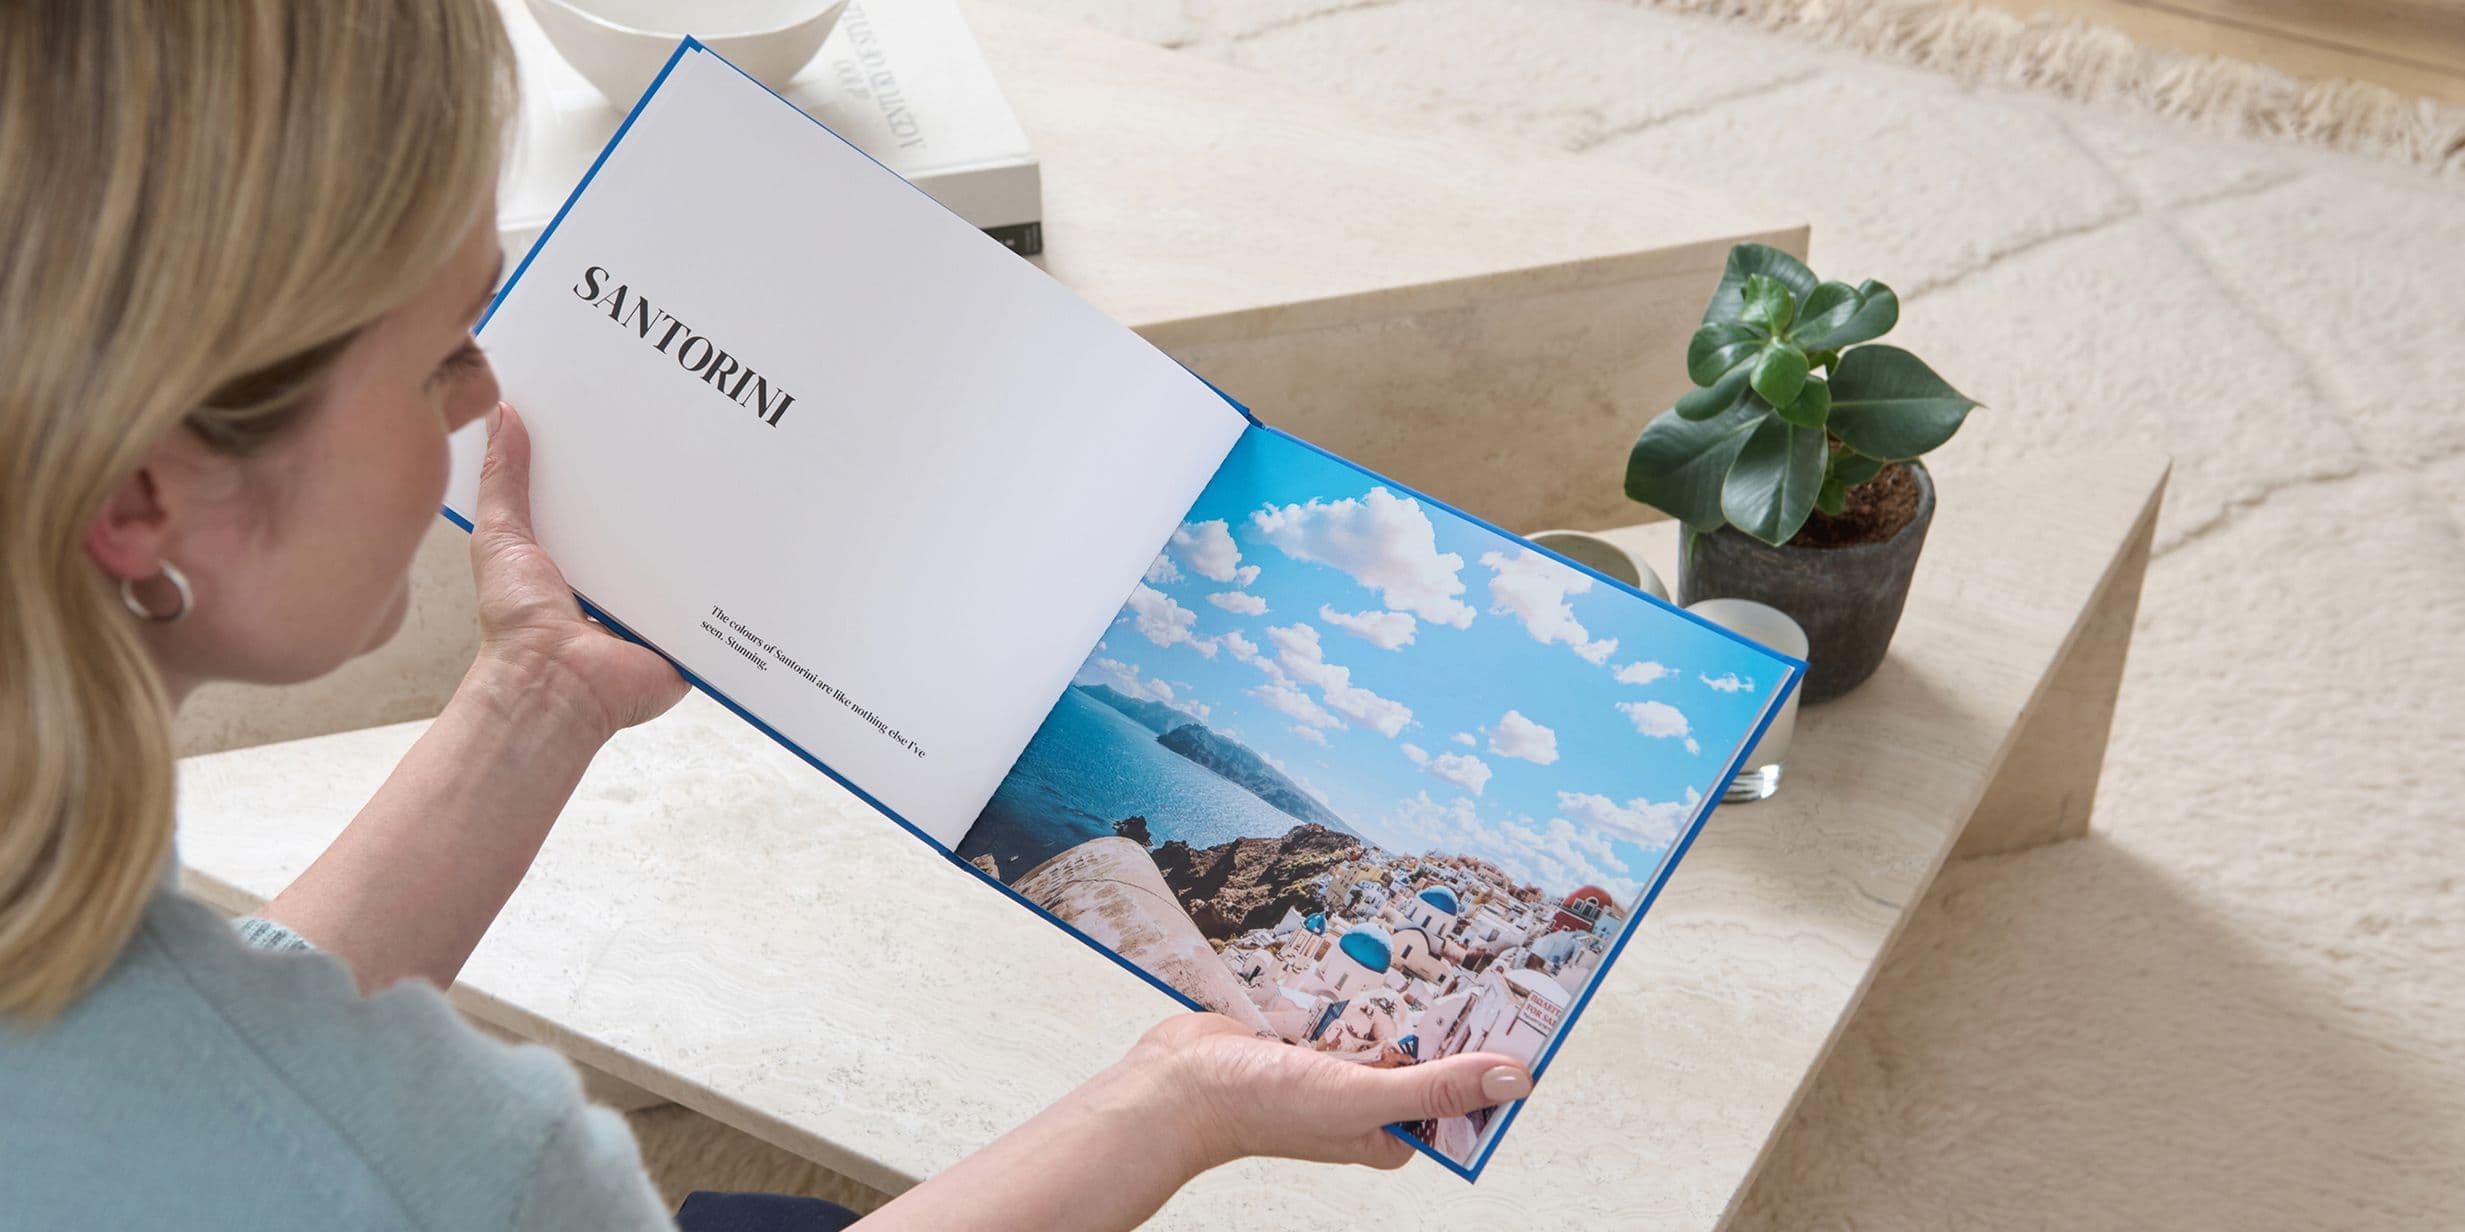
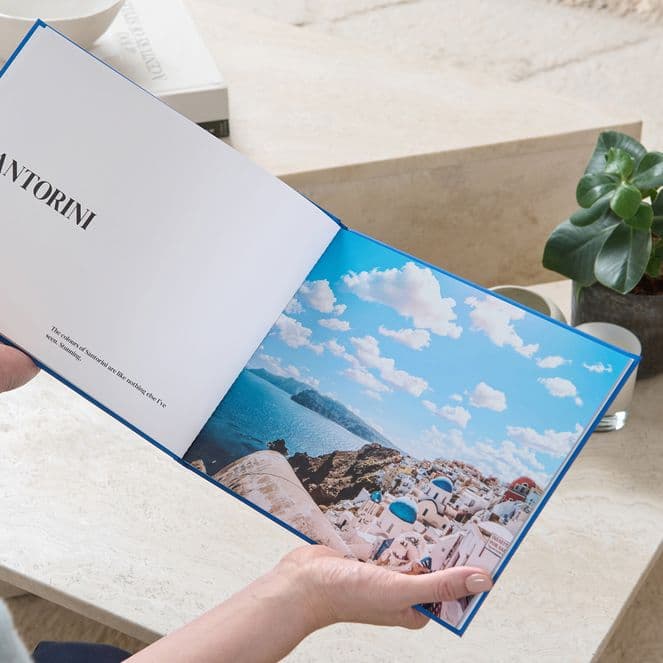
One of the easiest ways to achieve this is by adding pages that only contain text. It may seem counterintuitive – after all, a Photo Book usually focuses on images – but breaking up the content will elevate the final product and make it feel more polished.
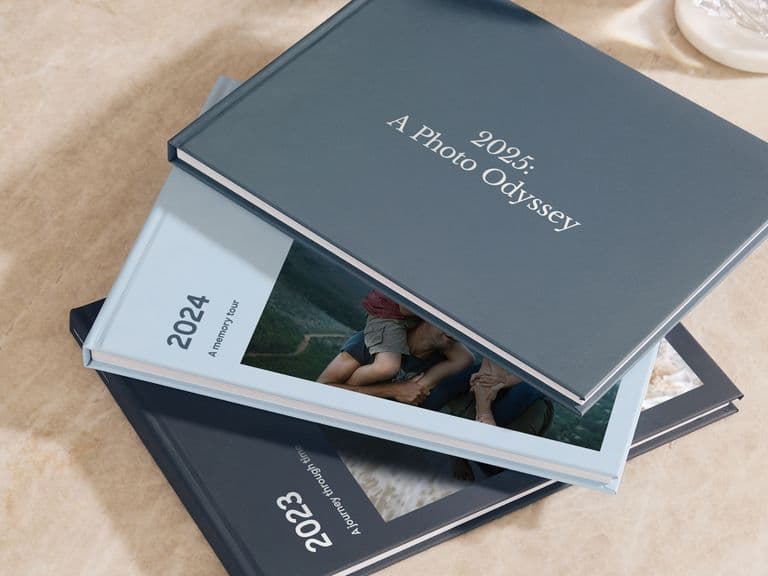
“I tend to split my books into chapters using locations, dates, place names – whatever category fits best,” says Popsa’s global head of social, Yulia Aleksandrova. “It creates a more eye-catching Photo Book that flows really nicely and looks like a professional made it.”
Here, she walks you through the process of creating a Photo Book with enough breathing space to reflect on past adventures – and even inspire the next ones.
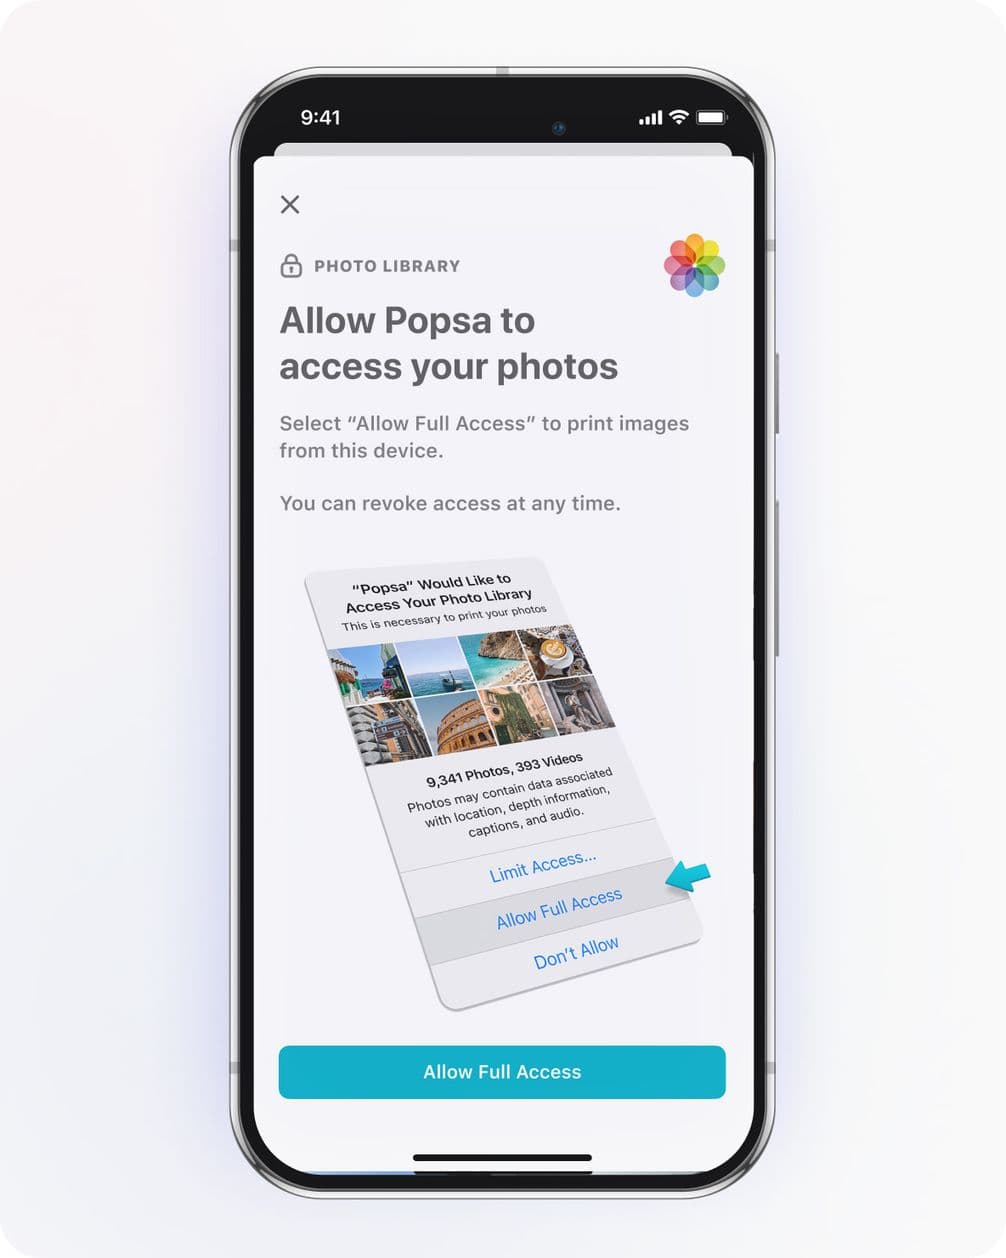
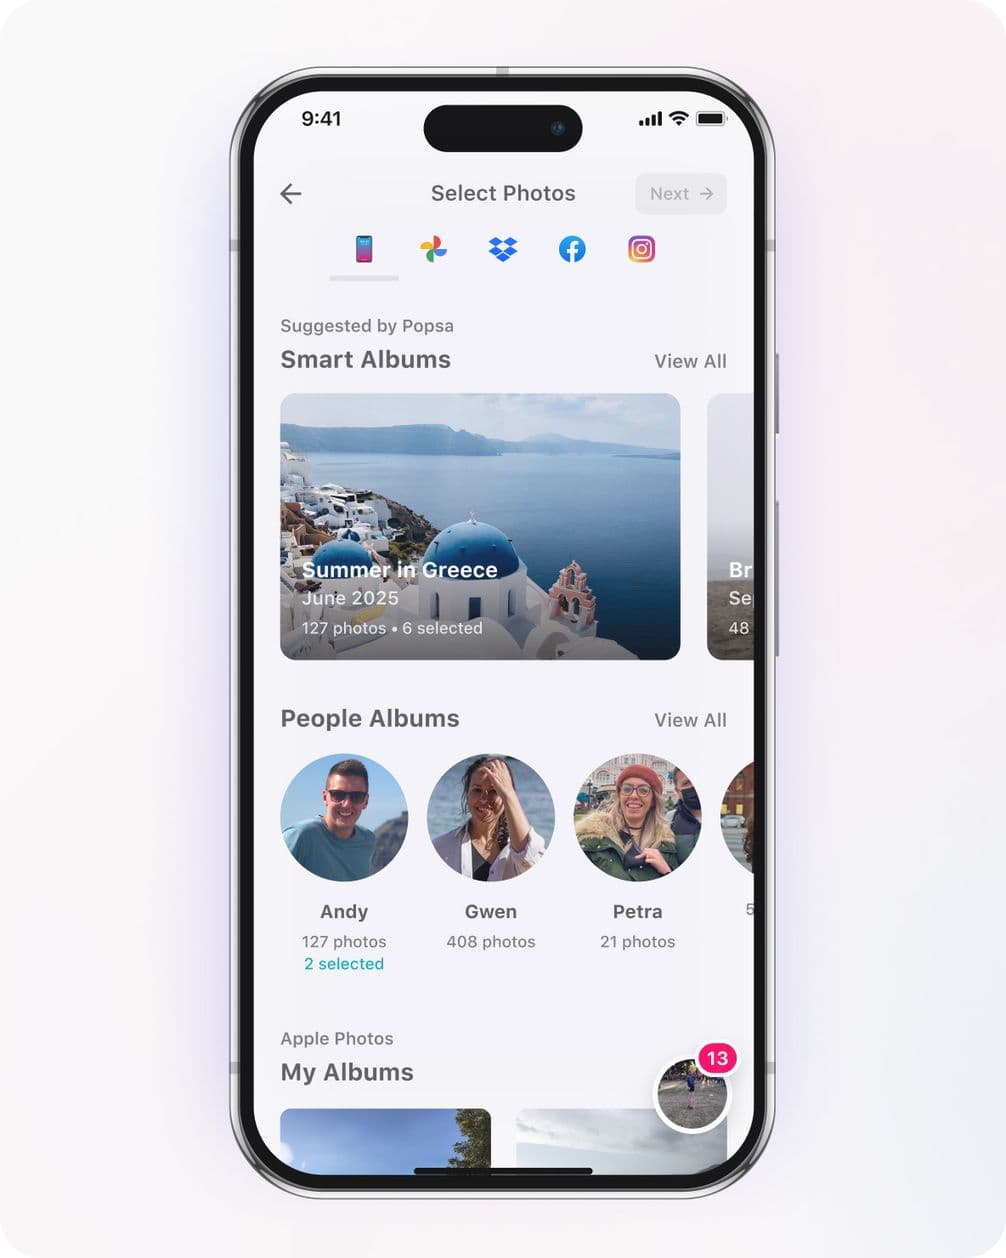
If you’ve already started making your Photo Book, you can skip this step and move straight to the next one. If you’re starting from scratch, simply open the Popsa app and select the photos you want to include. You can add them directly from your camera roll or social media. Make sure you’ve granted full access to your photos in your phone settings, otherwise this step won’t work, and you’ll miss out on some of the app’s best features.
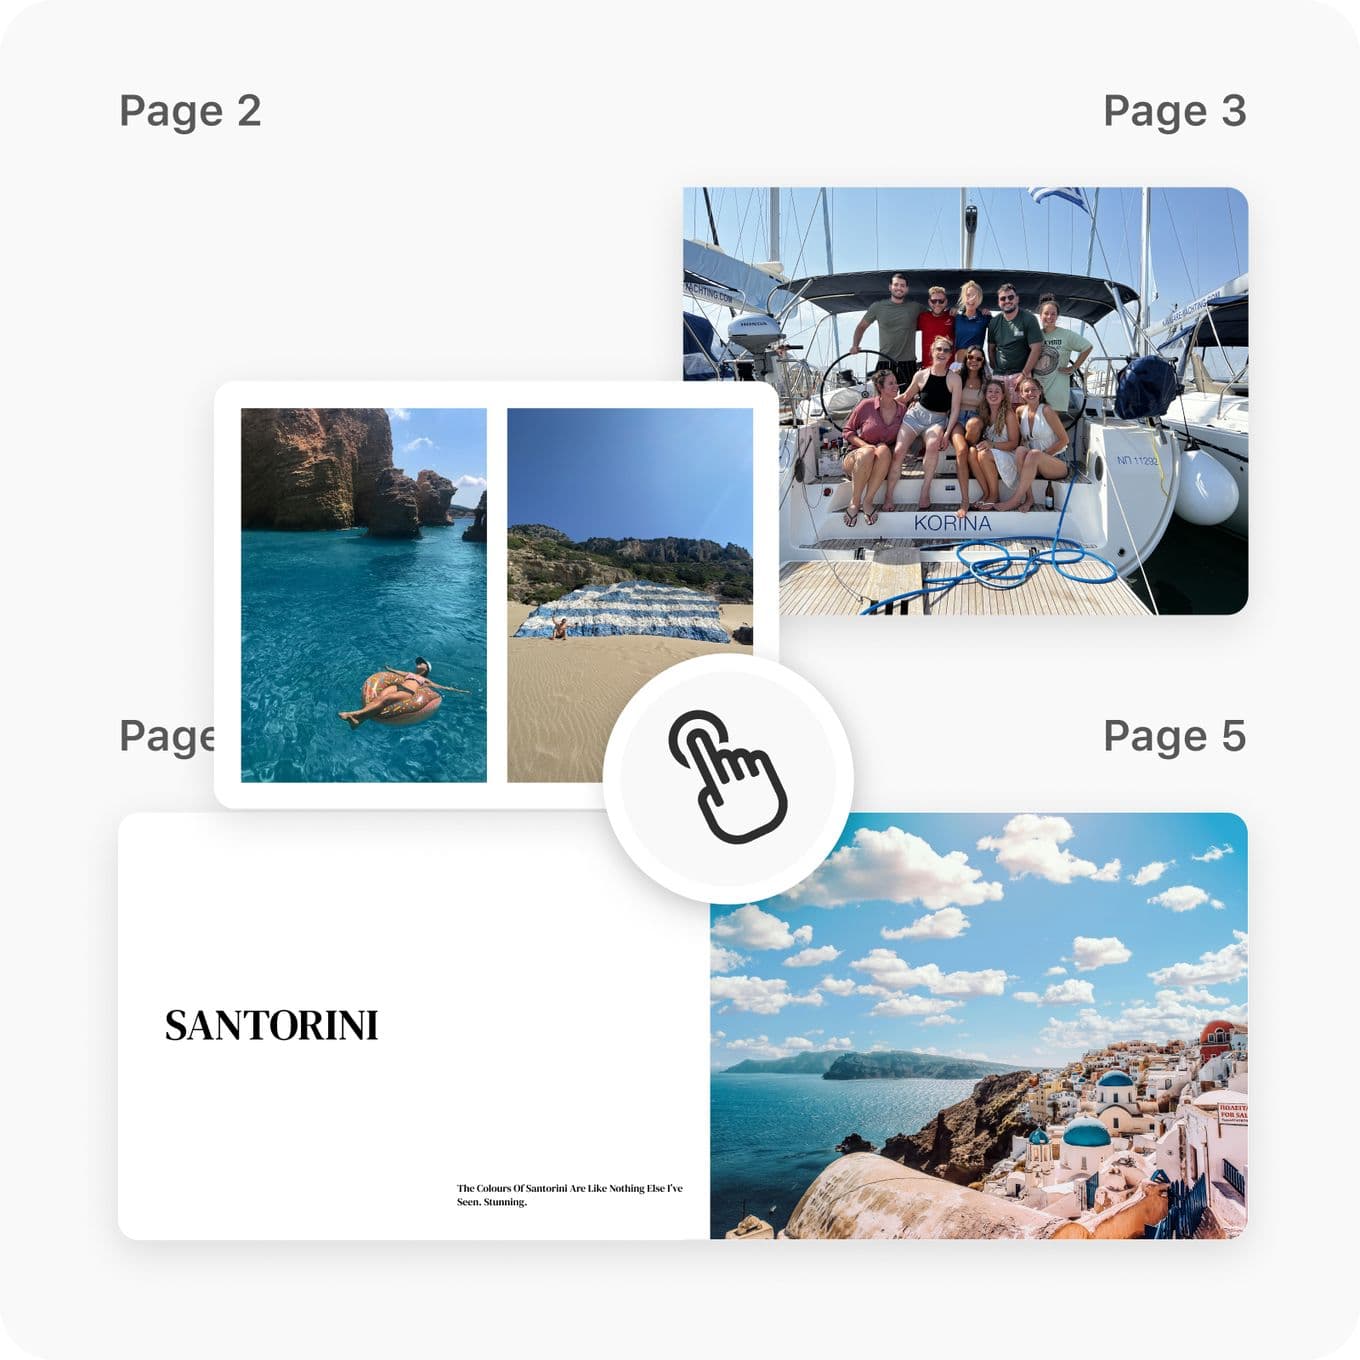
Next, decide how you want your book to be divided. You might choose place names, locations, dates – or something else entirely. Once you’ve settled on a structure, you may need to rearrange the app’s auto-layout of your photographs. To do this, hold your finger on an image until it turns into a bubble, then drag and drop it into its new position. Repeat this until everything is in the right place.
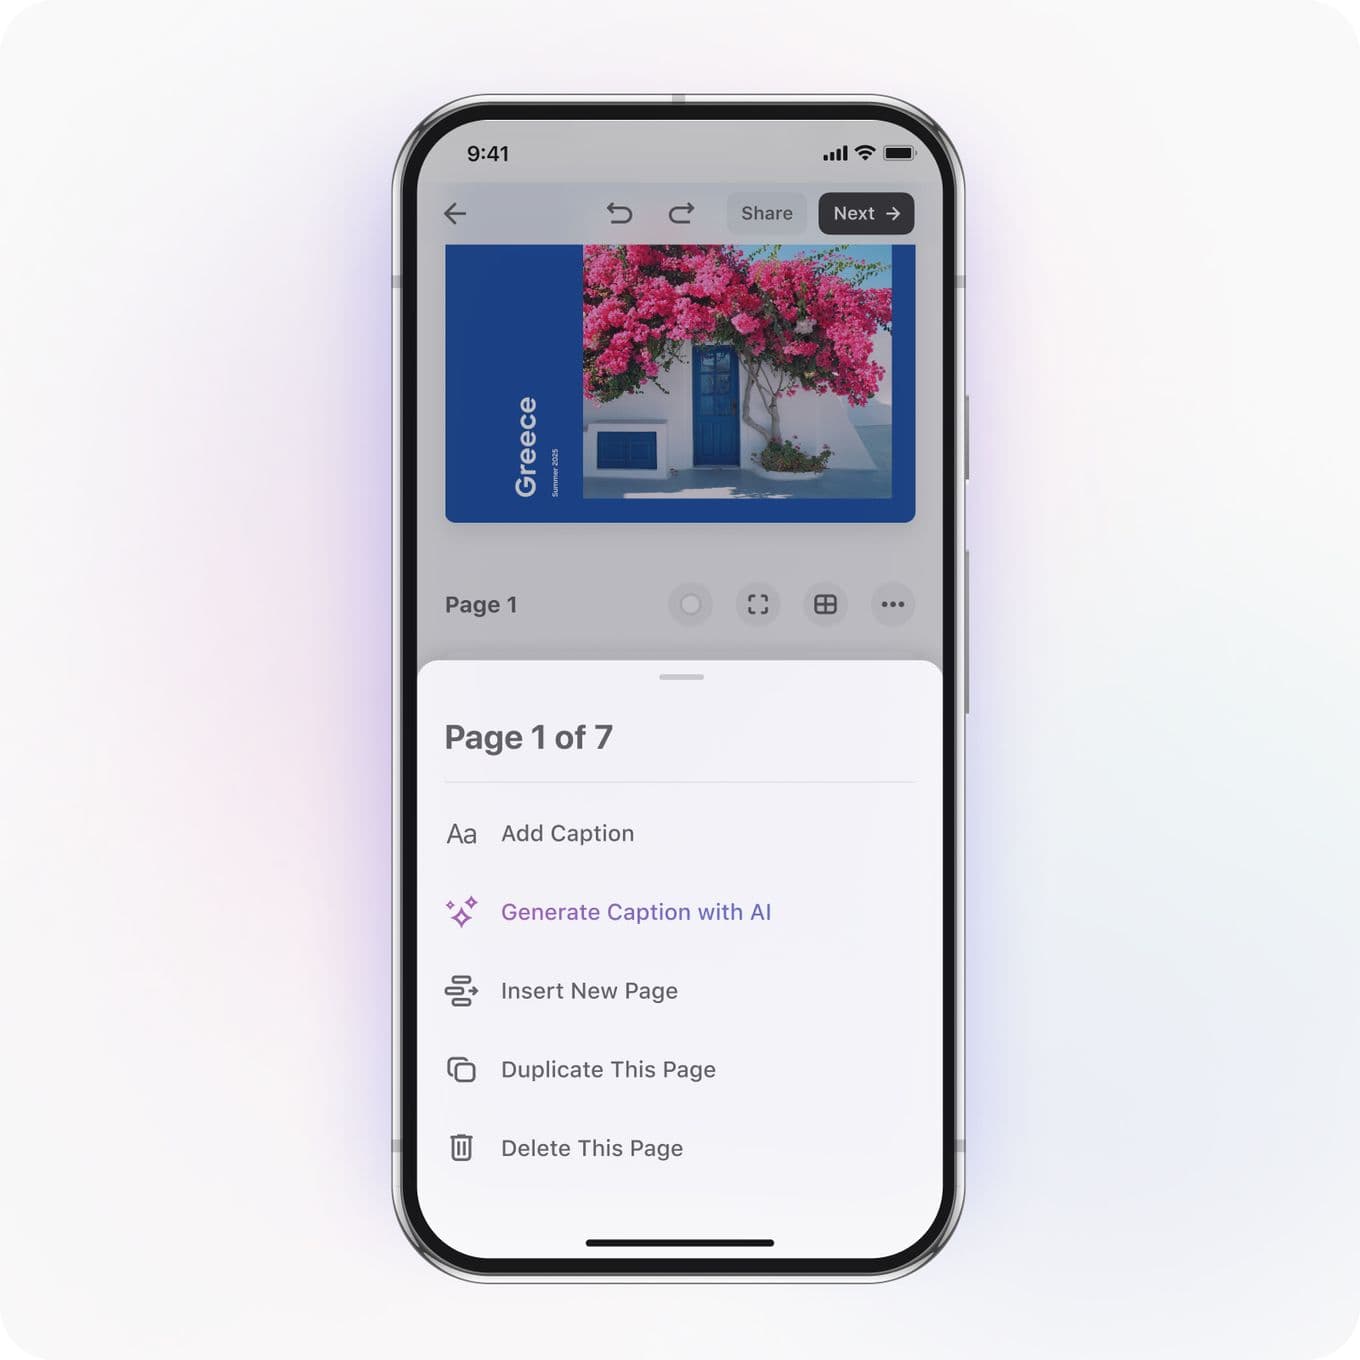
Once your photos are arranged into your chosen categories, it’s time to add the blank pages that will separate them. Tap the three dots above an existing page and select Insert New Page. A new page will appear directly above it. Continue adding blank pages until you have all your separators in place.
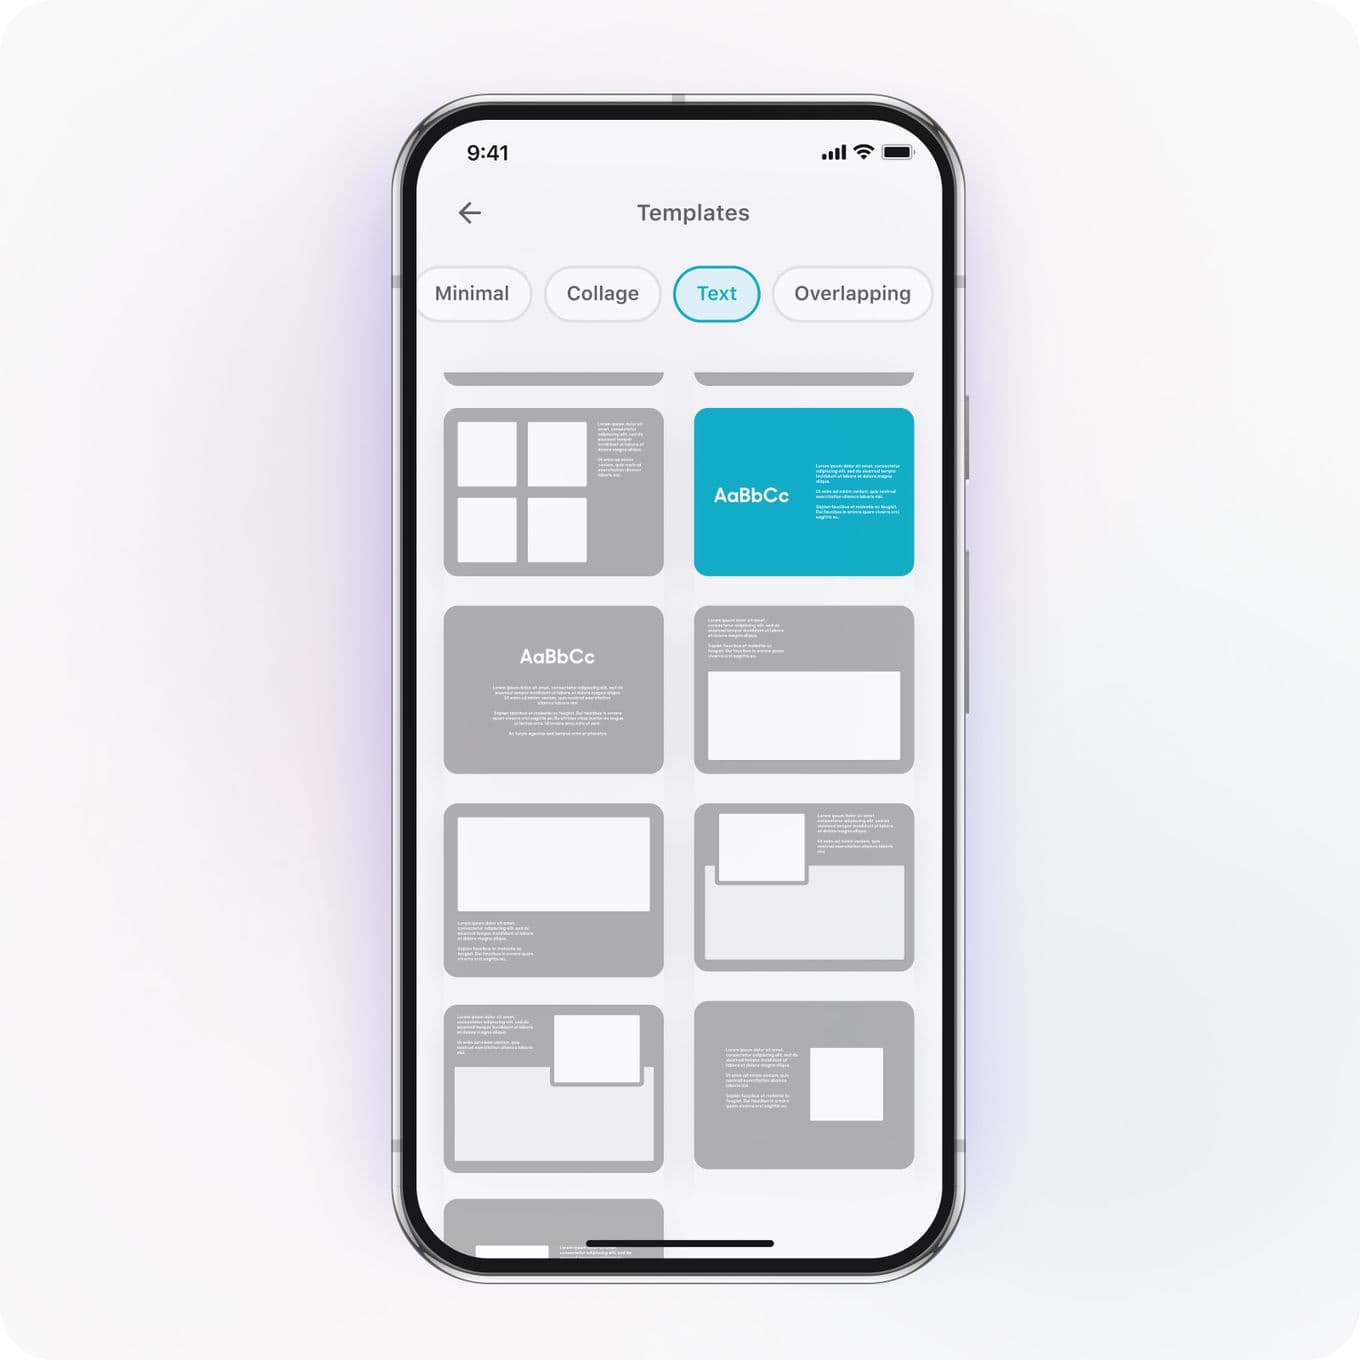
Above one of your newly added blank pages, tap the window-shaped icon to open the Templates menu. Select Text (the fourth option along the top bar). Then choose the text-only page layout – your blank page will now display dummy text in the centre.
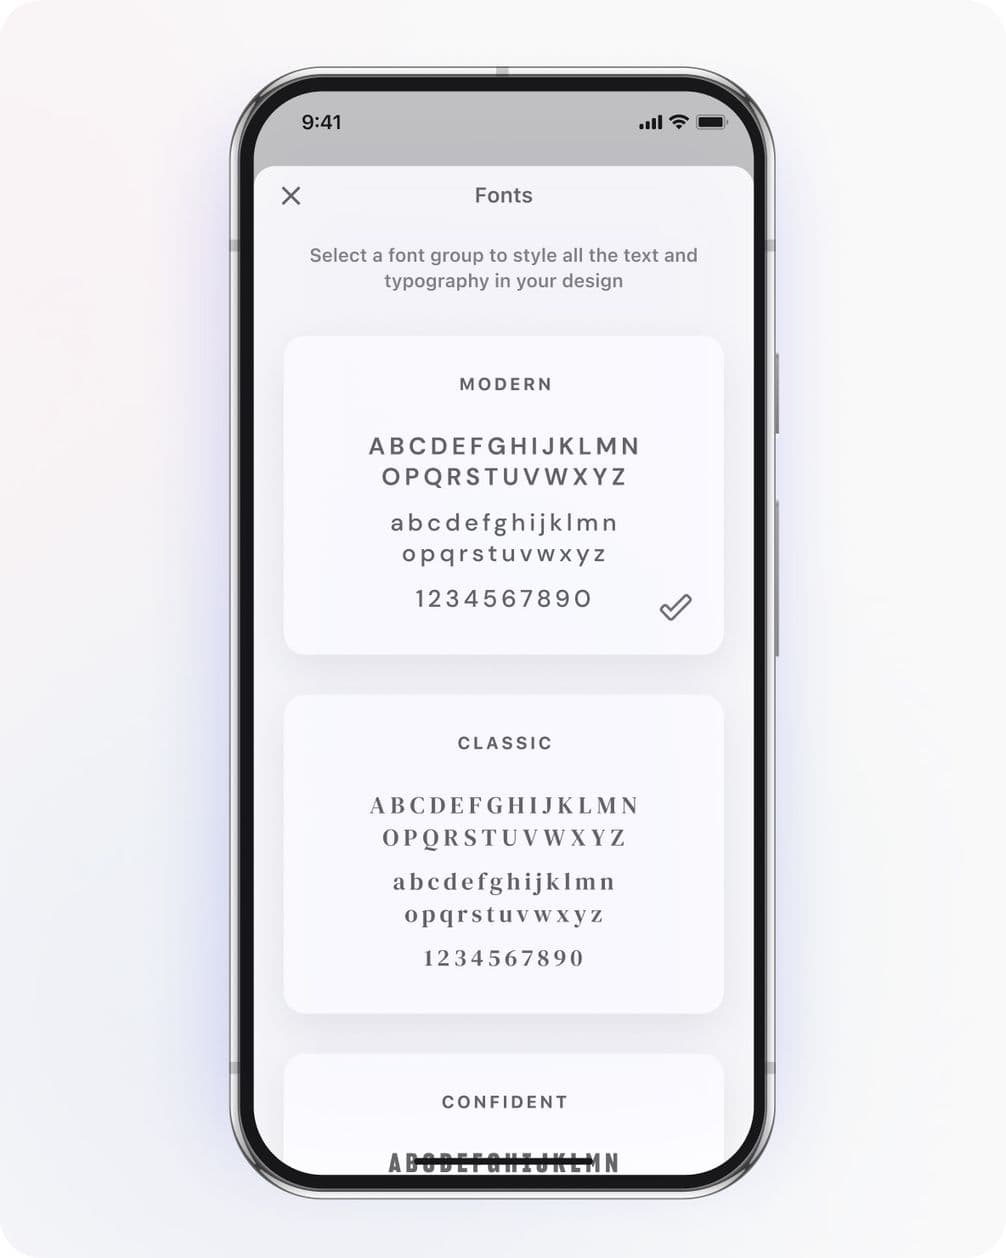
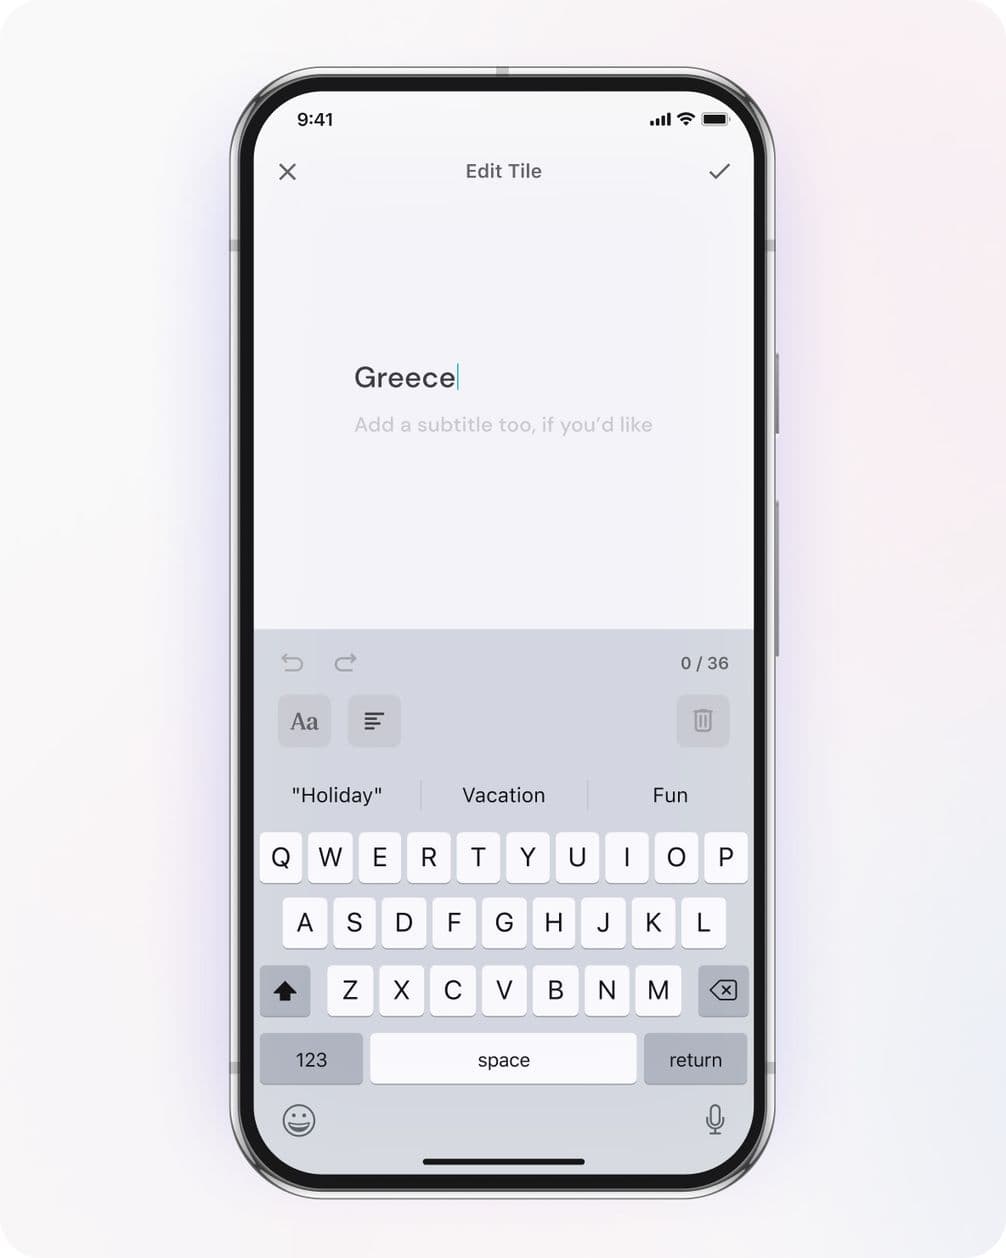
Tap anywhere on a Text Template page to open the text-editing screen. You can add anything you like, as long as it’s 400 characters or fewer. Choose from seven different fonts – including Modern, Classic, Confident and Expansive – and seven text sizes. You can also select from three justifications: left-aligned, centred or right-aligned. Adjust the height and width placement of the text to position it exactly as you like.
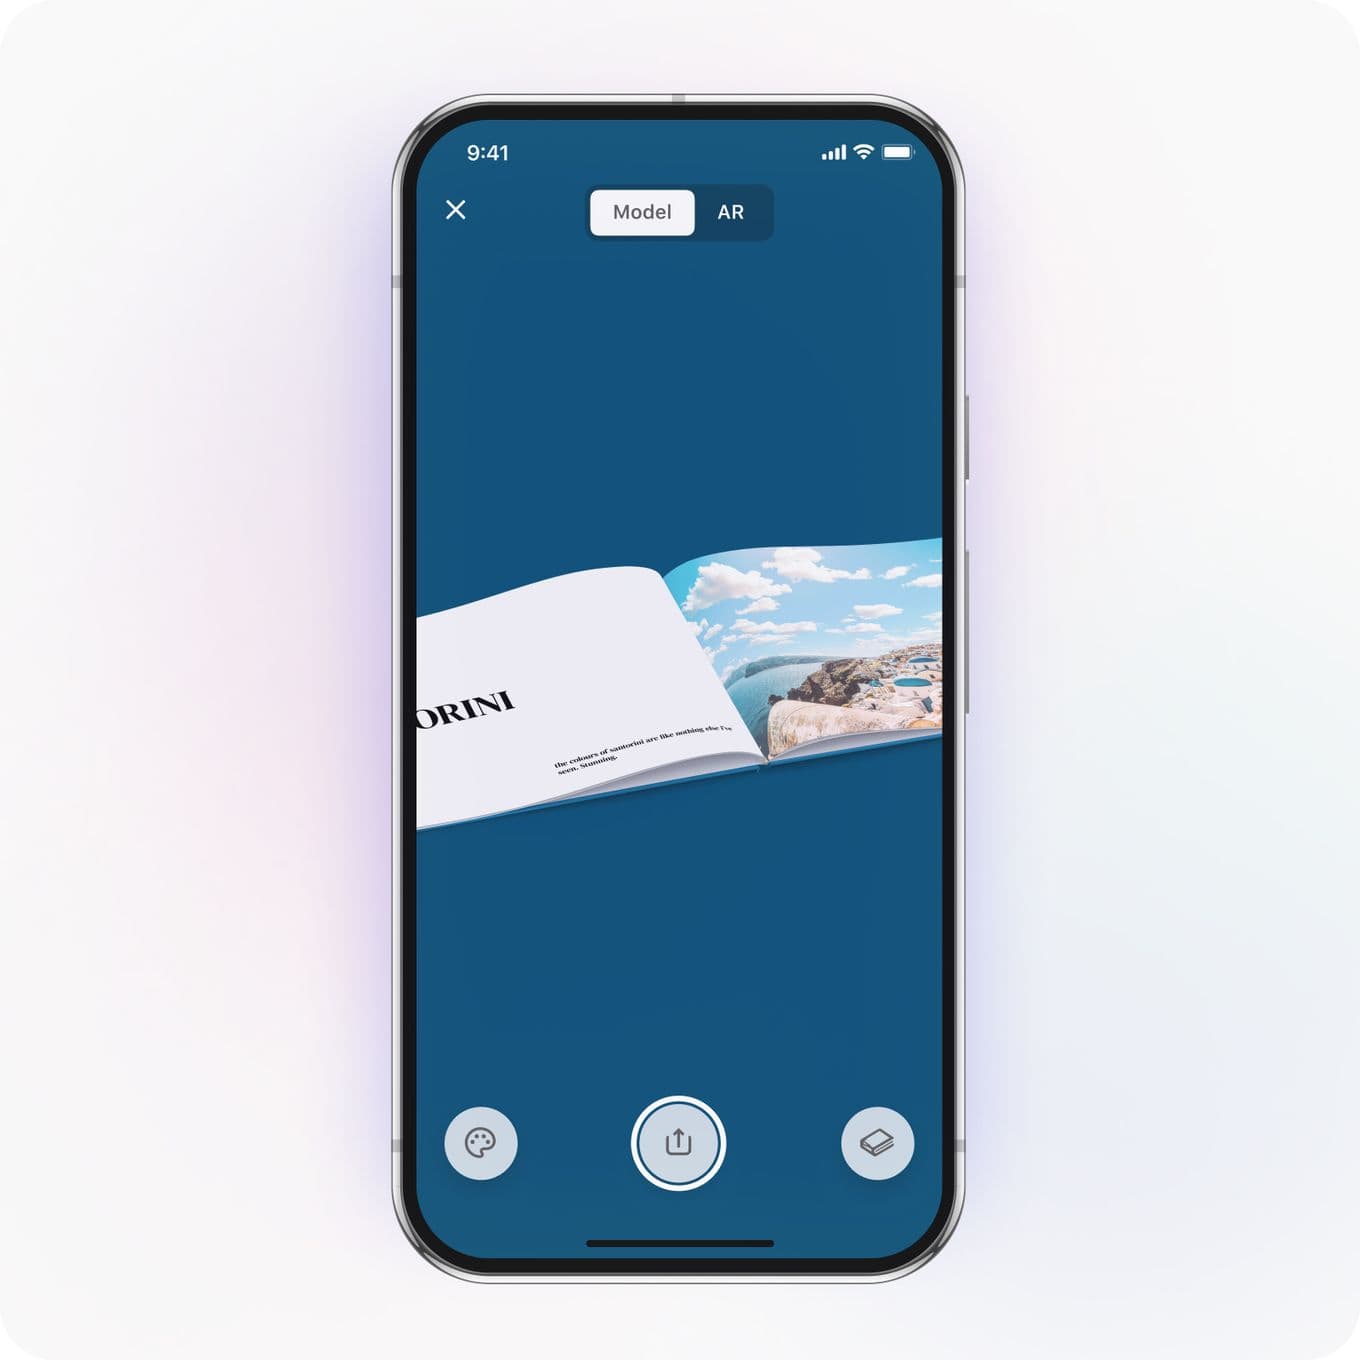
Preview your finished Photo Book by tapping Options at the bottom of the screen, then selecting Preview in 3D. This shows how your pages will look once printed. Flick through the pages in 3D, or use the AR version to see how the book will appear on your coffee table.
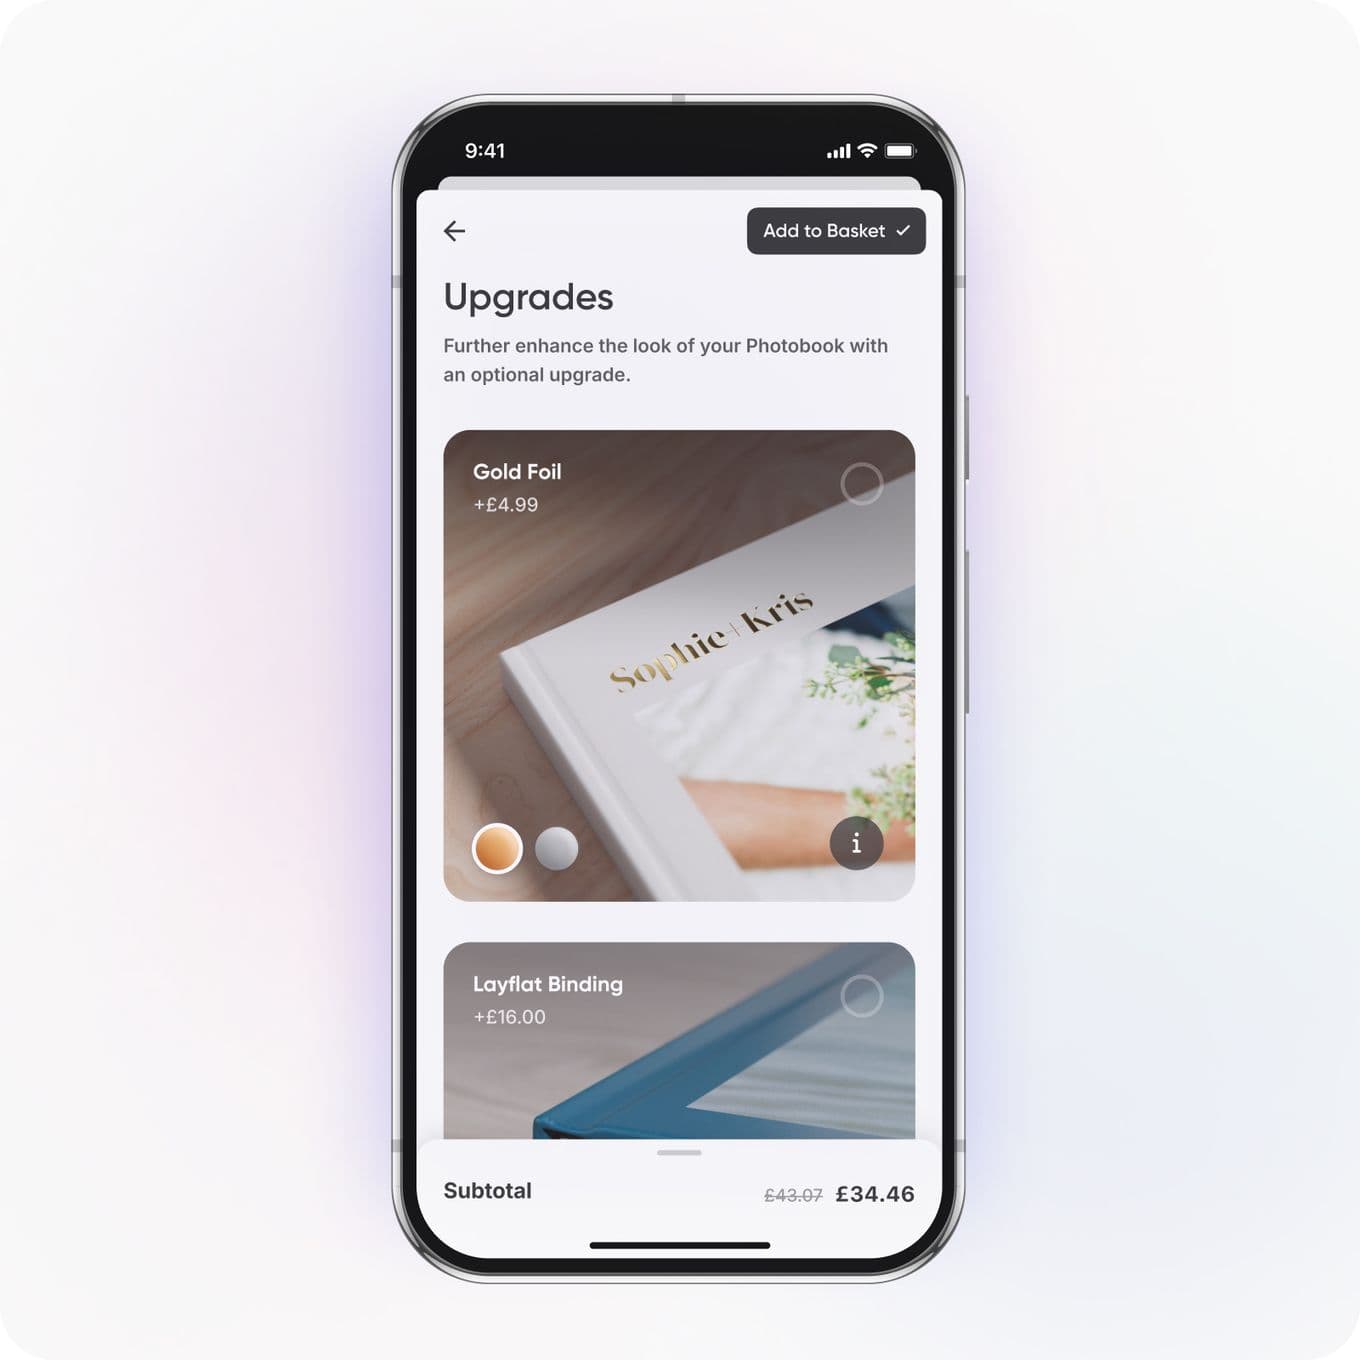
To give your Photo Book an extra-professional touch, consider upgrading the cover title to include foil embossing. Before checkout, you’ll be directed to the Upgrades page, where you can choose gold or silver foil for a luxurious metallic finish. It’ll stand out before you’ve even opened the cover.
Whichever chapters you choose to include, adding these text pages will enhance the experience of reliving your memories. It could be a holiday broken down by day, a birthday weekend shown moment by moment, or a multi-destination trip separated by location. However you structure it, the result will be a truly unique keepsake of a special occasion. Play around with the layout, templates and captions – you can’t go wrong.