


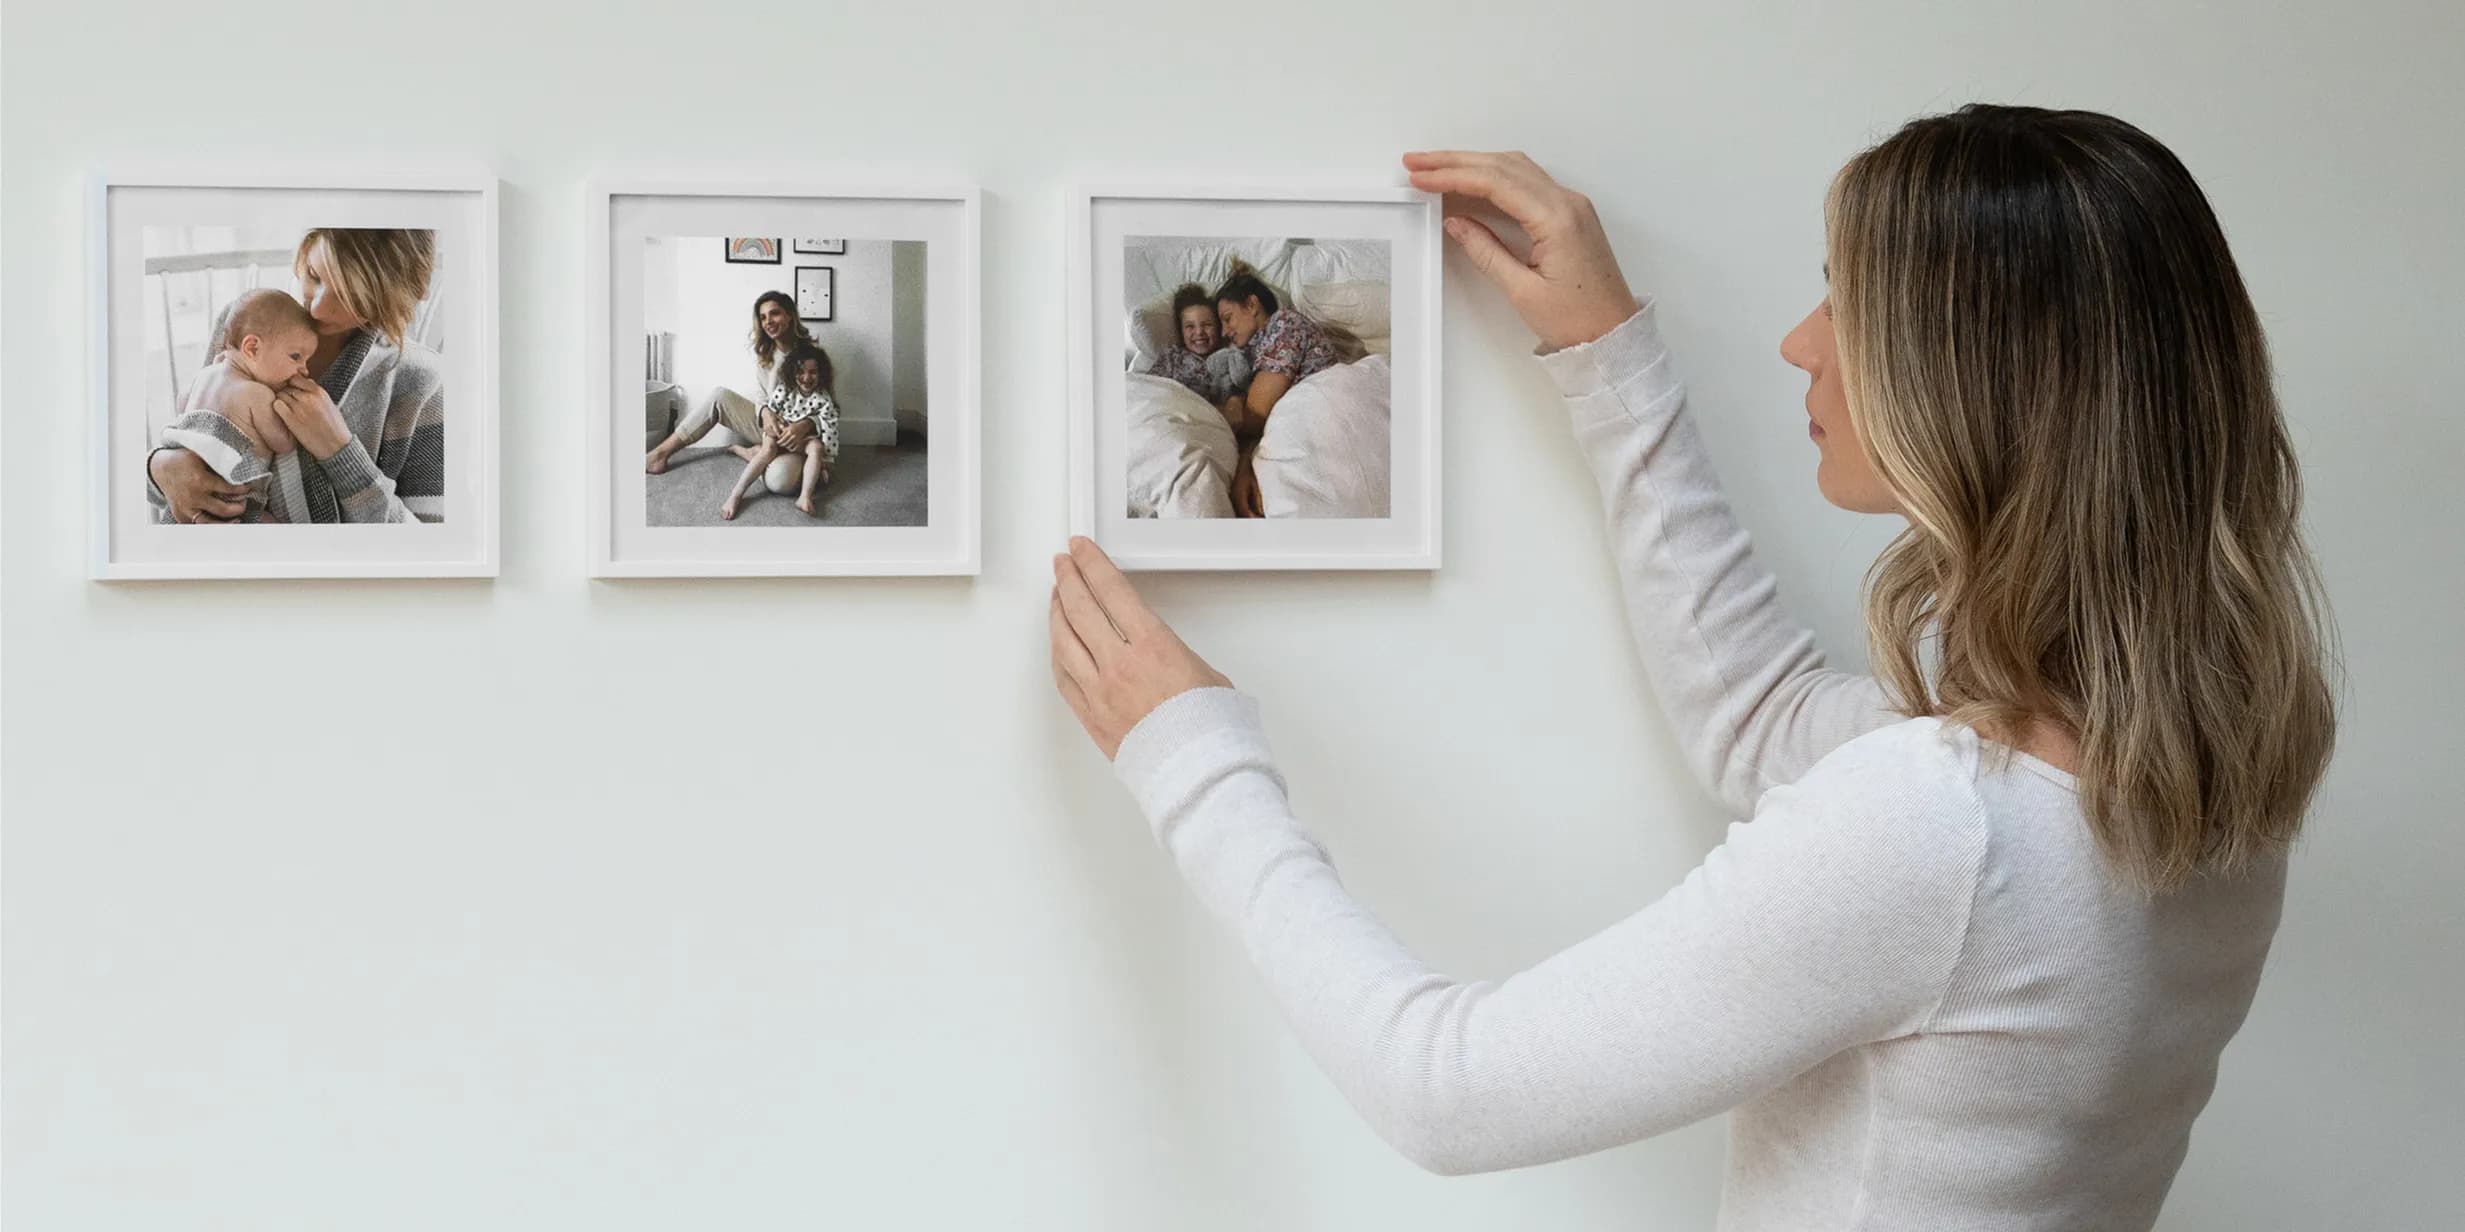
A gallery wall is one of the easiest ways to make a room feel personal, but it’s also one of the easiest things to get wrong. Most inspiration photos show a finished wall and leave you guessing how it was put together: which frame sizes, how far apart, how high up. This guide gives you nine layouts with the exact measurements for each, so you can copy one straight onto your own wall, plus a simple way to plan it on the floor before you make a single hole.
Pick a layout before you pick photos
It’s tempting to start with the photos you love and try to make them fit. It works better the other way round. Choose the layout first, because it decides how many frames you need, what sizes they are and whether you need portrait or landscape images. Then pick photos to fill the spaces. You’ll end up with a wall that looks planned rather than accumulated.

Frames in perfect rhythm
Grid
The classic grid. Nine identical square frames in three rows of three is the simplest gallery wall there is, and the hardest to get wrong. Use 20 x 20cm frames with 5cm gaps between them, and the whole arrangement measures 70 x 70cm, a neat size for a bedroom, hallway or console table. Popsa’s Square Frame Tiles are 8 x 8 inches, roughly 20 x 20cm, and come in sets of 3 to 24 with black or white frames. Grids suit photos with something in common, such as a single trip, a colour palette or black and white images.
The anchor grid. For more presence, put one large frame in the middle and flank it with smaller ones. A 50 x 70cm portrait frame in the centre, with a column of three 20 x 20cm frames on each side and 5cm gaps throughout, lines up perfectly: three small frames plus two gaps equal the 70cm height of the large one. The whole arrangement is 100cm wide and 70cm tall. Save your strongest image for the centre.
Salon hang
The salon hang. This is the relaxed, collected look: lots of frames in different sizes packed closely together. It looks spontaneous but works best with a few rules. Mark out an imaginary rectangle on the wall, around 150 x 100cm, and keep the outer edges of your frames roughly in line with it. Start with your largest frame slightly off-centre and build outwards, keeping a consistent gap of about 6cm between every frame. A good starting set is one 50 x 70cm, two 30 x 40cm, three A4 frames (21 x 30cm), three 20 x 20cm frames and two 13 x 18cm frames. Mixing photos with prints, postcards and children’s drawings suits this style well.
Staircase
The staircase climb. A staircase gallery should follow the angle of the stairs, so your eye travels up with you. The trick is to measure from the steps, not the floor. Position the centre of each frame about 150cm above the front edge of the step directly below it, so the arrangement rises with the stairs. Two staggered rows of 20 x 20cm frames with 8cm gaps work well on most staircases and are easy to extend as you add photos. If you’re using a mix of sizes, keep the top edges or the centres on a consistent diagonal line.

Make every frame count
Above a sofa
The symmetrical block. The most common mistake above a sofa is going too small. Aim for an arrangement about two-thirds the width of the sofa, with the bottom edge 20 to 25cm above the top of the sofa back. For a standard 200cm sofa, two rows of four 30 x 30cm frames with 6cm gaps gives an arrangement 138cm wide and 66cm tall,.
The single row. For a calmer, more modern look, hang a single row of large frames. Three 40 x 50cm portrait frames with 8cm gaps measure 136cm across, which suits a 200cm sofa. For a larger sofa of around 250cm, step up to three 50 x 70cm frames with 8cm gaps, 166cm across. Keep the bottom edges level; use a spirit or laser level.
Shelf ledge
The picture ledge. If you like changing your photos often, or you’d rather make only a few holes, picture ledges are ideal. Fix two ledges about 115cm long, roughly 40cm apart vertically, and lean frames against the wall on each. Layer them: put taller frames, such as 30 x 40cm, at the back, and smaller ones, such as 13 x 18cm and A4, overlapping in front. You can swap photos in seconds, add small objects, and only drill for the ledges themselves.
Small wall and awkward corners
The vertical column. Narrow walls between doors or windows, or the strip beside a door frame, suit a vertical column. Three 20 x 20cm frames with 5cm gaps make a column 70cm tall; four make one 95cm tall. On a wall less than 50cm wide, this is often the only arrangement that doesn’t look crowded.
The corner wrap. Corners are often left bare, but a grid that wraps around one makes a feature. Hang a 2 x 2 grid of 20 x 20cm frames on each wall, with 5cm gaps within each grid and each grid set 2.5cm back from the corner, so the gap across the corner reads as 5cm. Keep the top edges on both walls at the same height so the two halves look continuous.

Hung with love

Memories on display
Frame sizes and spacing that work
Whatever layout you choose, a few measurements hold. Keep gaps between frames at 5 to 8cm and, most importantly, consistent across the whole wall; uneven gaps make gallery walls look messy. Larger frames can take slightly bigger gaps, up to about 10cm. Hang the centre of the arrangement at around 145 to 150cm from the floor, roughly eye level, unless it’s above furniture, in which case measure from the furniture instead. Limit yourself to three frame sizes and one or two frame colours for a grid or block; allow more variety only in a salon hang.
It’s also worth matching your photos to your frames before you order. Popsa Photo Prints come in 6 x 4, 7 x 5, 8 x 6 and 12 x 8 inch sizes, and for a polished look, place a print in a slightly larger frame with a mount around it. Our guide to Photo Print sizes explains which print size suits which frame.
Plan it on the floor first
Before anything goes on the wall, measure the space you want to fill and mark the same area on the floor with masking tape. Arrange your frames inside it, move them around until the spacing looks right, and take a photo from above so you can recreate it.
Then use the paper template method. Trace each frame onto brown paper or old wrapping paper and cut it out. On each template, mark the hanging point by measuring from the top of the frame down to the hook or taut wire on the back. Stick the templates to the wall with low-tack masking tape in your chosen layout, step back and live with it for a day or two. When you’re happy, drill or hammer through the mark on each template, then tear the paper away. Every frame will land where you planned.
Hanging without damage
If you rent, or simply don’t want holes in the wall, you have more options than you might think. Popsa’s Square Frame Tiles stick to the wall with an adhesive backing and can be moved and re-stuck as many times as you like without leaving a mark, ideal for grids and corner wraps you might want to adjust later. Removable adhesive strips work for light frames, but check the weight limit on the packet and follow the removal instructions carefully to avoid peeling paint. Picture ledges keep holes to a minimum.
If you are drilling, use a detector to check for pipes and cables first, especially above light switches and sockets. For most frames, a picture hook with a thin pin leaves a tiny hole that’s easy to fill.

Begin your ascent
A carregar…
Perguntas frequentes
How far apart should frames be on a gallery wall?
How high should a gallery wall be hung?
How big should a gallery wall be above a sofa?
Can I make a gallery wall without drilling?
Transferir a aplicação
Descubra memórias mais rapidamente com funcionalidades exclusivas, como o reconhecimento facial e álbuns inteligentes.



Artigos relacionados

13 de out de 2026∙6 min


13 de out de 2026∙5 min

2 de set de 2026∙5 min


 Estados Unidos