Most households have a box of old prints somewhere – wedding photos, childhood snapshots, pictures from a relative’s youth. Turning that box into a photo book means digitising it first, and it’s more straightforward than it looks. It also protects the images from damage and fading, and makes them easy to share with relatives who’ve never seen them. The key is doing things in the right order: sorting before you scan, labelling as you go and backing up before you edit. This is how to approach each stage, from the first sort to the finished book.

Start with the photos, not the box

Resist the urge to scan everything in the order you find it. Instead, spend 20 minutes sorting prints by decade, event or person. This isn’t the final edit, just a first triage so you’re not digitising 400 near-identical holiday snaps before deciding which ones matter. Work on a clear table with clean, dry hands, and keep a few envelopes or boxes to hand so each pile stays separate. Set aside obvious duplicates or badly out-of-focus shots, and soon, a curated selection will begin to emerge.

Choose a scanning method that matches the job

For a small batch, a flatbed scanner or phone scanning app gives you most control. On a phone, work in even natural light and hold the camera parallel to the print. On a flatbed, clean the glass with a soft, lint-free cloth before you start, as specks of dust show up on every scan. For a large collection, a scanning service can work through 300 or more prints in a fraction of the time, though you give up some control over quality. If the prints are fragile, curling or stuck to an album page, handle them as little as possible. Whichever route you choose, scan a handful of test prints first and check them at full size before committing to the collection.

Don’t forget negatives and slides

Negatives and slides are easy to overlook when sorting. If you’re not sure what you’re looking at, hold them up to a window: negatives show reversed colours, slides look like tiny finished photos in a mount. Pull them out during that first triage: you need a dedicated film scanner, an adaptor for your flatbed, or a specialist service. Keep them in their original sleeves until you’re ready, and handle them by the edges. Negatives and slides can produce a sharper, more detailed scan than the print made from them.

Left page with a Robert Browning quote; right page shows a smiling bride and groom holding hands outside a stone archway.

Commemorate the moments that matter

Label as you go, not after

Labelling is the step that almost always gets skipped. Names, dates and locations often live in only one relative’s memory, and that context can disappear faster than the photo fades. Record a voice memo while you scan, keep a simple spreadsheet, or photograph a sticky note alongside the print. Going through the prints with an older relative can also unlock names and stories nobody wrote down. Even a rough note like “Aunt Jean, Brighton, late 60s” is far more useful than nothing.

Scan at a resolution that holds up in print

Aim for at least 300dpi, and higher if you plan to enlarge any image. Negatives and slides need a much higher setting, often 2,400dpi or more, because the originals are so small. A photo that looks sharp on a phone screen can turn soft and pixellated once printed larger. Save scans as TIFF or high-quality jpeg files, with clear, consistent file names. A simple format of year, event and number, such as 1972_Wedding_014, keeps everything in order and makes photos easier to search.

Back up before you do anything else

As soon as your photos are digitised, get them into at least two separate places, such as cloud storage and an external drive. A single copy on a laptop is only one spill or crash away from being lost. Do this before any editing. Back up any labels or voice memos at the same time. Check that both copies open properly, and add new scans to both as you go.

Do a light clean-up, not a full restoration

A quick pass to straighten, crop and correct colour cast helps. You don’t need to remove every scratch or restore every faded corner – over-editing can strip a print of character. Most phone editing tools and free desktop software can handle these basic fixes, and a consistent approach keeps prints from different decades looking coherent. Always work on a copy, not the original scan.

A smartphone screen showing a photo album. Page 8 displays a father and baby, and a grandfather with a child on his shoulders.

Preserve your shots before they fade

Decide what happens to the originals

Once everything is digitised, decide what happens to the physical prints. Keep them as they are, archive them in acid-free boxes or sleeves, or let go of duplicates and damaged copies. If you’re keeping them, store them somewhere cool, dry and dark, away from lofts, garages and damp basements. Avoid rubber bands, paper clips and sticky tape, which can mark or tear prints over time. Label the boxes on the outside, so anyone who finds them later knows what’s inside. Pass labelled prints on to other family members who may want them.

Bring the two collections together

Organise your scans and digital photos by story rather than by source. Think about the shape of the book: a chapter per generation, a single life told from start to finish, or a year-by-year record of a family home. Start with the photos you care about most and build each section around them. Mixing scanned prints with photos from your camera roll works well for a family biography or a home’s history. Scanned prints often have a different colour and texture to digital photos, so group them into sections or spreads rather than scattering them through the book.

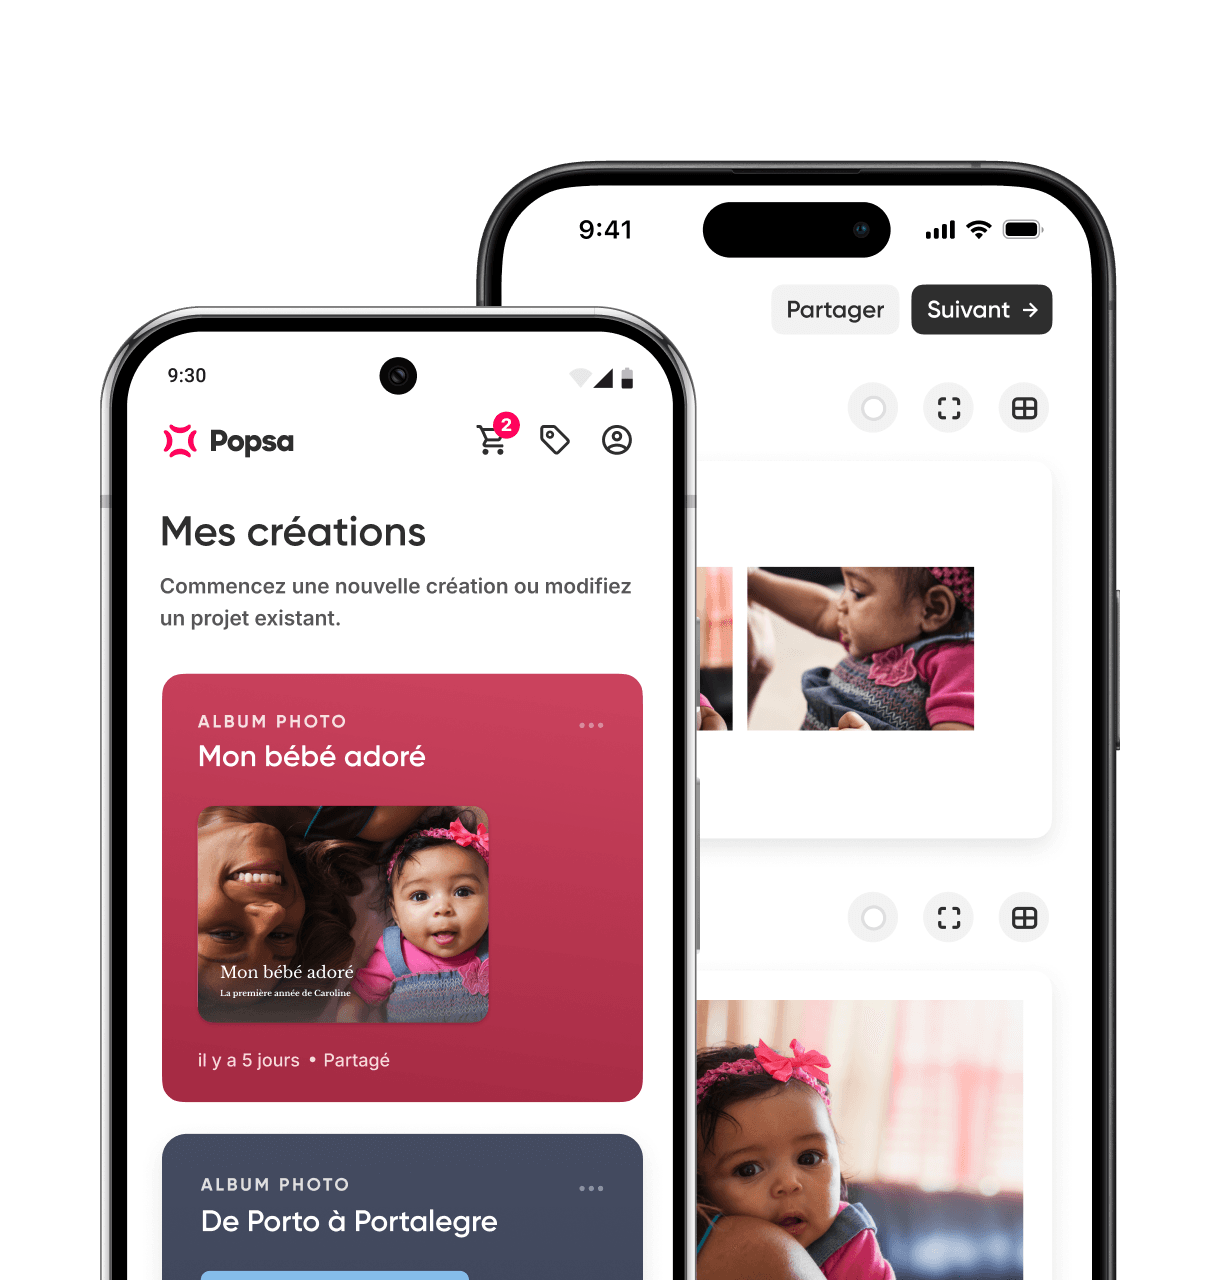
Popsa’s app lets you import digitised photos alongside your camera roll or cloud library into a single design, with an initial layout generated automatically, so you’re refining a first draft rather than starting from scratch. Rearrange pages, add captions from your labels and swap images in and out until the book tells the story you want. Once printed, the book becomes another copy of that story – one the whole family can pick up and look through.

Chargement…

Téléchargez l'application

Replongez dans vos souvenirs en toute simplicité grâce à des fonctionnalités exclusives comme la reconnaissance faciale et les albums intelligents.

App StoreApp Store
Téléchargez l'application