Photography
Master depth of field in your Android photography
Turn everyday photos into cinematic portraits using depth effect on your Android smartphone
21 Jul, 2025∙5 min
Photography
Turn everyday photos into cinematic portraits using depth effect on your Android smartphone
21 Jul, 2025∙5 min
This guide is brought to you by Dan Mold – a Cambridgeshire-based, prize-winning photographer and author with over 13 years of photojournalism experience. Dan is also a former Adobe-certified Photoshop guru, so you know his tips are worth trusting when it comes to getting the most out of your images.
Depth of field refers to the area of “acceptable” focus in a photograph, and when shooting with smartphones, this is typically quite deep. This is largely due to their small sensors, which contribute to the compact, pocketable nature of these devices.
For Android smartphones in particular, the depth of field capabilities can change between models and manufacturers rather drastically as some companies will go down the larger sensor route, such as the Xiaomi 15 Ultra with its incredibly large 1” sensor, while others may rely more on software and AI to apply a shallow depth of field effect after the photo has been taken instead.
Bokeh – the Japanese word pronounced “bok-ay”, describes the quality of out of focus highlights in a scene. This is usually done by shooting with a wide aperture, closer to the subject or zooming in to exaggerate the background blur.
Carefully considering the background behind your subject is also important as including neon signs, string lights or even light reflecting off leaves will add up to more impressive-looking bokeh in your photos, which helps separate your subject from the background and makes them look more cinematic and professional. If you’re working on a small scale you could even add your own lights to the background of your scene to turn into beautiful bokeh balls.

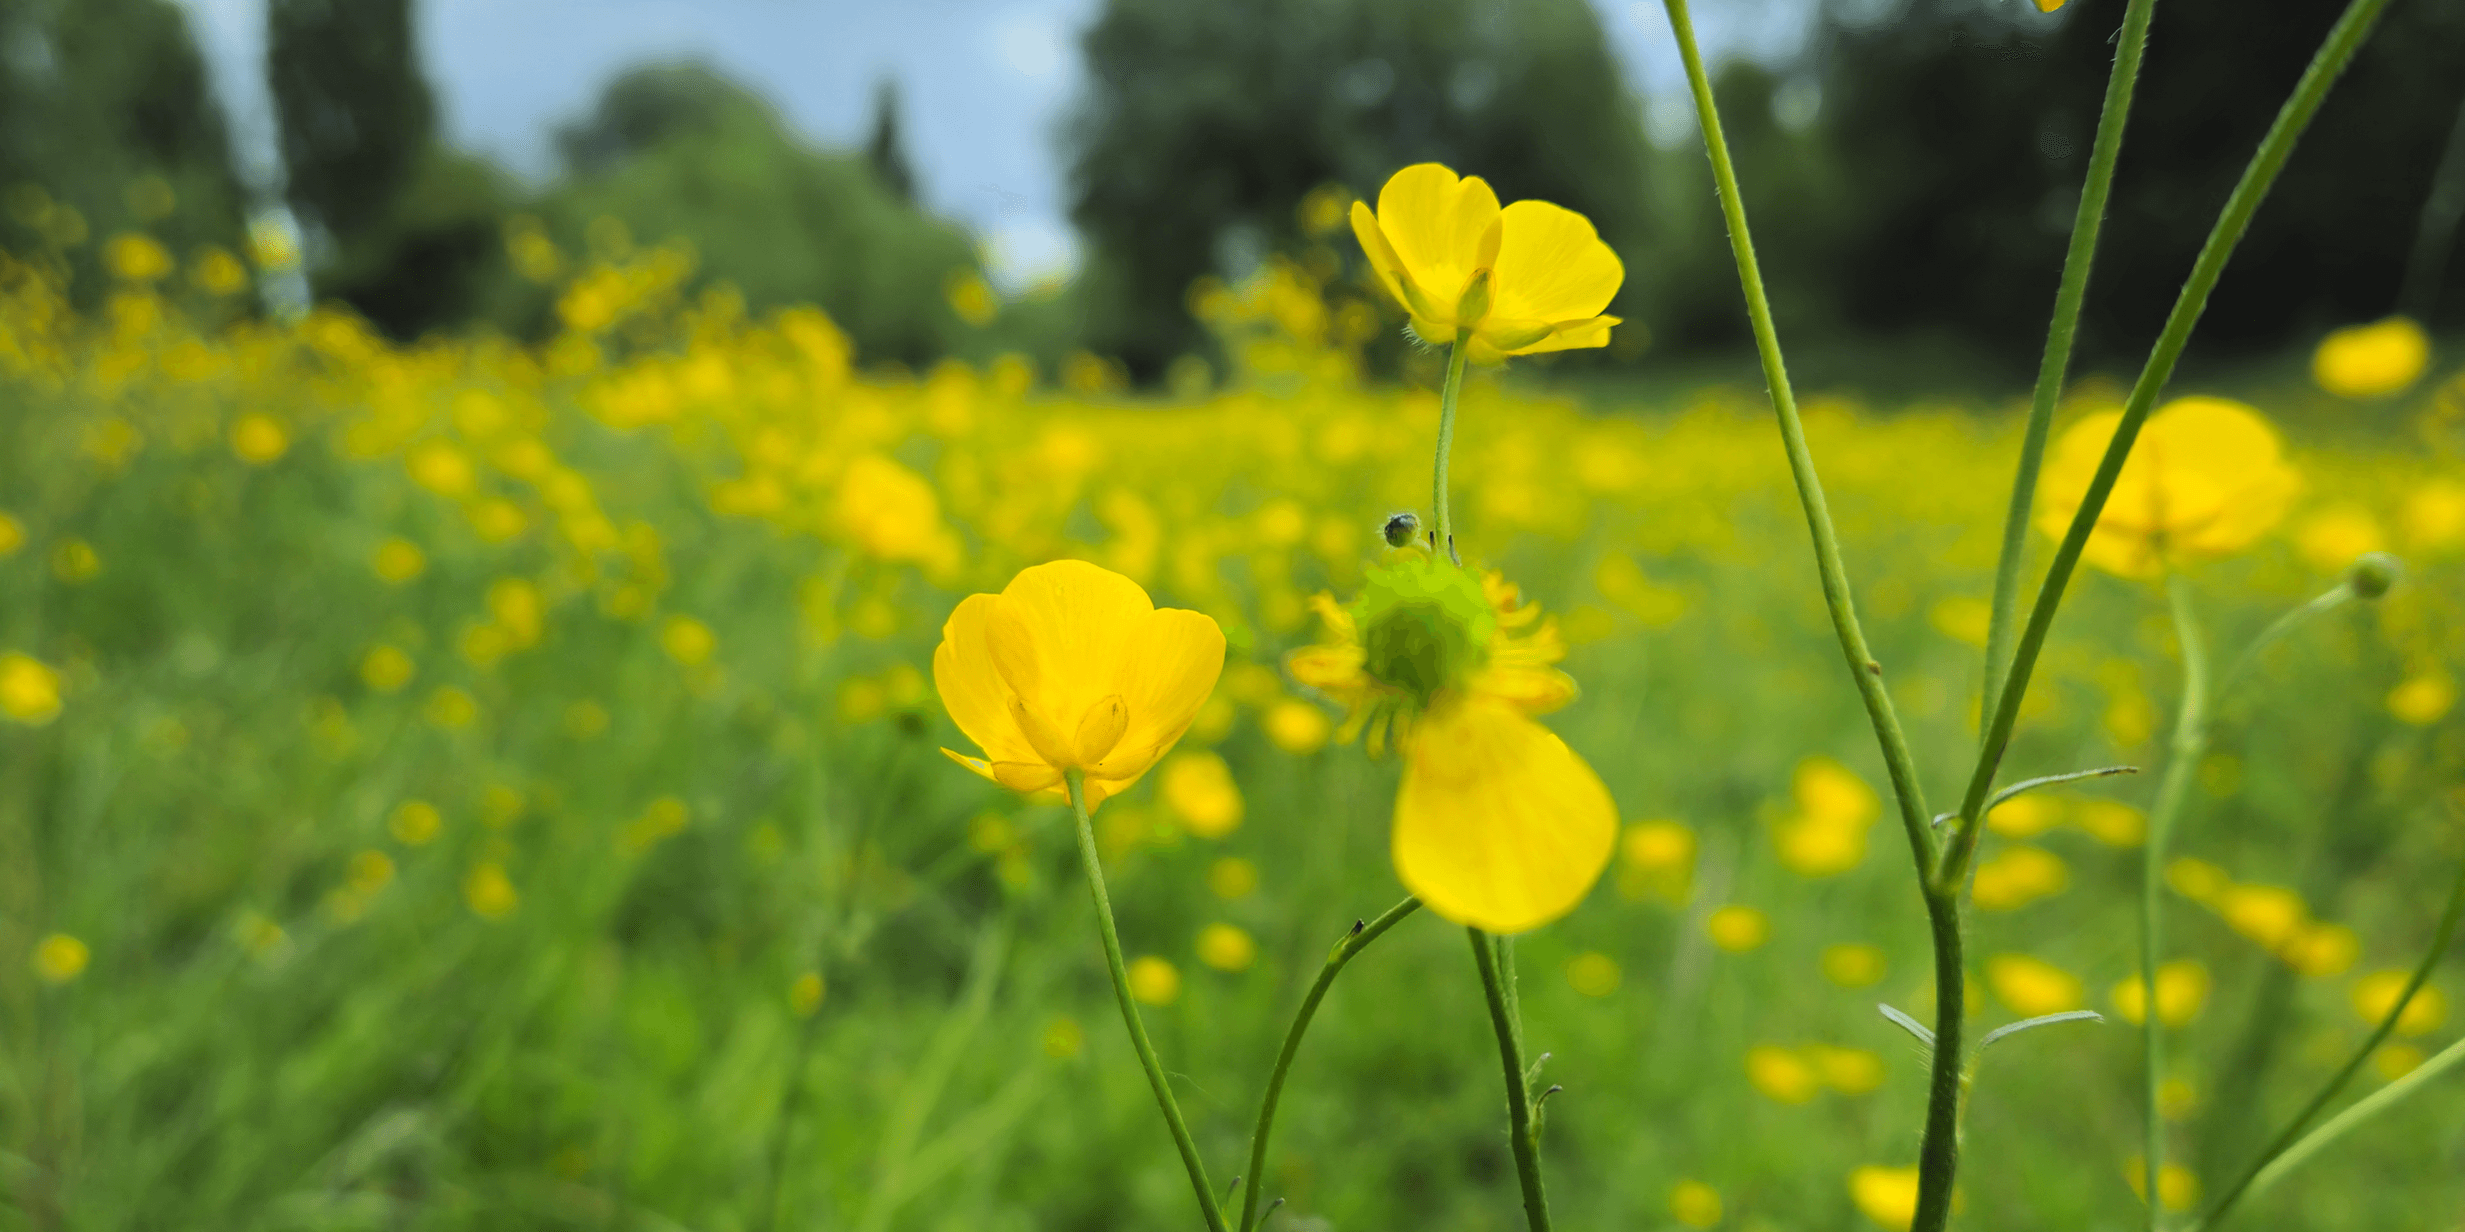
Separate your subject and background using the bokeh approach
Smartphones naturally produce a very deep depth of field, which is ideal for capturing scenes with consistent sharpness from foreground to background – for example, flowers at the front of a landscape leading all the way back to distant mountains.
This characteristic makes Android smartphones well‑suited for shooting landscapes, group portraits, or even quickly snapping documents – any situation where you want everything in focus. If you’re experiencing blurry results, it’s worth checking that your phone is positioned parallel to the subject. For instance, when photographing a document, hold the phone directly above it rather than at an angle, as tilting can skew the focal plane and reduce sharpness. Also, avoid close‑up or macro shooting when aiming for deep focus, as focusing too closely naturally reduces the depth of field.
For greater control, open your Android’s Camera app – nearly every Android phone I’ve used includes a Pro mode that you can swipe to for extra functionality. On most popular Android models, Pro mode doesn’t let you manually adjust the aperture, as the lenses typically have a fixed aperture. Unlike professional DSLRs or mirrorless cameras, which use adjustable aperture blades, smartphone cameras prioritise compactness – adding variable apertures would compromise this.
However, if you’re using one of the rare Android models that does feature an adjustable aperture, you’ll be able to change it manually in Pro mode. A higher F‑stop value such as f/4 or f/8 will give you a deeper zone of focus, whereas shooting wide open – for example, at f/1.8 – will result in a shallower depth of field.
It’s also worth noting that many of the latest Android smartphones – such as the Samsung Galaxy S25 – include multiple lenses, each with its own dedicated sensor. These lenses provide various focal lengths, or zoom levels, which often come with different fixed aperture values. Switching between lenses may help you access a more suitable aperture for your needs. Just be aware that using a telephoto lens (zoomed in) will create the appearance of a shallower depth of field than a wide‑angle lens, even if both are using the same aperture.

Experiment with Pro mode on Android phones

Explore narrower depths of field

Widen your focal length for greater perceived depth
To give yourself the best chance of achieving a shallow depth of field effect with an Android smartphone, it’s ideal to use a device with a larger sensor – such as the Xiaomi 15 Ultra, which features a 1” sensor. However, if that’s not available to you, there are several other techniques you can try to create a shallow depth-of-field effect in‑camera. If the effect still isn’t pronounced enough, you can also simulate it in software (more on that below).
To start, it helps to understand a bit of theory – depth of field becomes significantly shallower when you focus very close to your subject, a technique commonly referred to as macro photography. If your Android phone has a dedicated Macro mode, be sure to try it and position your camera as close as possible to your subject.
You should also think carefully about how your background appears in the composition. The further away the background is from your subject, the easier it will be to achieve a blurred effect. For example, if you’re photographing a person sitting on the ground, avoid shooting from standing height – this would place the grassy background immediately behind them. Instead, crouch down to their eye level so that the background recedes. You may even want to ask your subject to move away from any walls or objects directly behind them to increase subject separation.
As a final tip, switch to your Android phone’s Pro or Portrait mode and set the aperture to its widest setting – usually around f/1.8 on most smartphones. Remember that your chosen focal length (zoom level) can affect the maximum available aperture, so scroll through your zoom settings to find the one with the lowest F‑number, which will help give the strongest background blur.

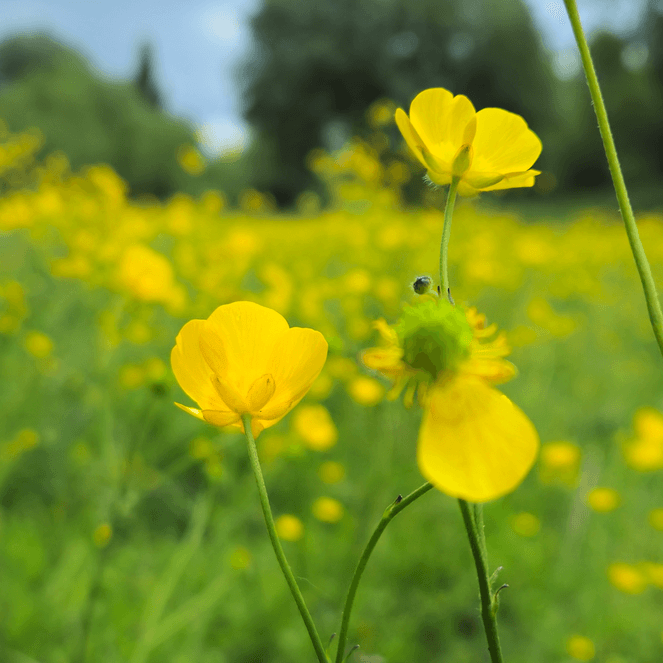
When your subject and background are both far from the camera, everything stays sharp

A blurred effect is much easier when your background is further away from your subject
There’s no shortage of apps on the Google Play Store that allow you to experiment with shallow depth of field effects – both when taking the photo and when editing afterwards. The good news is that powerful, AI‑based editing tools capable of realistically adjusting depth of field are improving every year.
One app I downloaded and enjoyed using was “Focos: bokeh, blur image”. It offers a free, ad‑supported version, and I found its results quite impressive. However, it’s best to begin with a completely sharp photo captured in‑camera, then apply your blur effects using the app. Focos – like many similar apps – allows you to tap on the image to choose where the sharpest focus should be (for example, a face in a portrait), and then it intelligently blurs the rest of the background. These apps usually include a control slider so you can adjust the strength of the blur effect.
My advice is to use this effect carefully – only on photos where a blurry background would realistically make sense, such as when the subject is clearly separated from the background. If the background is too close, artificial blur can easily look unnatural. While I was impressed by what these apps could do, I also found that dialling the blur effect all the way up often looked fake. A moderate amount – usually around halfway – struck the right balance and gave the image a convincing sense of subject separation.

Apply blur effects in the Focos app

Adjust blur effects in the Focos app
This app uses clever depth estimation to work out the zones of focus in your image and gives you plenty of control of how near or far the focus point should be and how sharp or soft it is and can apply realistic bokeh effects.

Features of the Focos: bokeh, blur image app
This app uses advanced AI to blur backgrounds and promises to turn your mobile phone into a professional camera. ReLens allows you to tap to focus on an image to create distinct sharp and out of focus areas, plus has other cool effects like mimicking the effects of old vintage lenses which you can choose from.

Features of the ReLens Camera-Focus & DSLR Blur app
Auto Blur claims to be a fast and easy to use app for creating amazing background blur effects in your smartphone pictures. There’s several options to choose from including classic blur, lens blur, tilt-shift, motion blur and iris effects with clever auto detect focus and background filters to make selecting your subject and blurring the background easier.

Features of the Auto Blur: Blur Background app
Why not check out “How to take black and white photos with your smartphone” and “How to use depth effect on your iOS devices”.
Discover memories faster with exclusive features like facial recognition and smart albums.


21 Oct, 2025∙9 min

9 Sep, 2025∙10 min