


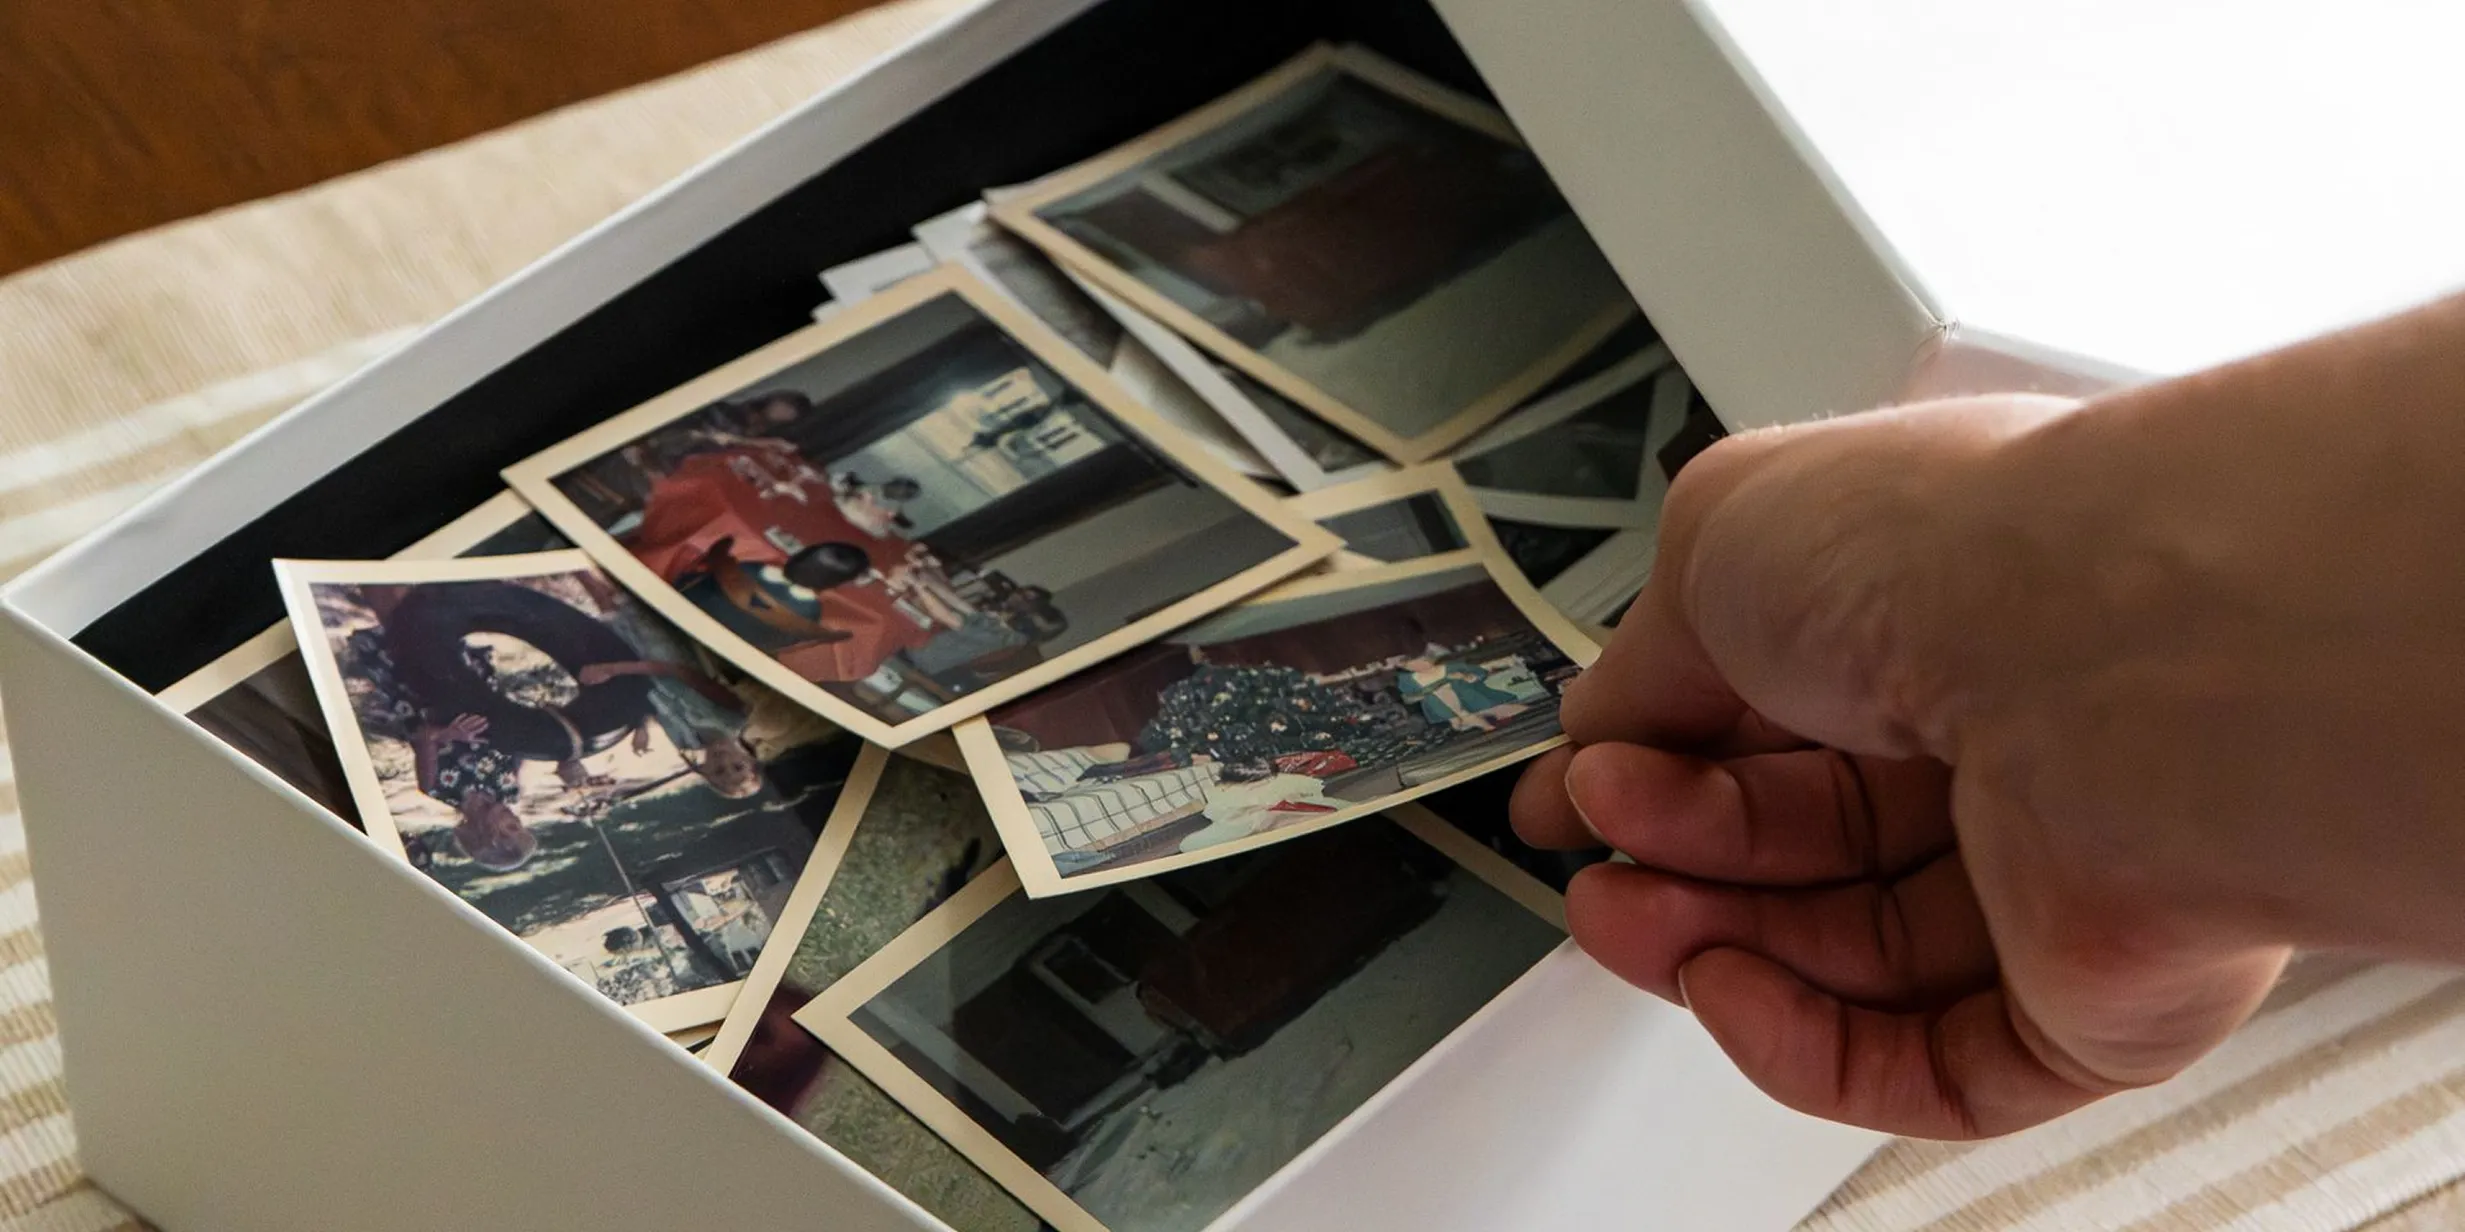
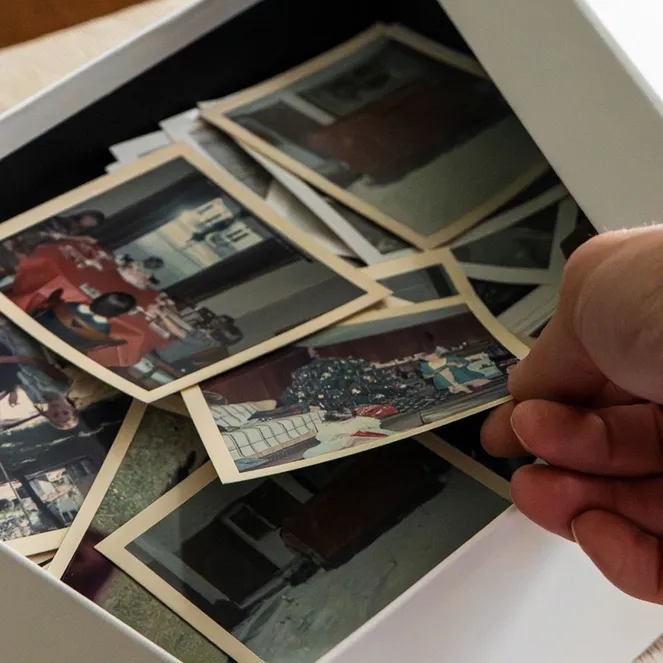
Almost every family has one: a shoebox, a biscuit tin or a carrier bag of old photos that gets moved from loft to loft and hardly ever opened. Most advice on what to do with old photos stops at “scan them”, which leaves you with a folder of files and exactly the same box in the wardrobe. This guide covers both halves of the job, the digital copies and the physical originals, with a realistic idea of how long each step takes, so you can decide how much to take on this weekend.
Sort before you do anything else
Do a quick first sort. Before you scan a single photo, tip everything out onto a big table and make three piles: keep, maybe and let go. Don’t try to date or order anything yet; the aim is simply to see what you have and cut down how much you’ll need to scan. For a typical shoebox of 300 to 500 photos, this takes one to two hours and usually shrinks the pile by a third or more.
Group what’s left by person, place or decade. Once you have your keep pile, split it into rough groups that make sense to you, such as Grandma’s side, the house in Leeds or the 1980s holidays. Allow another hour or so. These groups will become your folders when you scan and your chapters if you make a book later.

Kept for generations
Scanning options and what each costs
Scan with your phone. A free phone app is the quickest way to start. Most correct the angle and reduce glare from glossy prints. Allow roughly 15 to 30 seconds per photo, so around two to four hours for 500. The quality is fine for sharing and small prints, but it won’t match a proper scanner for enlargements.
Use a flatbed scanner. A home flatbed scanner gives you sharper, more even results, and many home printers have one built in. Scan at 300 dpi for copies at the original size, or 600 dpi if you might print them bigger. It’s slower: about a minute per photo including placing, scanning and naming, so 500 photos take a full day or two. You can speed it up by laying three or four small prints on the glass at once and cropping them afterwards.
Send them to a scanning service. If you have thousands of photos, or simply no time, a professional service does the work for you. UK services typically charge somewhere between about 9p and 30p per photo, depending on resolution and how many you send, and some have a minimum order of around £25 to £40. Your own time is an hour or two to sort and pack, then you wait. Use tracked, insured delivery, and never send the only copies of photos you couldn’t bear to lose in one parcel.
What to do with the originals
Keep the originals, and scan the backs. Scanning is a backup, not a replacement. A print can last generations if stored well, while files get lost on old laptops and forgotten cloud accounts. Before you put anything away, turn it over. Dates, names and notes in a grandparent’s handwriting are often as precious as the picture, so scan the back of any photo with writing on it.
Label what you know while someone still remembers. Sit down with the oldest relative you can and go through the keep pile. Write names, places and rough dates on the back in soft pencil, never ballpoint or felt tip, which can press through or bleed onto the image. Allow an afternoon; it’s often the most valuable part of the project.
Turning them into a book
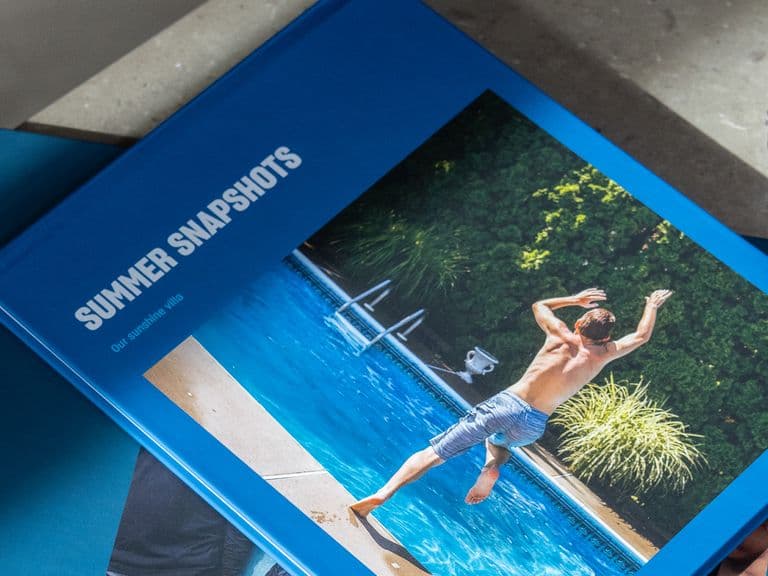
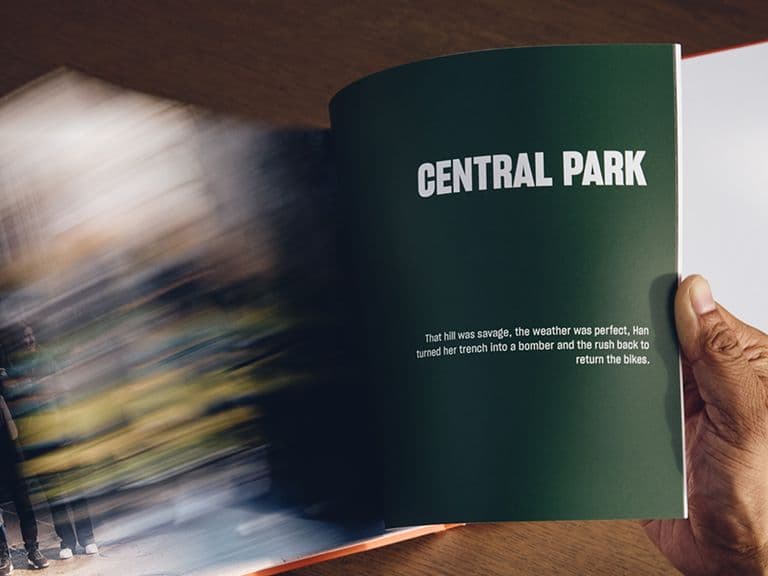
Make a Photo Book. This is the step that actually gets old photos looked at again. Once your favourites are scanned onto your phone, you can build a Popsa Photo Book in minutes. Popsa arranges a first layout, then you can move pictures, add captions and choose a cover. The groups from step two make natural chapters, whether one book per decade or a single book telling a family’s story. Scans at 600 dpi give the most flexibility on page size. If you’d rather work by hand with glue, tickets and handwritten notes, our guide to what a scrapbook is covers that route.

Out of the box

Sharing with family
Share copies so everyone has a piece. Old photos are rarely just one person’s; siblings and cousins often have their own memories of the same moments. Once scanned, a shared album lets everyone see them and add names you don’t know. For something to hold, Popsa’s Retro Prints with Box turns 20 to 34 photos into small instant-camera-style prints on thick paper, presented in a magnetic box. It’s made for passing round the table at a family gathering, and a box for each sibling makes a thoughtful gift.
Storage that will not damage them
Store the originals properly. Most damage to old photos comes from where they’re kept, not from how old they are. Lofts, garages and cellars are the worst places, because temperature and humidity swing between seasons and cause curling, fading and mould. A wardrobe or cupboard inside the main house is far better. Use acid-free, archival-quality boxes or sleeves, and move photos out of old “magnetic” self-adhesive albums, whose glue and plastic can yellow and damage prints over time. Take out rubber bands and paper clips, handle photos by the edges, and keep them out of direct sunlight.
What to throw away
Not every photo needs to be kept. Duplicates, blurry shots, near-identical scenery and pictures of people nobody can identify are fair to let go, as long as you’ve checked with the family first. Someone else may treasure the photo you’re about to bin, so offer your let-go pile around before it goes. Be more careful with anything that’s the only picture of a person, or has writing on the back. If unsure, put it in the maybe pile and come back in a few months. Photos can bring up difficult feelings too, and it’s fine to set some aside without deciding yet.
Caricamento…
Domande frequenti
Should I throw away old photos after scanning them?
How long does it take to scan old photos?
What resolution should I scan old photos at?
Where is the best place to store old photos?
Scarica l'app
Trova più velocemente le foto che stai cercando con funzionalità esclusive come il riconoscimento dei volti e gli album smart.



Articoli correlati
&w=96&q=75)
&w=96&q=75)

&w=96&q=75)
Yulia Aleksandrova
Editor Popsa
28 ott 2025∙7 min


 Stati Uniti