


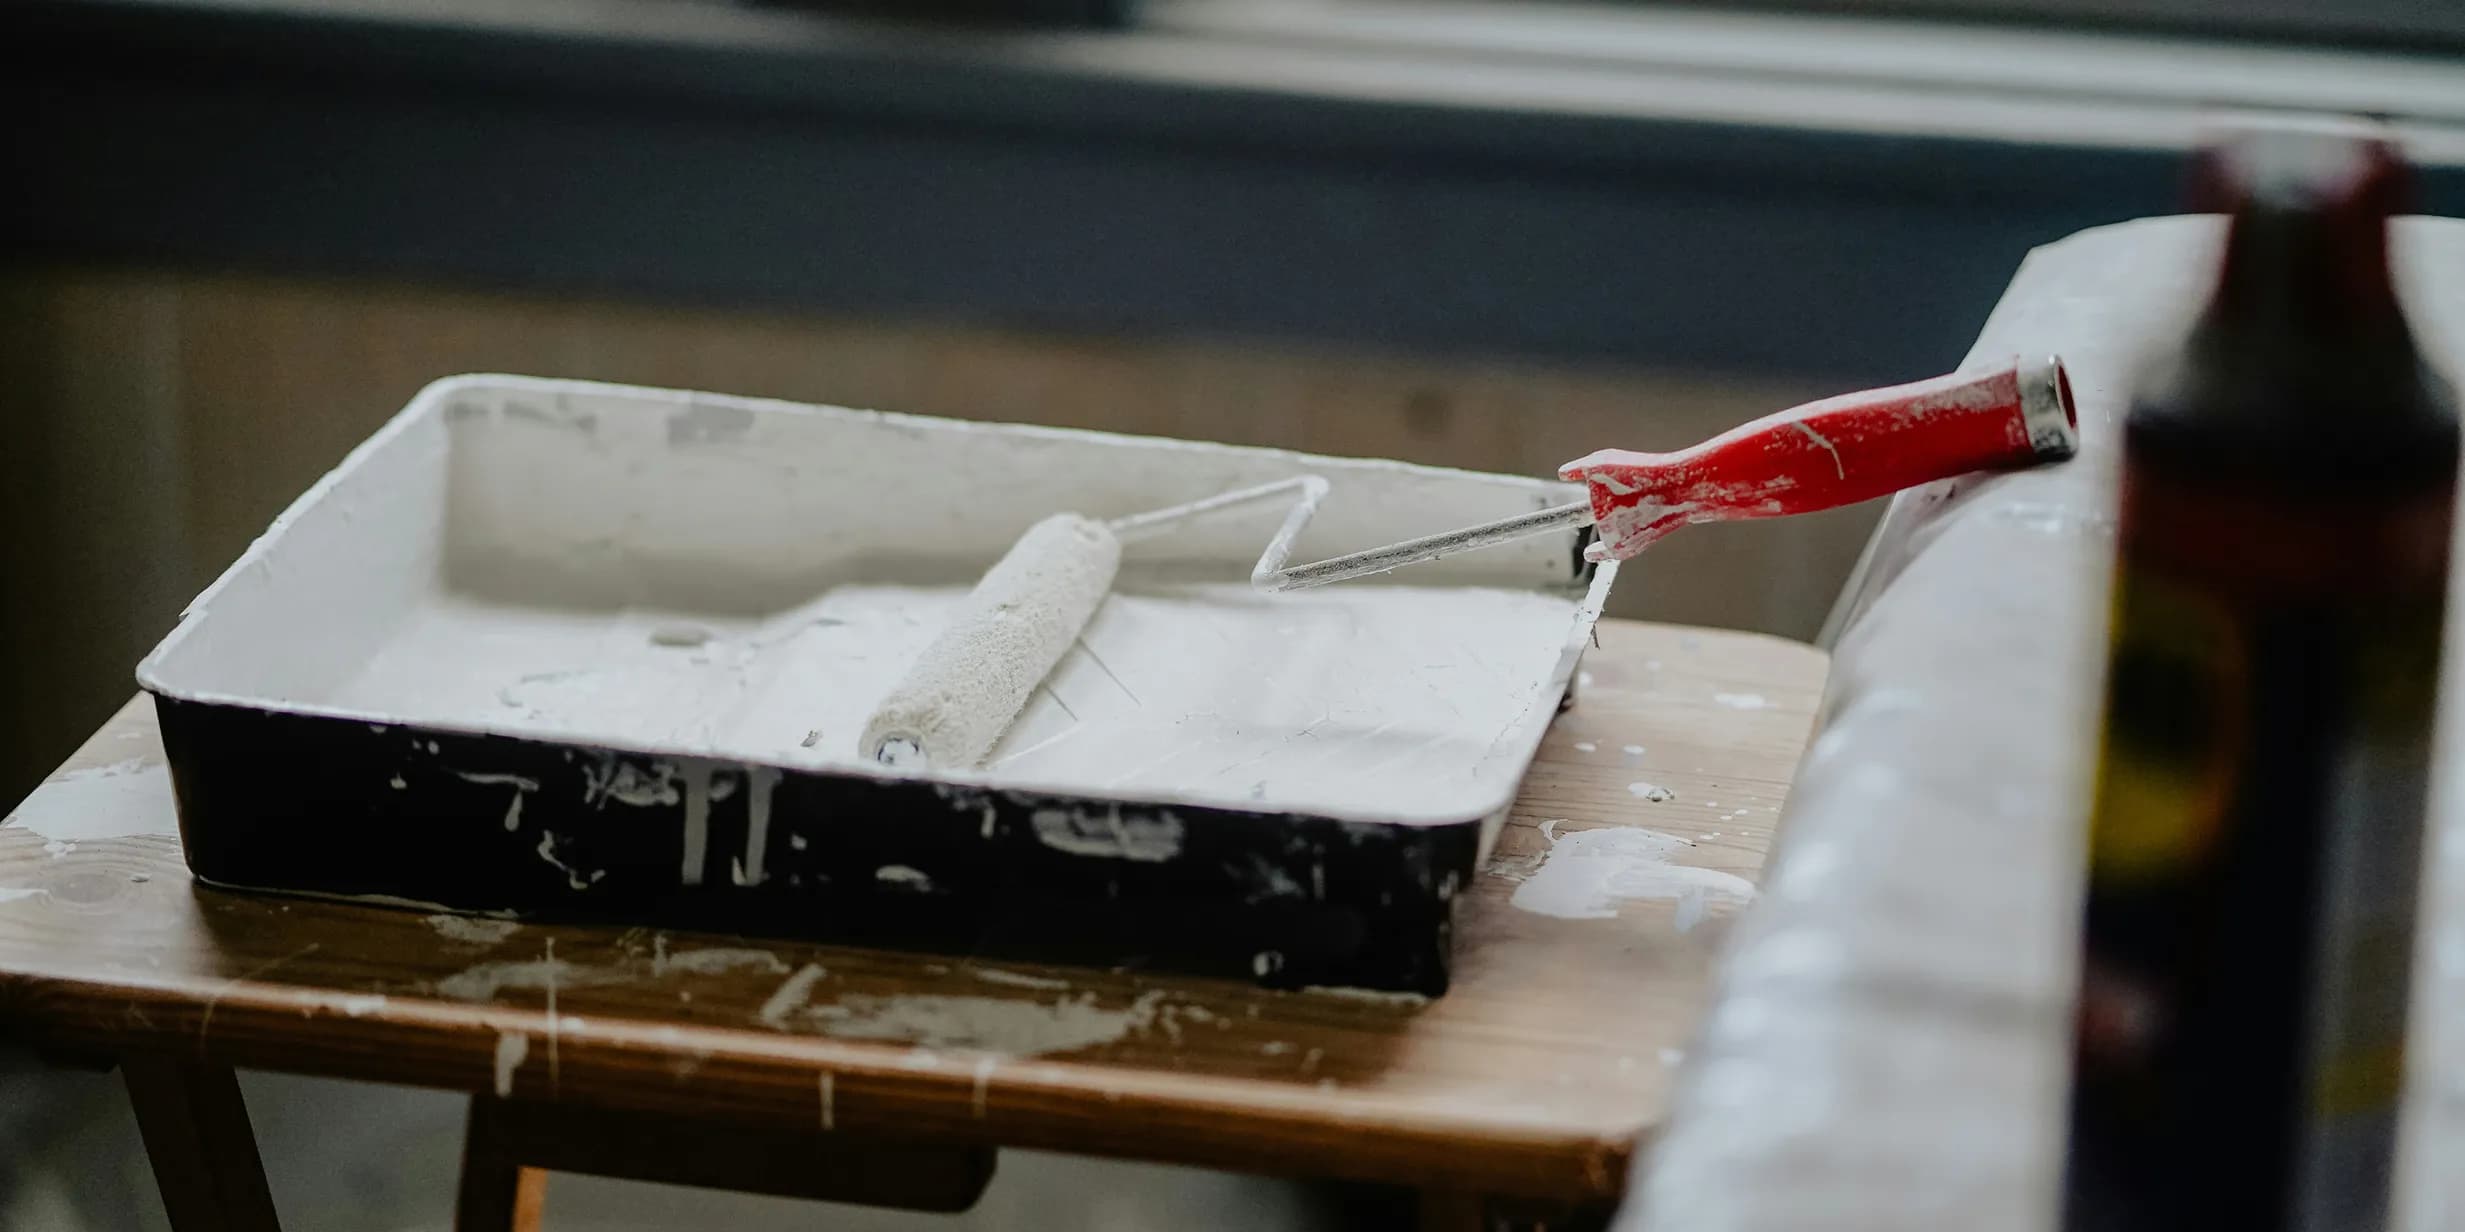
When you’re in the middle of the mess and the project chaos, with empty rooms waiting to become your own, it can be hard to imagine ever forgetting the details that made it all memorable. But capturing the small touches and big transformations in a photo book can help preserve the journey for years to come. From the first empty spaces to the final reveal, create a lasting keepsake of the changes, challenges and moments that made your home yours. Read on to discover how to create a renovation photo book that tells the full story.
When should you start taking photos?
Ideally, before anything changes. If you’re moving, photograph the empty rooms of your new home once you get the keys – it’s the only moment you’ll see them as a shell. If you’re renovating, take photos at every stage: before work begins, during changes, halfway through the process, and once it’s complete. It’s tempting to only photograph the finished result, but the before and during stages are what make the transformation feel meaningful. If you’ve already started and missed the early stages, don’t worry – use the photos you do have and acknowledge the missing moments rather than trying to recreate them.

Document every step of the journey
What should you photograph along the way?
Wide shots of each room show the scale of the changes, but they’re only part of the story. Capture the details too – paint swatches taped to a wall, a skip full of old carpet, the takeaway boxes from weeks without a working kitchen, or a child’s handprint left in wet plaster. These are the moments that become funnier, nostalgic and more meaningful over time. If tradespeople or family members were a big part of the process, include a few photos of people at work to create a record of the journey and effort.
How do you handle photos that aren’t great quality?
Renovation photos are often taken in imperfect conditions – in poor light, on a phone or in the middle of a busy day. A slightly blurry photo of a half-built kitchen still has value. It’s documenting the process, not competing for a place in a portfolio. Don’t wait for better versions or leave stages out because the photos aren’t perfect. If a photo is too dark or unclear to understand, a simple caption explaining what it shows can add more context than editing or cropping.

Build something to look back on
Should you include anything other than photos?
Paint swatches, tile samples, a floor plan or even a receipt from the first piece of furniture you bought can add texture that photos alone can’t capture. These small details are especially meaningful if you’re the kind of person who held onto them throughout the process. Adding short captions to each page with the date or stage of the project can help tell the story.
How should you structure the book?
Chronological order works best for this type of photo book, because it’s the journey of change that makes it so rewarding to look back on. Start with the empty spaces, move through the messiest stages of the process, and finish with the completed rooms. If your renovation happened room by room rather than all at once, consider organising the book by space instead, giving each room its own before-and-after story.
Making the book
Once you’ve gathered your photos, the Popsa app lets you import images directly from your camera roll or cloud library, with an initial layout generated automatically so you’re editing a first draft rather than starting from scratch. A Large Softcover or Hardcover Photo Book gives you enough space to tell the full before-during-after story without having to cut out important stages along the way. However long the project took, the book is worth creating once everything is finished – it’s often the only place where the messy middle, the small details and the journey itself are preserved.
Caricamento…
Scarica l'app
Trova più velocemente le foto che stai cercando con funzionalità esclusive come il riconoscimento dei volti e gli album smart.



Articoli correlati
&w=96&q=75)
Emily Kudiersky
Fotografa specializzata in animali domestici
23 mar 2026∙4 min

&w=96&q=75)
Benedict Brain
Fotografo e autore
27 lug 2026∙10 min

&w=96&q=75)
Lucy Halfhead
Responsabile editoriale di Popsa
28 ott 2025∙7 min


 Stati Uniti