Travel
Common travel photography mistakes (and how to fix them)
Up your travel photography game by remedying these easy-to-fix issues
30 Jun, 2025∙9 min
Travel
Up your travel photography game by remedying these easy-to-fix issues
30 Jun, 2025∙9 min
They say that travel broadens the mind, but it’s also true that travel refines our talents. Through travel we meet new people, experience new cultures, climates, and histories, taste new foods, sample new drinks and throw ourselves into fascinating new surroundings. All of this, consciously or unconsciously, delights our senses and inspires us. Whatever your chosen hobby, travel exposes you to new ways of thinking and, in doing so, improves your abilities.
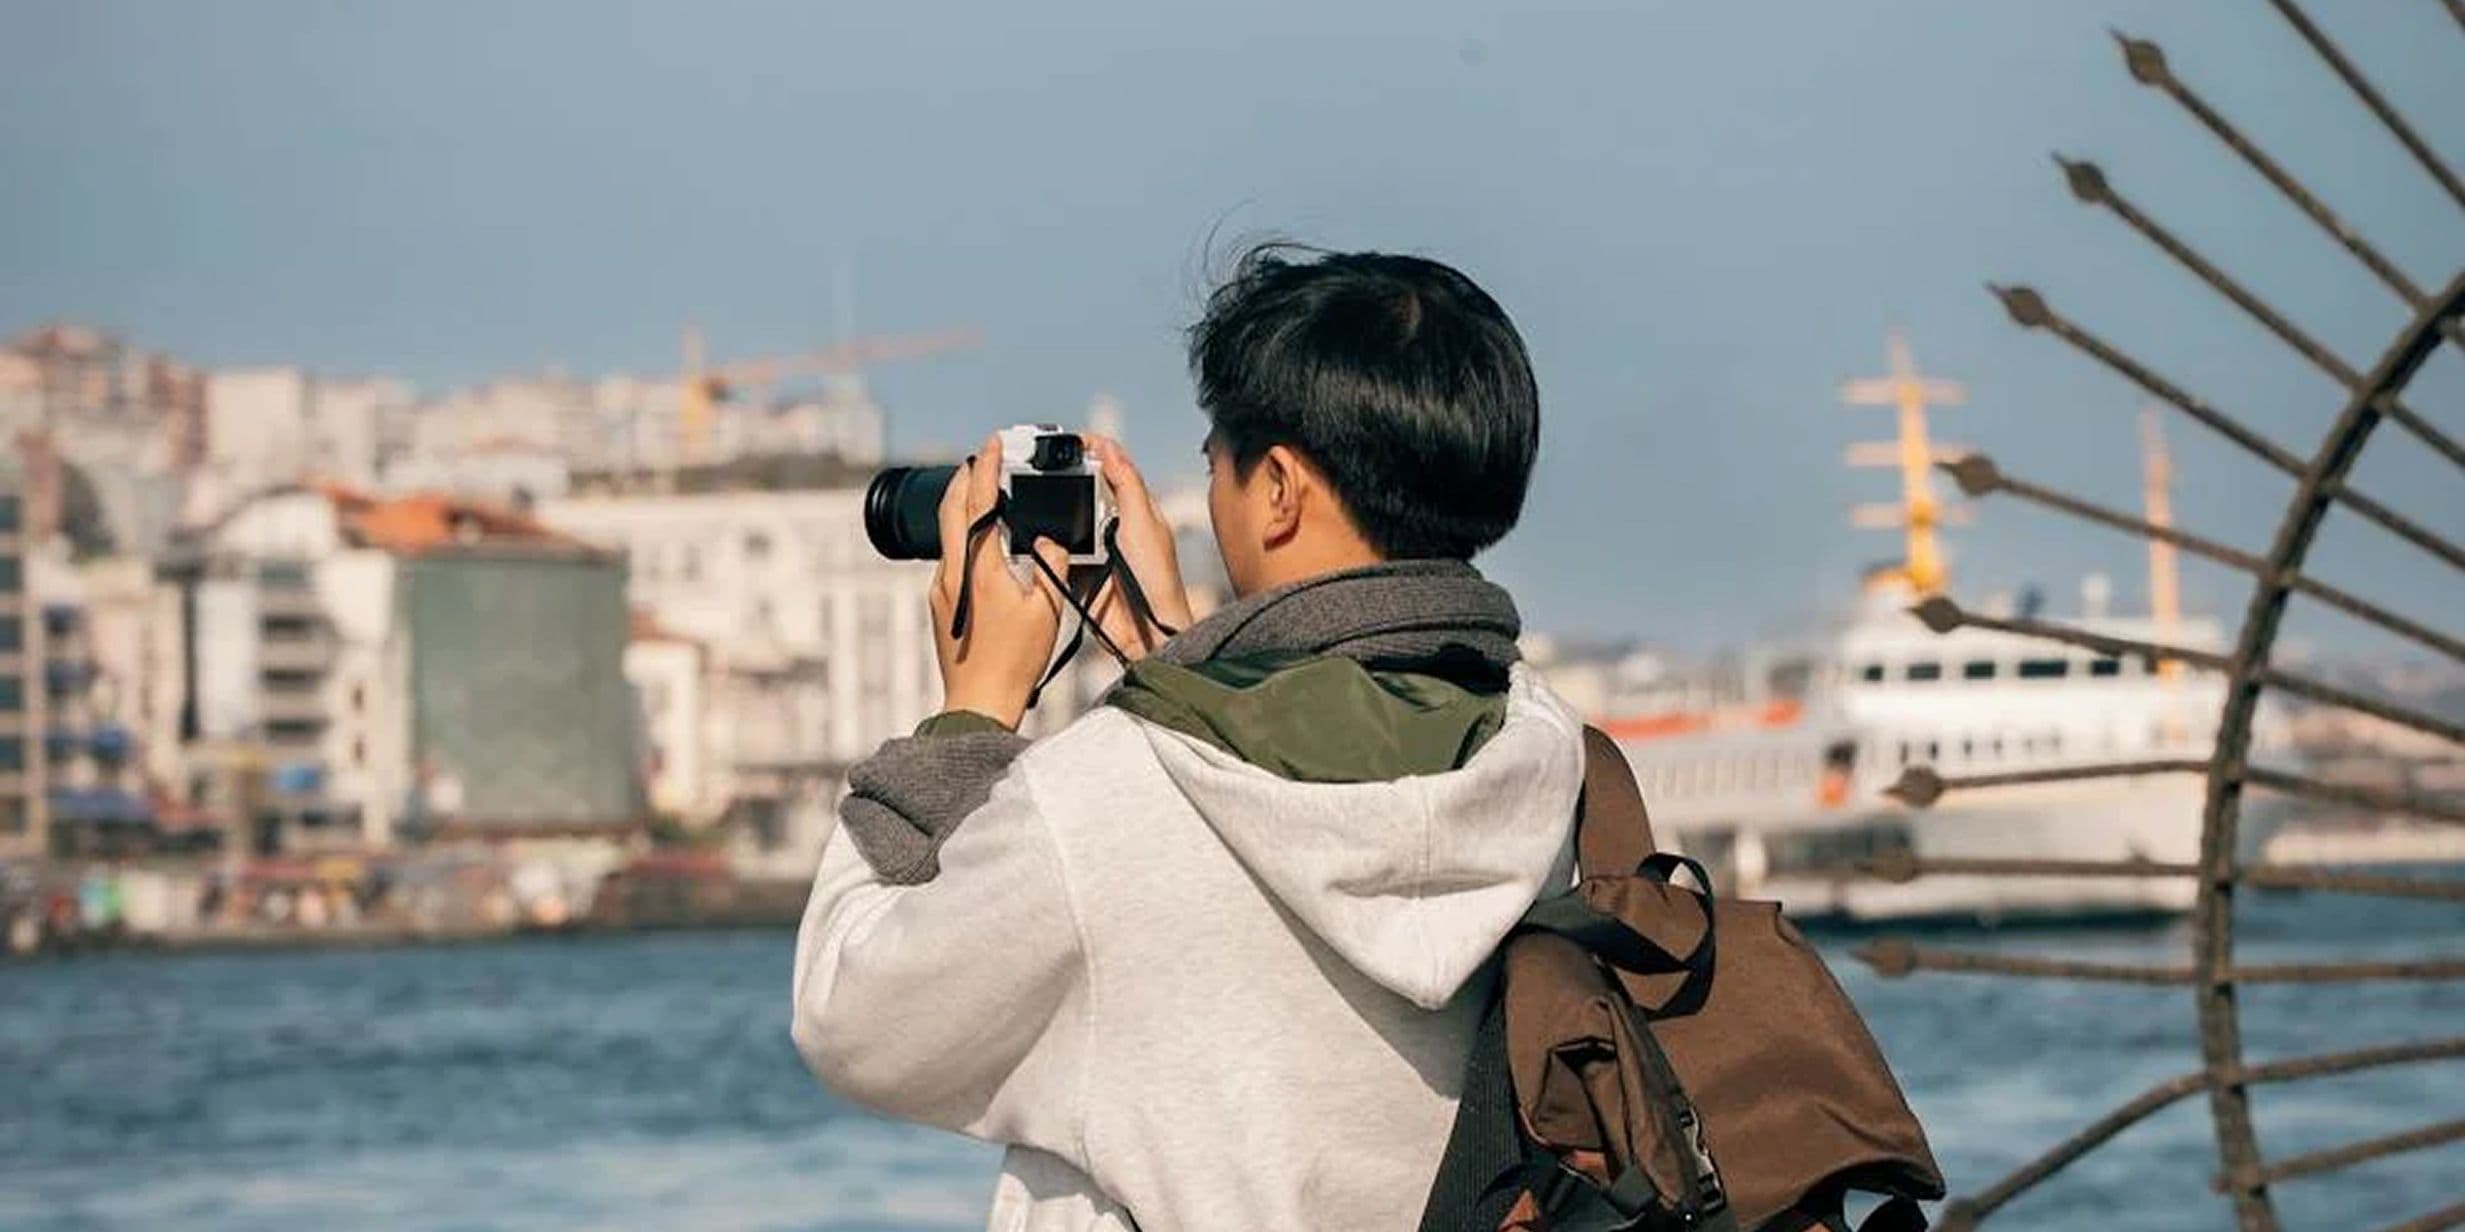
This holds doubly true in travel photography, as we’re likely to snap more pictures when travelling compared to back home. It’s only natural to want to preserve important memories and experiences you’d had in a new part of the world, so you can later reflect on all you’ve seen and done.
Yet since travelling is when most people take more pictures, it’s also when rookie errors creep into the snapshots, especially for the more inexperienced. To help you, we’ve identified the most common mistakes people make, so you can have fun and experiment with different styles and settings.
When travelling somewhere new you never really know when you’ll encounter a scene, or place, or moment that calls to be documented. So much of what makes a good picture is pure serendipity.
That said, the worst thing you can do is be unprepared for the moment when it comes; fumbling at your camera and shuffling through lenses as that perfect scene slips through your fingers. Always have your camera at the ready, stay aware of your surroundings, and react quickly when the time comes.

Static photographs are pictures taken at eye level and from wherever the photographer happens to be positioned at the moment the chance arises. This leads to images that are constrained and uninspired – usually the same shot that everyone else is taking, because it’s the most obvious.
So, get closer to your subjects, or move further away. Kneel down, climb higher, move around your subject, and experiment with different angles to make your shots more distinctive and varied. Pay attention to your surroundings and spend some time searching for a different shot from everyone else.
Travel photography frequently fails because there is too much going on and it is unclear what the picture is about. You must make your subject stand out so it’s obvious what the photo is focused upon. Concentrating on your composition is the key to accomplishing this. Make deliberate choices about what should be included and excluded from the frame based on what they add or detract from the photo's meaning.

Travel photographers often want to get up close and personal with intimate subjects and intricate details. However, this can often lead to them zooming right into the subject until it becomes unclear what it actually is or until the shot is spoiled. When taking a picture up close, try to strike a balance, and remember that your camera isn’t a microscope. You can always crop later.
When travelling, it's only natural that you want to take pictures of awe-inspiring things on a gigantic scale: the Grand Canyon, Hoover Dam, the Eiffel Tower, etc. However, when taking a picture of things like this, it's tempting to take them from far too far away so that their grand majesty is diminished and the subject looks underwhelming. Even when taking pictures of more mundane subjects, many travel photographers take the pic from too far away. Again, try to strike a balance and find that sweet spot to capture the scene's grandeur without making it obscure.
You won’t get great shots every single time, and that’s perfectly fine. It often takes a series of throwaway pictures to land that one exceptional photo. The rest can be viewed as first drafts. With that in mind, it’s likely you have more pictures than you actually need to keep. This is why culling is essential.
Culling is the decisive process of eliminating mediocre shots and the sketches you took on the way to finding that one standout image. By removing the less impressive photos, you create space for the truly great ones to shine. Look for the picture out of all the many variations where your subjects look their best, or where the lighting captures the essence of the scene, or where the framing means you don’t have anything distracting going on in the background of the shot.

Every picture needs a bit of editing afterwards, particularly if you're shooting in RAW. This goal might be as easy as adjusting a crooked horizon, but it can also improve your story and perspective. Editing is a crucial phase in the overall process of producing powerful and captivating images. Using tools like Photoshop or Canva, or even the simple settings on your phone, you can crop images to remove unwanted elements, blur out blemishes, or remove effects such as redeye or other aberrations.

When travelling, always remember that you are a guest in someone else's environment. The people who live and work in tourist hotspots are not curiosities or animals in a zoo and probably won't appreciate having their privacy impinged upon by camera-wielding strangers. Not only that, but in certain countries (such as France) it can actually be illegal to take pictures of strangers in public without their permission.
So, if you are taking a picture of someone, or their home, street or workplace, be polite and ask their permission first, and make sure to research the legality of taking pictures of strangers in different countries before you travel. Courtesy goes a long way; a short conversation might make them a more engaging subject.
Whether it's the sun's natural light, incandescent lighting indoors, or the dim light of the night, the direction and quality can make or ruin a shot. It’s crucial, therefore, to pay close attention to the levels of illumination.
If the lighting is still a little bit off, simply shift your shooting position to get a more flattering angle, or come back when the natural light changes. You can also adjust your camera settings by turning down the exposure, or by adjusting exposure levels to work with the light you have, rather than against it.
You can also change the shutter speed, or turn on the flash. Think about how light falls on your subject and come up with creative ways to work with it.
If you're taking photos in a busy urban area then, depending on the time of day you visit, and what’s behind you, you may have to deal with the annoying problem of reflections in the windows spoiling your shots. An unwanted reflection or glare from a light source can easily ruin a picture.
Using a polariser while shooting is the best way to avoid this issue. This device, which can clip onto your smartphone, will typically eliminate – or at the very least reduce – reflections from neighbouring windows and passersby. Simply adjust the filter until the reflections are at least partially visible, and snap away!

Converging verticals – an effect where buildings seem to be collapsing from a certain angle – commonly happens when travel photographers tilt their camera upwards to capture tall structures from a low angle.
While sometimes used creatively, converging verticals can look unnatural. An easy fix is to keep your camera level while shooting or fix existing pictures in editing by using perspective correction tools to straighten the lines. However, to avoid potential cropping issues or reduced image quality from excessive editing, get a little higher and aim for a well-composed, level shot in the first place.
It’s easy to forget that there are several aspect ratios available, offering differently shaped formats that may be more appropriate for the scene at hand. While a 1:1 (square) format can work well for portraits and patterns, an elongated aspect ratio like 16:9, is a stronger choice for landscapes or skylines, where there might otherwise be too much superfluous sky or ground in the frame.

It’s hard to resist the popularity of tourist attractions and cliched locales. But let’s be honest, do we really need another picture of the Taj Mahal? And is there a new way to show what might be the most over-photographed place in the world?
So, after you’ve crossed the main hotspots off your list, try to break away from the crowds and find the road less travelled. Find hidden gems by doing internet research, consulting travel guides, or hiring a local guide. That way, you’re more likely to find something more interesting and less exposed, where you can put your unique stamp on it.
It’s tempting to take risks to get the perfect shot – craning over the edge of a cliff, or standing on a rooftop to capture a beautiful sunset. But no picture is worth compromising your safety or the safety of others. Don’t do anything too dangerous when you’re taking travel photos – as good as they might be, they’re not worth risking life or limb.
Discover memories faster with exclusive features like facial recognition and smart albums.


12 Nov, 2025∙7 min

2 Oct, 2025∙9 min
